This Whiskey and Cigar Butler is an easy project for any novice woodworker and a great gift idea too.

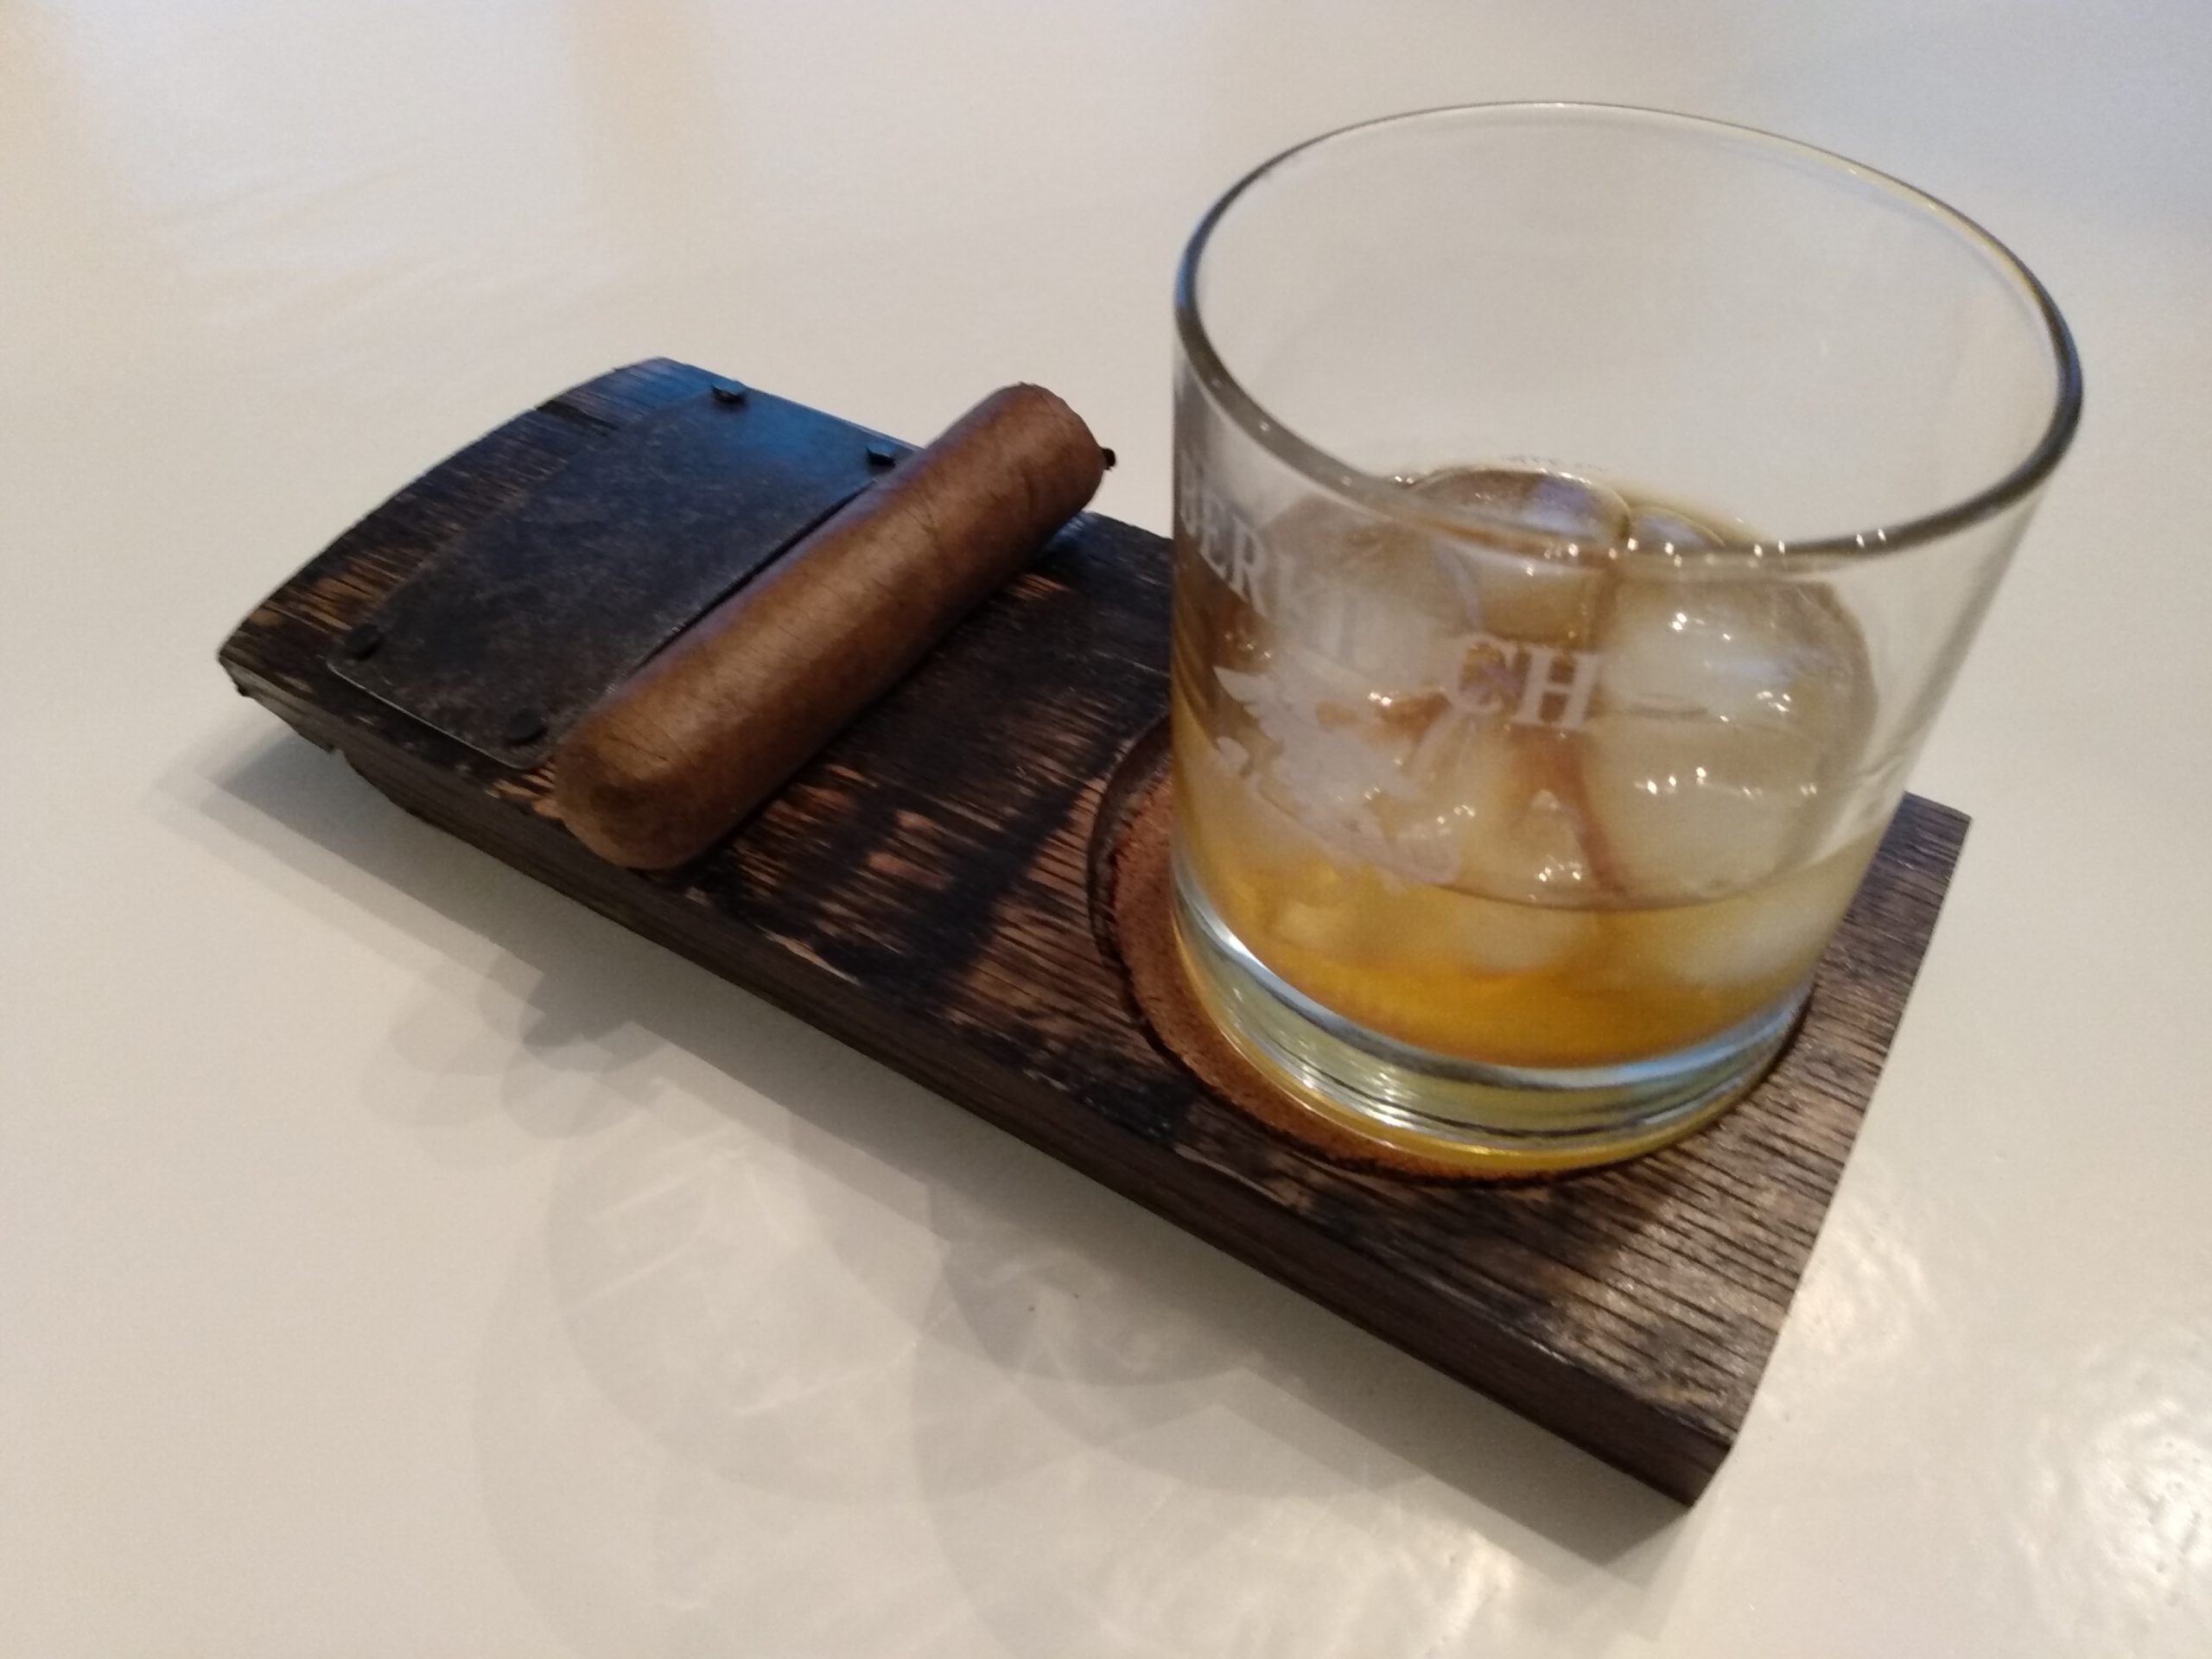
Whiskey and a good cigar are a match made in heaven. And having a place for them is pure joy. For that reason, I decided to make a whiskey and cigar butler. The basic design is over a century old. It’s a place for your whiskey to keep condensation off the fine furniture and a spot for your cigar so it won’t roll off or burn the table. But this project takes it a step further by upcycling old bourbon barrel staves and hoops into a useful, attractive, and highly functional whiskey and cigar butler.
Keep reading and I will show you how to clean the char off and safely cut sections from the stave then drill, route, prep, and finish them.

And follow this link to my Video to see how it is done. VIDEO LINK
Don’t have time to make it?
Buy it at my Etsy Store https://www.etsy.com/shop/30MinuteWoodshop
Tools & Materials
Not a lot of special tools needed here. You will, of course, need a barrel stave or two and a barrel hoop or band (the steel thing that holds the barrel together). I got my materials from Travis Williams at Skull Creek Designs in Midland Michigan. Family owned, excellent service, good prices, and nice people – I recommend you visit their Etsy store . You will also need a BIG Forstner bit. Minimum 75mm (3”) Forstner Bit and a maximum of 90mm (3.5”) Forstner Bit . And a stiff wire brush. (links below)

Cleaning Off the Char
First thing to do is to clean off the char. Easy enough with some gloves and a stiff wire brush. Brush briskly both with and across the grain. And pay particular attention to rough patches that may need a bit more scrubbing. All the lumpy char should come off by the time you are done. Once you’ve finished brushing, snag a blowgun and hit the entire surface with compressed air to remove all the carbon caught in the grain. Be sure to move both across and with the grain. Do all of this work outside as it creates a lot of charcoal dust. Last, put on a coat of polyurethane to seal the inside. The poly will keep your hands and shop fairly clean.

Cutting
To create a Whiskey and Cigar Butler, the first thing is to mark 9” to 9-1/2” in from each end. Accuracy is not really critical but you do want then to be pretty close. Next, you need to set up your saw. The barrel staves are seriously curved in two directions. This makes them difficult if not somewhat dangerous to cut if not properly supported. I used a compound miter saw and I hot glued a block in to support the left side of the stave. I also put in small piece in front to keep it from rocking. With the piece fully supported the cut is easy and safe. So, cut off both ends of the stave at about 9 inches.

Here is a sketch for the general size and location for the drink depression and cigar groove. I don’t have full 3D capability so it’s missing the curvatures.

Sanding
Now is a good time to sand. I sanded the outside with 80 grit sandpaper just enough to remove the dirt and grime. When you are doing the sanding be careful to leave the staining from the barrel bands which will help create the authentic barrel look later as you apply the finish.
Drilling and Routing
Now is a great time to drill the depression for your whiskey glass. I used a 90mm forstner bit chucked my drill press and drilled down about a 3/16” depth. You can use anything from a 75mm to a 90mm bit but choose a size that meets the diameter of your whiskey or cocktail glass. Don’t try to drill with this size bit in a hand drill It could lead to injury.
Next chuck a 3/4” corebox bit in your router. Then set the bit to route about a ½” deep. This will make a groove wide and deep enough to keep your cigar in place. BE SURE you don’t try to do this freehand. You really need a router table and sled or you will need to create a jig.

Finishing
Finishing is the next step. You can choose your finish. I was looking for an antique rustic look so chose a dark walnut stain to complement the deep stains from the barrel bands. As this will be exposed to condensation from the glasses, I also chose a polyurethane, and applied three coats. After it is dry, lightly sand with 320 or 400 grit sandpaper to knock off any nibs.
Final Assembly
The last steps are to cut, fit, and secure the metal tag. So, grab a hacksaw and cut two sections from the barrel band each about 1/4″ shorter than the width of the stave. You will have to file or grind the edges smooth then sand off any rough spots on the edge. Wire brush the face to clean off any dirt or rust.

Mark four holes in the corners about 3/16” in from the edges and drill 1/8” holes. I used “Tap Magic” to lube the drill sites, but you can us 3 in 1 oil too.

Last step is to nail the plate in place using 3/4” carpet tacks or No. 4 screws. I like the carpet tacks because 1) they are easy to install and 2) they look a lot like antique cut nails.
With the plates in place wipe on a coat of paste wax and buff to a nice shine.
Your project is done – now you can pour yourself a victory drink and light up a celebration cigar.
By the way – I did cut and fit cork pads into each one – mostly because I had the material laying around.

Thanks for reading and until next time Good Making!
Bill
Video and Blog Links
DIY Whiskey and Cigar Butler Video https://youtu.be/PR0C5dOrO2E
Making Lazy River Coasters Video https://youtu.be/HjMoxv9lj7M
Create Your Own Lazy Susan Blog https://30minutewoodshop.com/?p=491
Tools and Materials you may need
Barrel parts at Skull Creek Designs https://www.etsy.com/shop/SkullCreekDesigns
90mm (3.5”) Forstner Bit https://amzn.to/3vjRotr
75mm (3”) Forstner Bit https://amzn.to/3J7haXN


