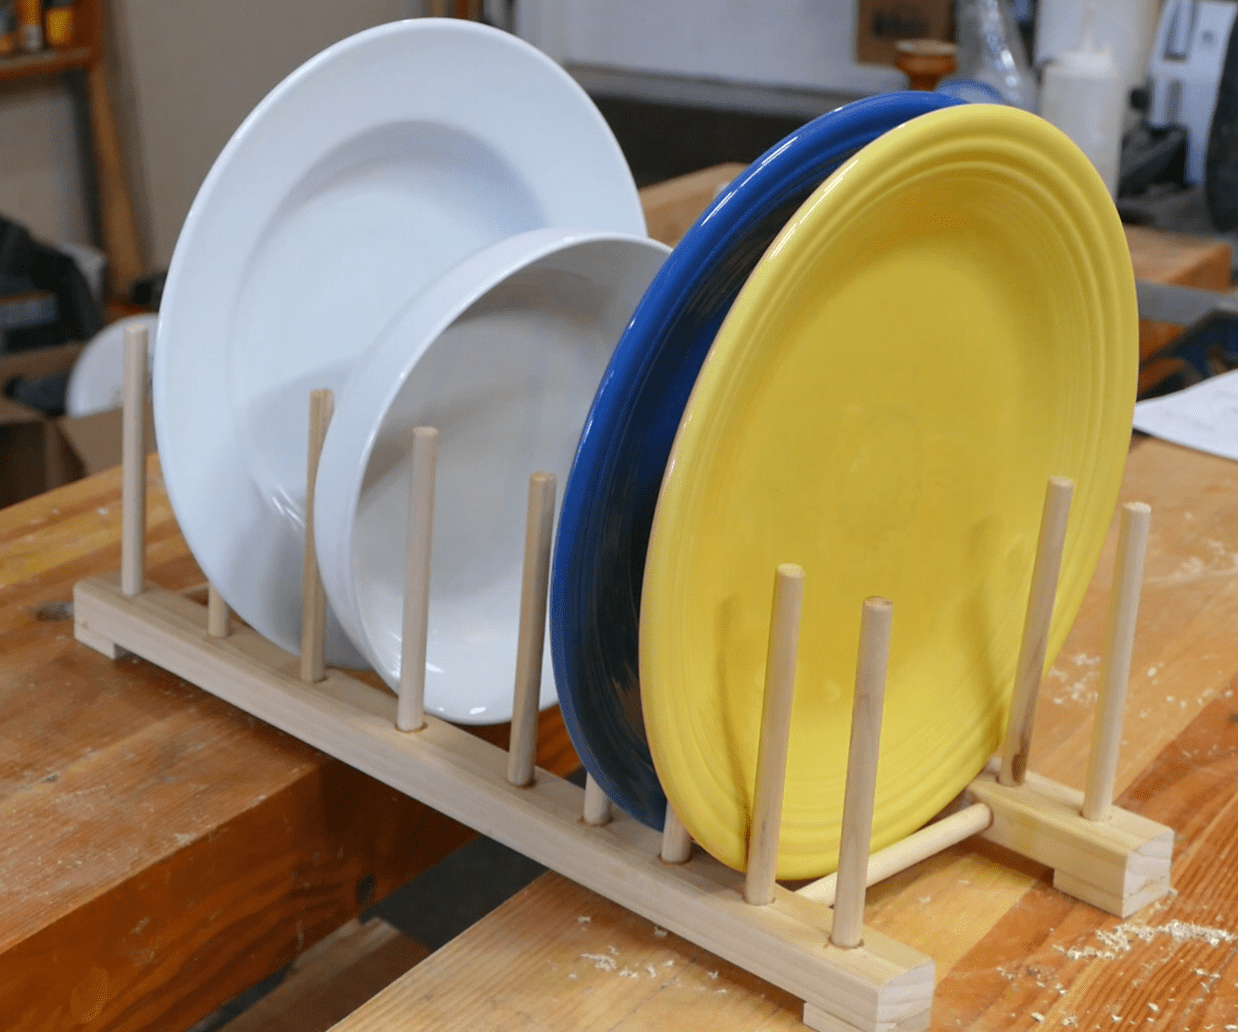
Here’s a really nice and easy kitchen project – dish rack. This kitchen dish rack is super easy to make and will serve you well for many years. This is a perfect addition to your kitchen to get organized.

Tools and Materials
This dish rack can be made with only hand tools. The tools you really need for this project are a saw, a drill, and some sandpaper. I, of course, will be using a radial arm saw, a drill press, and an orbital sander.

Materials are equally simple. I chose to use Maple for this project because it’s a tight grain wood and absorbs water slowly you can use any word you choose you will need two pieces that are about 19 inches long by 3/4 by 1 inch and several dowels 3/8 inch diameter by 36 inches long.

Layout
As with the tools and materials layout is very straightforward. Mark a centerline down each of the support rails. The center line should be at the 1/2 inch mark. Then use the drawing below to layout the hole centers. You can change the hole spacing of course based on the dishes you plan on putting in the dish rack.


Cutting
This is such a simple project. You need to crosscut 20 dowels there are 4-3/4 inch long. Then cut the support rails to 18-3/8 inches long.

Drilling
In this operation I used a drill press, you don’t need to do that. A regular drill motor with the 3/8 inch drill bit will serve you well. Be sure you check the dowel diameter. A 3/8 inch dowel is not always 3/8 inch. Drill a couple of test holes and see how they fit. I had to use 23/64 inch drill bit which was a bit snug for the dowels but it was better than it being too loose.

Sanding
Sand all the surfaces with 220 grit sandpaper either by hand or with an orbital sander. Be sure you break all the sharp edges. Use 320 grit on the dowels and sand the ends. This will provide an nice surface to receive the finish.

Assembly
Assembly of the Kitchen Dish Rack consist of applying a waterproof glue like Titebond III to one end and tapping it into the hole. Wipe up any squeeze out with a wet paper towel. Look down the length to make sure all the dowels are sticking up the same height and all are correctly aligned. Leave it to dry for about two hours then glue on the 1” x 1” x1/4” feet if you are putting them on.

Finishing
With the Dish Rack assembled and the glue dry apply the finish of your choice. I use a Helmsman Indoor/Outdoor spray varnish and applied 4 coats.
And… we are are done!!

Thanks for reading and until next time Good Making!
Bill
Visit my Etsy Store at www.etsy.com/shop/30MinuteWoodshop
Facebook https://www.facebook.com/30MinuteWoodshop
Links to my Videos and Blogs
Create Your Own Dice Vault https://30minutewoodshop.com/?p=1226
DIY Whiskey and Cigar Butler https://30minutewoodshop.com/?p=550
Farmhouse Key Rack https://youtu.be/I65FGq4dKYY
Tools and Materials you may need
DEWALT Drill and Driver Combo https://amzn.to/42yybmy
DEWALT Router Plunge Base Kit https://amzn.to/3LKkJEK
Starrett Combination Square https://amzn.to/3XpbrDN
Wixey Digital Angle Gauge https://amzn.to/3U5aUav
Wixey Digital Protractor https://amzn.to/490yoll
WoodRiver Band Clamp https://amzn.to/3Oc8QJY
WoodRiver Low Angle Block Plane https://amzn.to/3pkNvos
Milwaukee M18 Jig Saw Kit https://amzn.to/3FAWXsS
BOSCH Compound Miter Saw https://amzn.to/421A1vl
Minwax Fast Drying Polyurethane https://amzn.to/3V5h0pO
PPE Gear
3M N95 PPE Mask https://amzn.to/3x4NGEu
ISOtunes Bluetooth Earmuffs https://amzn.to/3lpj1iA


