
Every household needs a Key Rack. When I grew up we had a key rack with tractor keys, truck keys, boat keys, shed keys and more, Even in college we had a key rack so cars could be easily moved around. And I suspect that you may have teenagers and need a key rack so you can shuffle cars in your driveway too!
The beauty of this farmhouse style key rack is that it goes with almost any décor and it matches the rest of the farmhouse style projects I’ve completed earlier. Plus this is a Kid Friendly Project.
Tools & Materials
The materials needed for this project are a simple piece of wood – your choice on species – about 2-1/2”x 12”. You can adjust the dimensions to meet your needs. And key hooks. To help make this Kid Friendly I chose single screw hooks just to simplify the build and cutdown on the frustration the kids might have screw in the screws. I have a link at the bottom for the hooks.

Tools needed? Well, a good edge bit. I chose a Cove and Bead (not Roman Ogee like I said in the video). I have a link below for you to explore and the picture shows a few possible edge treatments too. You will also need a No. 1 Phillips, and a 1/16” drill bit.

First thing I did is to square up my scrap and give it a quick sanding with 220 grit. Next I set up my router table with a Bead and Cove bit. I set the bit about 1/16” low so I could make two passes. The last pass was a skim to clean off any burn marks.

Sanding
With the edge routed the next operation was to sand everything and break all the edges. I used 220 grit to smooth things out and get it prepared for paint.

Finishing
For me, finishing was nothing more than three light coats of “rattle can” white with a light sanding with 320 grit between each coat. Wipe it down then apply a light coat of wax and buff it off.
Assembly
Assembly is straight forward. Leave about an inch on each side for mounting screws. Then layout the hooks in between at about 1” to 1-1/2” spacing. I marked each spot and then used an Ice Pick (you can use and awl) to make the starter holes. If you are doing this with kids, predrill these with a 1/16” bit about half as deep as the screws are long. Doing this will make it really easy for the kids to get the screws in the right place and fully screwed down.

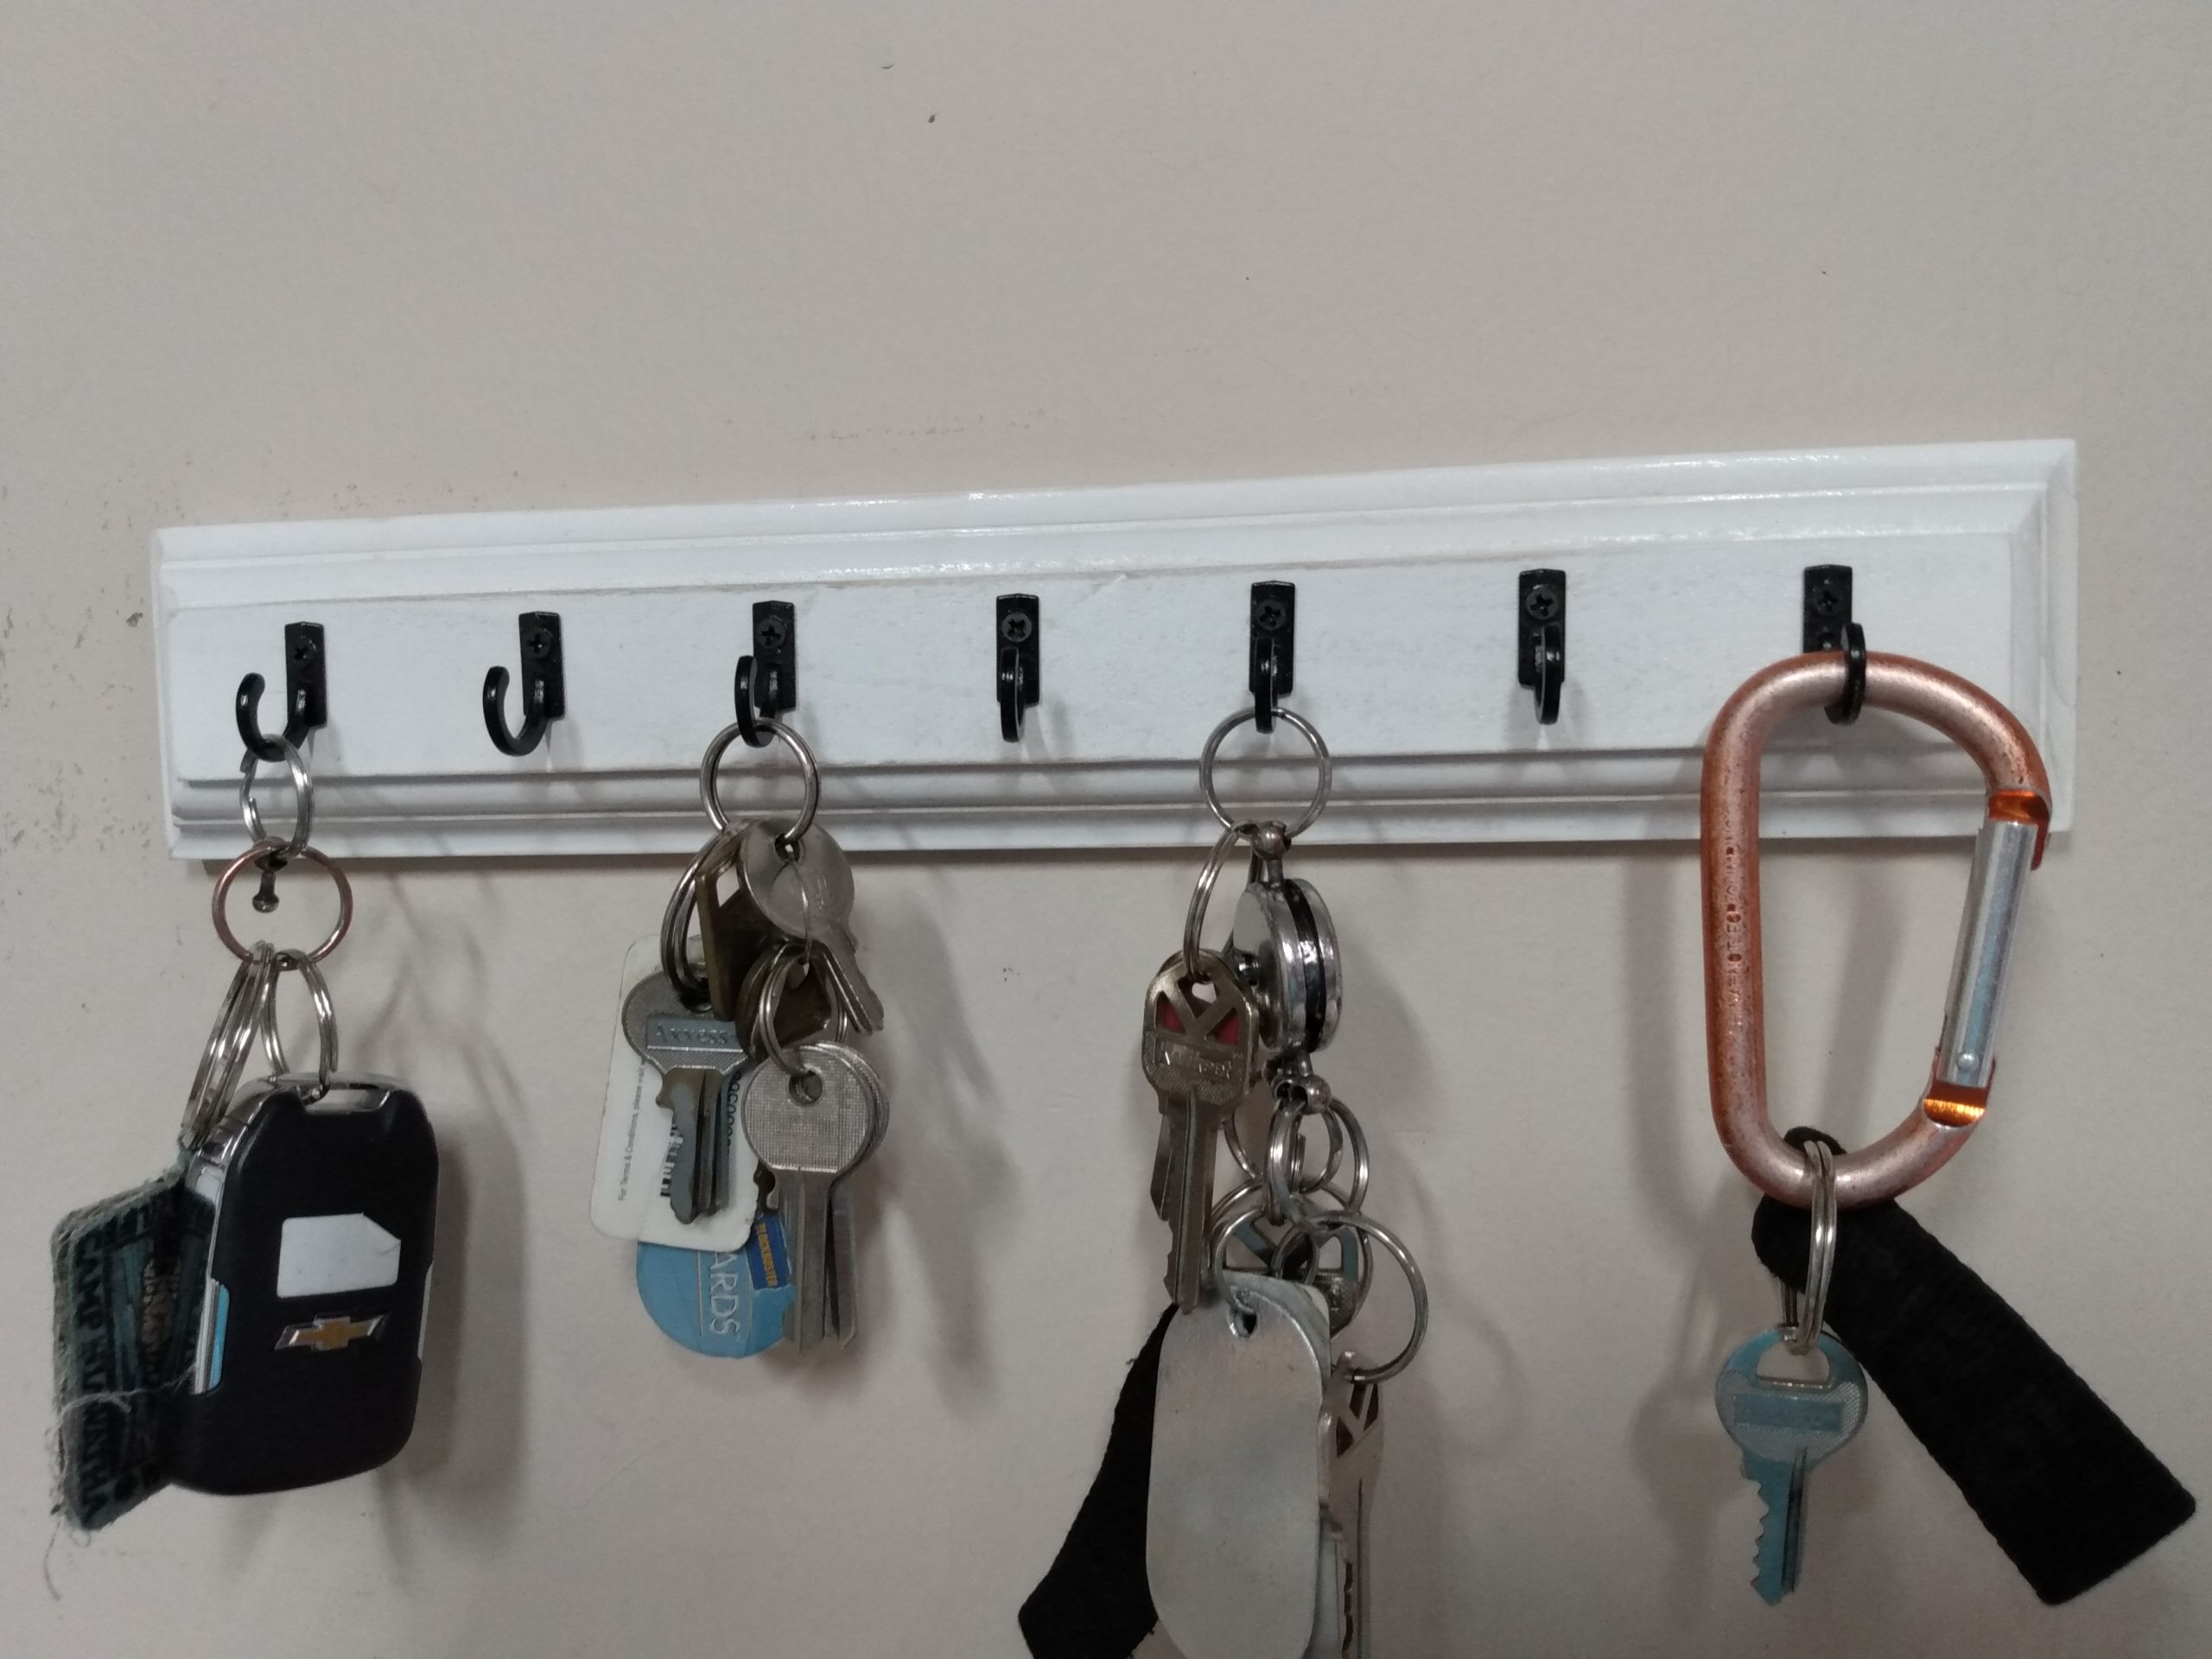
And that is a wrap! Project is done and keys are hung. It looks great and fills a spot that has been needed for a long time.

Thanks for reading and until next time Good Making!
Bill
Easy Key Rack Video https://youtu.be/I65FGq4dKYY
Rustic Farmhouse Bench Video https://youtu.be/7S9SpDErJ5Y
Farmhouse Bench Blog https://30minutewoodshop.com/?p=267
Tools you may need
Black Small Key Hooks, Steel https://amzn.to/3cxmPuj
BOSCH 1/16-Inch Drill Bit https://amzn.to/3KrLmNW
Phillips Screwdriver #1 https://amzn.to/3TCkjDV
Freud Cove & Bead Bit https://amzn.to/3PY9CIw
Please note these are affiliate links


