This easy to build Farmhouse Bench is a project that will literally last a lifetime or two. The design is taken directly from my experience on the farm with my Grandpa and great Uncles. And I have a similar one that is over a century. Admittedly it is pretty beat up but survived 8 kids, 11 grandkids and a couple of great-grandkids but it is still going strong.
While no longer at the farm, the Farmhouse Bench will be a place for your kids to put on their shoes and boots before school, a place to dump their packs when they come home and occasionally a convenient step stool to change a light bulb.
And follow this link to my Video to see how it is done. VIDEO LINK
Tools

Only a very basic tool kit is needed for this project. The tools are: a saw, a square, pencil, hammer, jigsaw, 1” drill bit and a drill motor, jigsaw,combination square and a digital angle meter. I’m using a Radial Arm Saw, a Table Saw, a jigsaw, a corded drill motor, and definitely a Wixey Digital Angle Meter.

Materials
Like the Tools above the Farmhouse Bench only requires a few simple materials. You will need one 8 foot 1x 12, make sure there is no cup, twist, or warp and avoid pitch pockets. An 8 foot 1x 6. waterproof glue, 6d finish nails, sandpaper, paint or stain, and a brush.

I used Titebond III Waterproof Glue because I know that over the years this bench may end up on the deck, in the garden, or on the front porch. I also chose to stain and varnish it with Minwax Special Walnut stain to give it an antique look with Minwax Satin Poly Varnish to offer protection. Painting is more traditional. I recommend an oil based paint instead of latex because of the durability of oil based paints in all conditions.
Layout and Cutting
Easier than IKEA, layout and cutting a quick and simple. You will need to crosscut the 1x 12 first at 38” for the seat. Then cut two more pieces at 17-1/2” for the legs.
Once you have cut the parts you will need to bevel the legs, both top and bottom, to 10 degrees. This is an easy setup on a table saw using a Wixey Digital Angle Meter. BE SURE you cut them in the same direction and that they are identical in length. Precision in these cuts is crucial to a stable bench that doesn’t rock.

The next cut you need to make is the hand hole in the seat. It is a slot centered in the seat. Drill two 1” holes along the center line 18-1/2” in from each end. Next, with a jigsaw cut the material from the center to create a slot. File and sand smooth.

Next, the side need to be scalloped. Easy enough, mark a line ¾” down from the top edge and another 4-1/2” in from the edge. Then use a lid from a 5gal pail to create the radius

On completion you should have the following parts:
- Seat 1 x 12 x 38” with hand hole cut out
2 Sides 1 x 6 x 38”
2 Legs 1 x 12 x 17-1/2” with top and bottom beveled at 10 degrees
Sanding
Sand all surfaces now while you can get to all the areas easily. As you are using wood with machined surfaces 220 grit is your best choice in a random orbit sander. It will make quick work of the sanding and reduce your pain when finishing.
Glue up and Nail
Dry fit the parts and make sure everything fits properly. [Note: the legs are inset from the ends by 6”]. Then disassemble and glue the parts together.

Use a waterproof glue and be liberal with the glue, we are depending on it for strength in the joints. Make sure that all the parts are aligned and the 10-degree bevel on the legs are fully seated and fully in contact with the seat. Clamp firmly but don’t crush the joint. You don’t want to squeeze out all the glue.

After the glue is dry nail the legs in place. Use 3 6d casing or finish nails through the side and into the leg. Do this on each side for each leg. This is just in case the glue joint fails.
Edge Routing
Your bench will have a lot of people using it. You want all the edges where those folks grab to be soft. The quickest way to do that is with a compact router and an 1/8”R round over bit. Round over all the edges on the seat and underneath. Don’t forget the hand slot top and bottom. There will be a few spots where your router can’t get so you will have to hand sand those areas. Sit on the bench and just start grabbing and you will find the sharp spots.
Sanding/Planning
Sanding should be fairly quick if everything was aligned (and stayed that way) when you clamped. You will need to knock off any glue beads from squeeze out. I recommend using a Card Scraper (link below to a video). Then sand off any remaining glue. If you did have some misalignment then plane or sand it out.

Finishing
With the routing and sanding complete you are ready for a finish. Traditionally Farmhouse Benches are painted but wanted a clear finish. I chose a Minwax Special Walnut stain to give my bench a bit of an antique look. Then I topped that with three coats of Satin Poly Varnish rubbed out with 0000 steel wool. This gave the seating surface a soft silky smooth feel which is perfect for planning your tush on and slipping on your loafers in the morning.
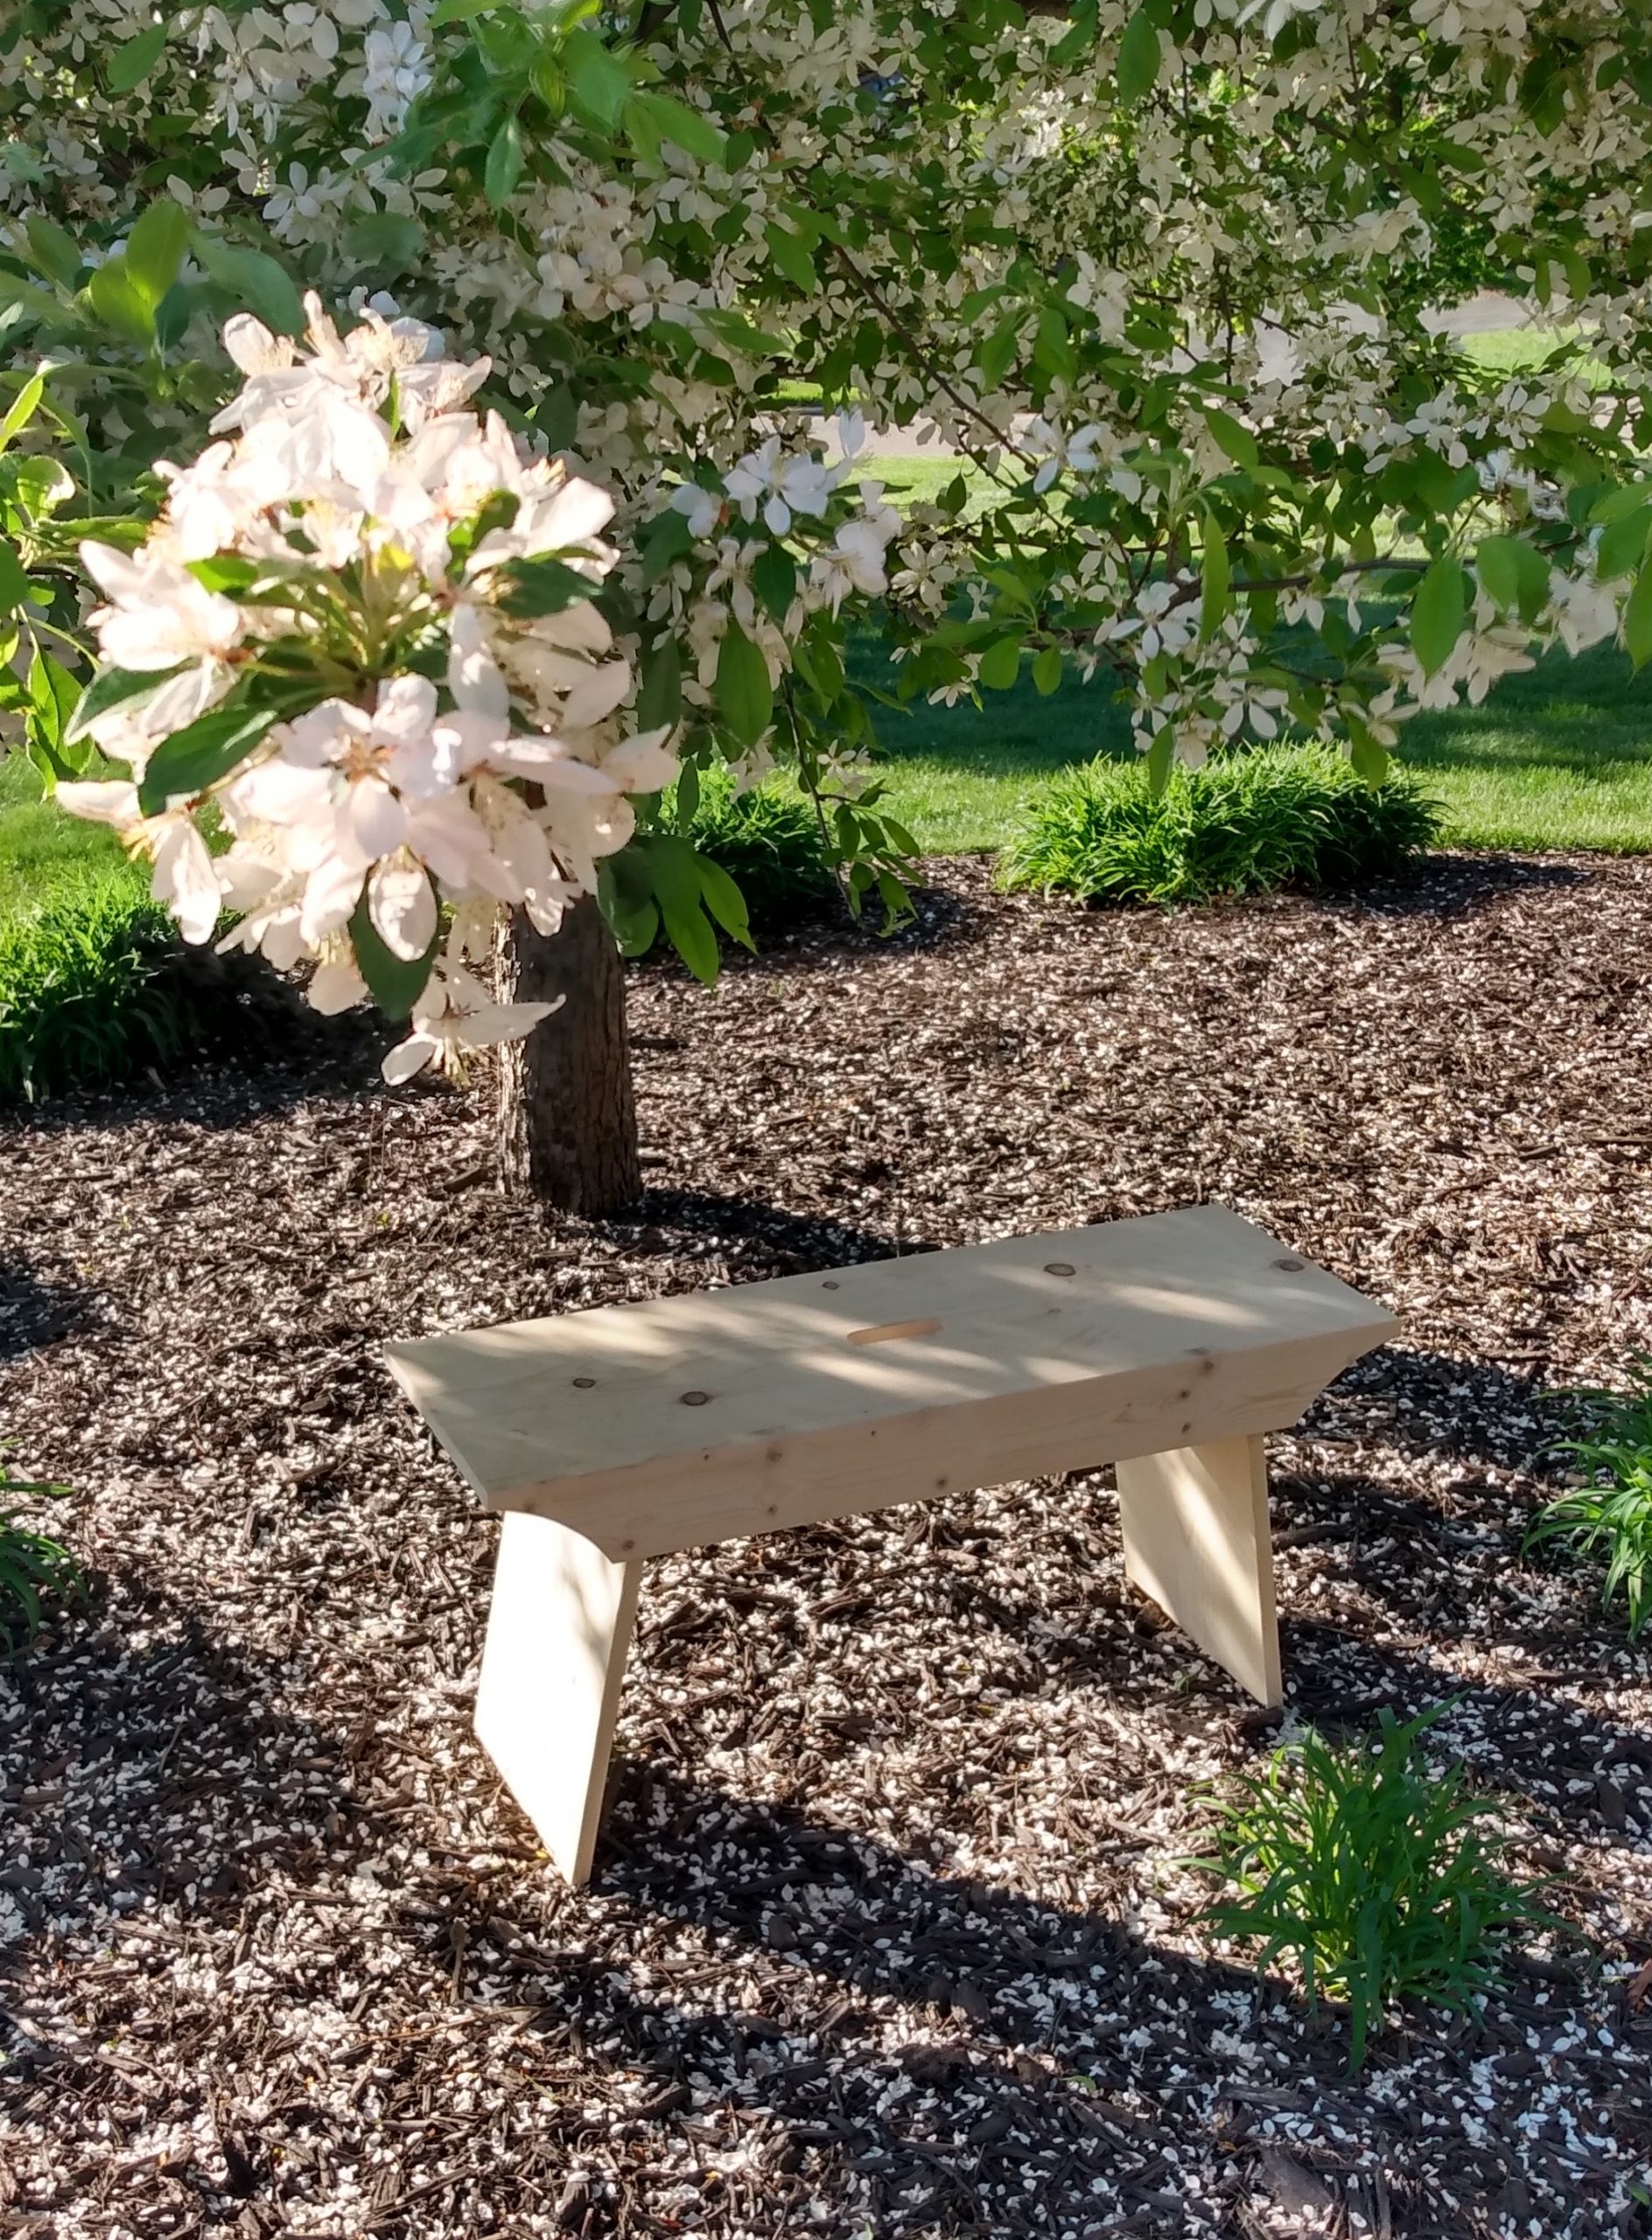
With that – you are done!! Congratulations, I hope you get many years of use our of your new Farmhouse Bench.
[Picture of finished project]

Thanks for reading and until next time Good Making!
Bill
Link to my Easy To Build Farmhouse Bench With Plans Video https://youtu.be/7S9SpDErJ5Y
Link to my Card Scraper Video https://youtu.be/V91fP_h6U4w
Link to my Card Scraper Blog https://30minutewoodshop.com/?p=93
Tools you may need
Wixey Digital Angle Gauge https://amzn.to/3xqyrrc
Whiteside 1/8-Inch Round Over Bit https://amzn.to/38HKiqd
Gerber Prybrid X, Pocket Knife https://amzn.to/3rnw2cR
Note – these are affiliate links


