Boy, I do a lot of projects for friends, and this is no exception. A close friend saw the Barrel Stave Whiskey Shelf (link here) and asked If I could make him a Whisky Display to complement his dinning room sideboard. Currently his whiskeys are jumbled up and he wanted a place to organize and display and easily access them.
And follow this link to my Video to see how it is done. VIDEO LINK
Tools and Materials
Materials are straight forward. You will need about 3.5 Board Feet of lumber. I chose Cherry with some figure to add a bit of interest. Tools are minimal – If you are using S4S lumber (surfaced four sides) from a big box store you need capability to crosscut and rip to size.

Material Prep and Cutting
I you are using raw lumber you will need to prep it with a Jointer and Thickness Planer. My material was S2S (surfaced two sides) which means I started my material prep with jointing the edges.


Once I had the edges squared up I cross cut the cherry to 36”

Then Ripped two 4” wide pieces for the shelves and ripped the two back pieces.

If you are following along, at this point you should have 2 shelves, 1 upper back and 1 lower back. Next you will need to create the two sides which are just “steps” to carry the shelves.
Finally, you need to cut the upper and lower backs to length. These parts are not needed if you want the whiskey display to be open.
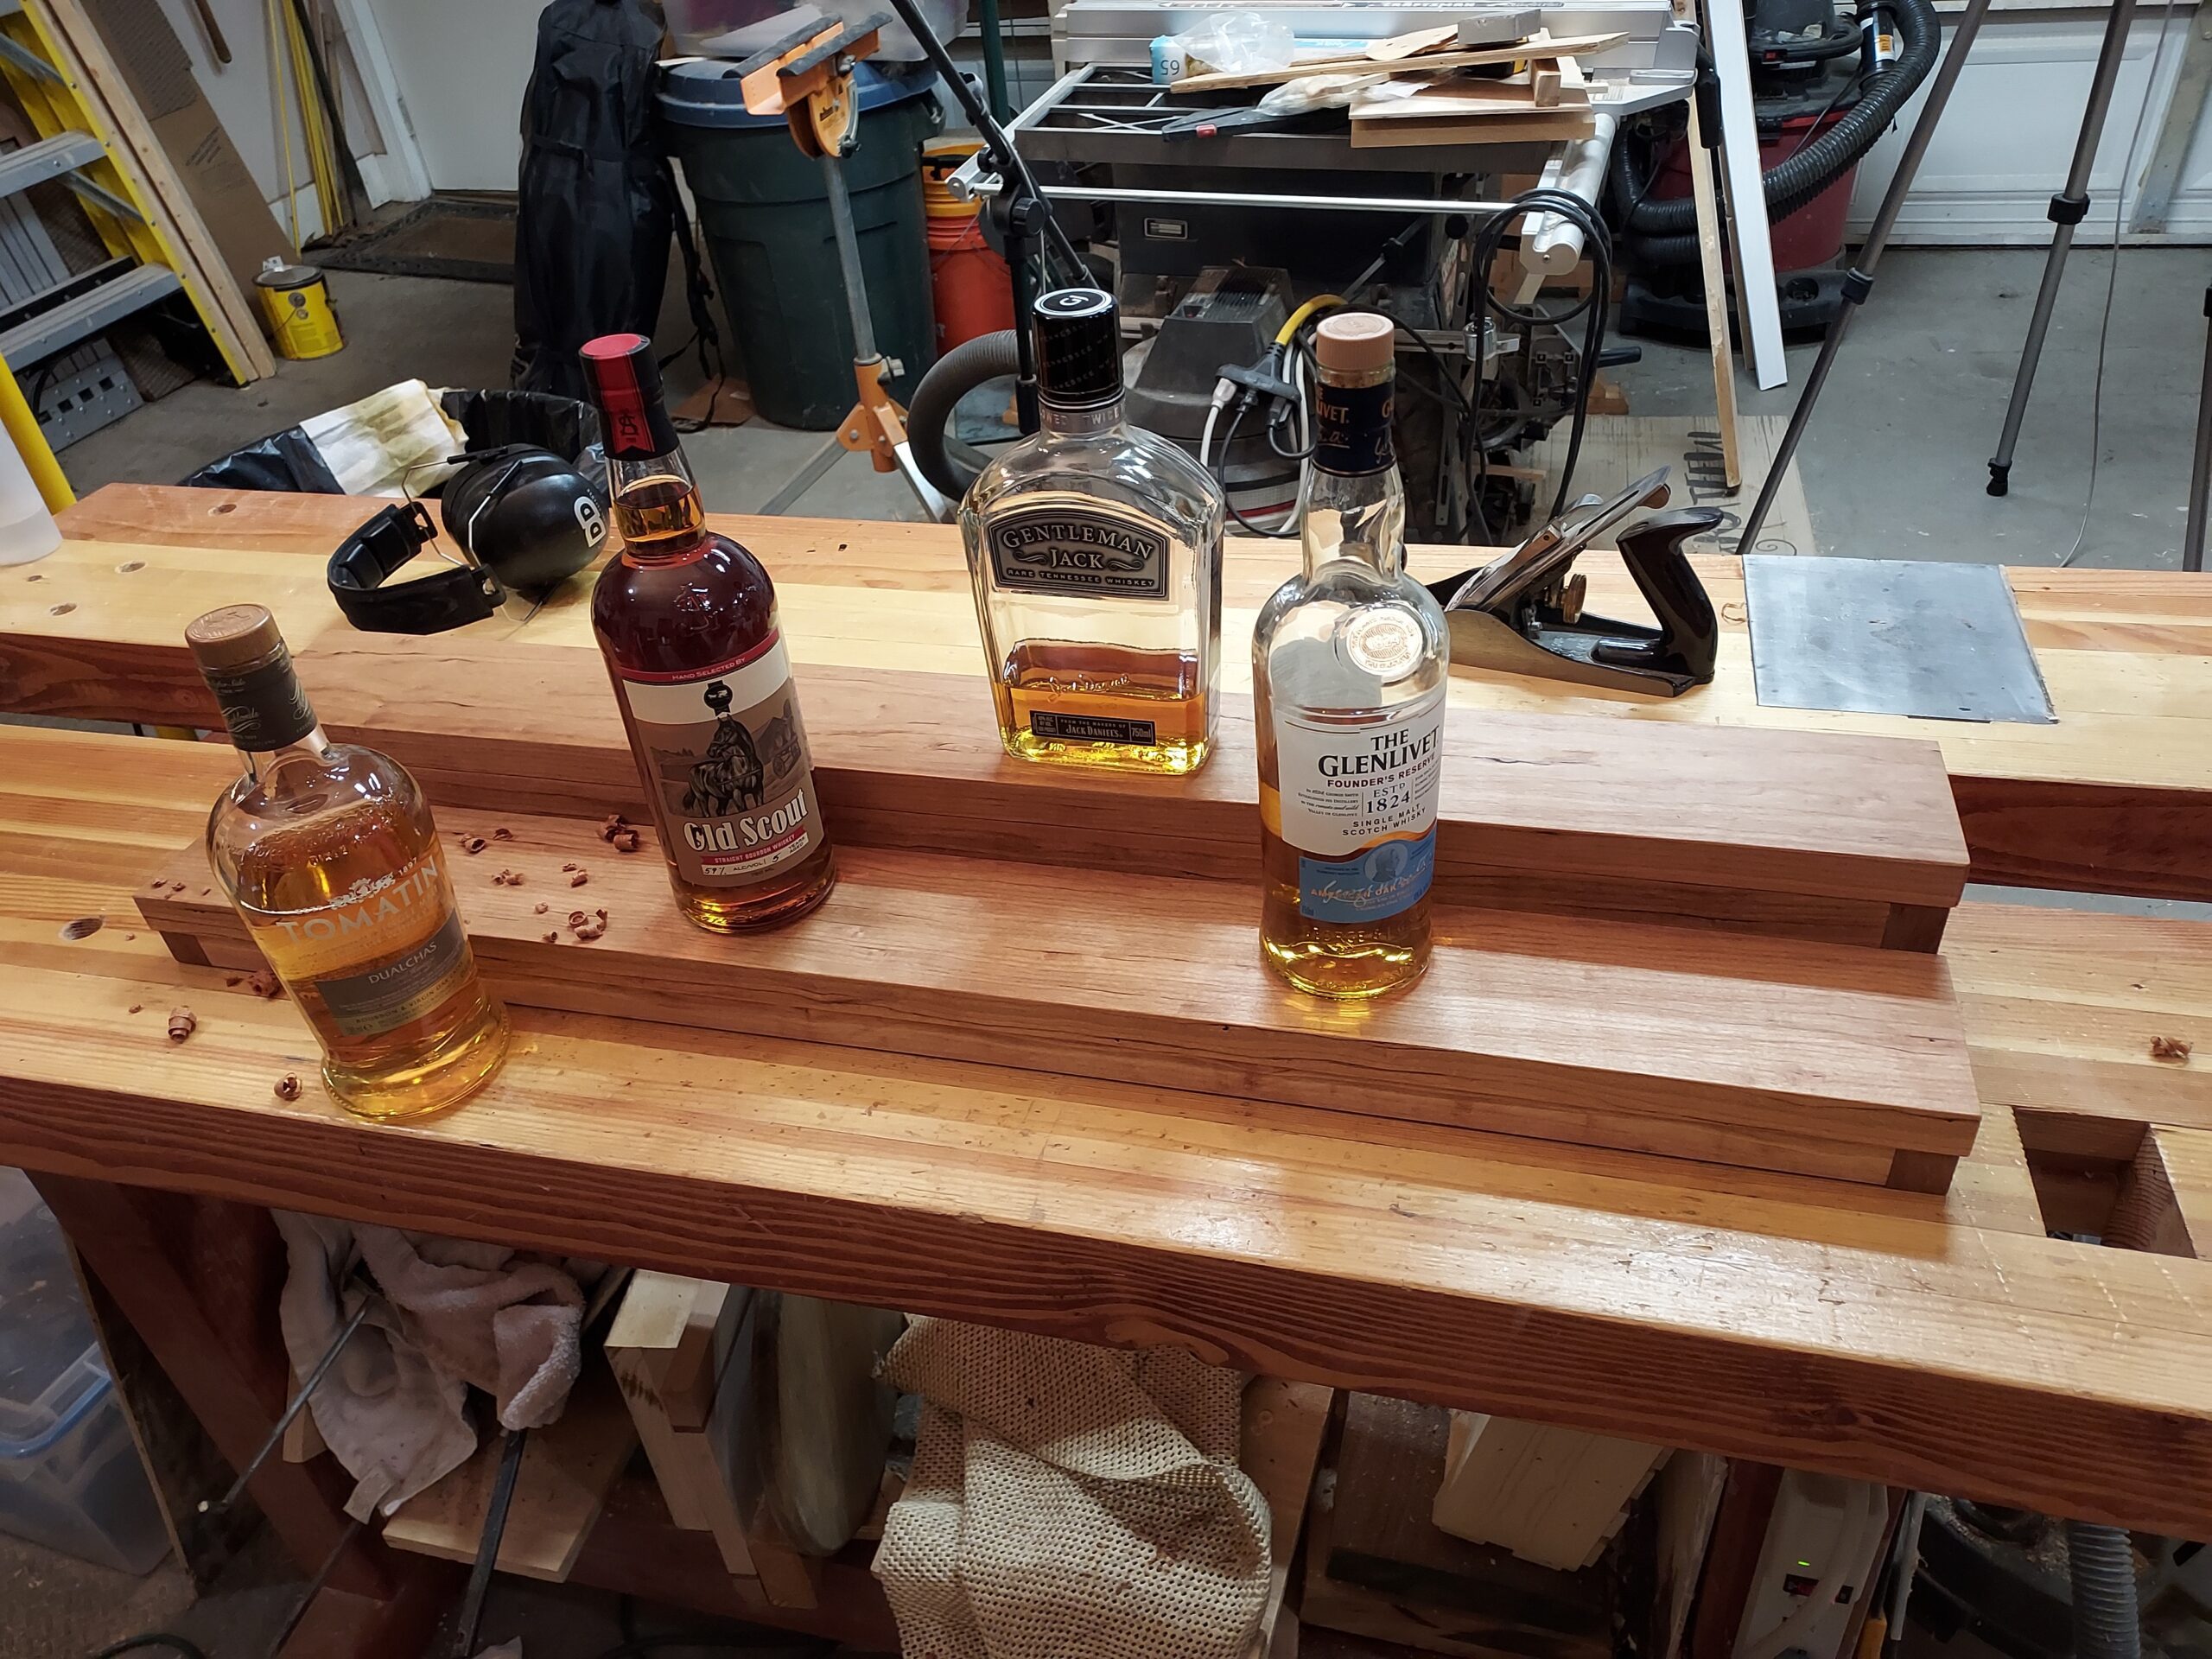
At this point you should do a quick dry fit to make sure everything fits properly. Just stack and clamp the parts in their relative position and look for potential issues. I did mine with several bottles just to check the fit.

Sanding
Sanding is a quick operation. If you are using S4S lumber then hit it with 220 grit and you should be good. I would suggest that after your first sanding dampen the surface, let it dry and then sand a second time. Wetting the surface will raise the grain so the second time you sand you will achieve a smoother surface.
In my case there were a few burn marks on the cut edges that needed to be sanded out.

Assembly
Assembly is nothing more than a glue and clamp. As I used 4/4 (1”) material I had a lot of surface area so I did not use mechanical fasteners.

Finishing
You have many choices in finishing. With Cherry it will, over time, naturally darken. But, I started with a Minwax Pecan stain just to tone down the red color.

For a protective coating I used 3 applications of hand rubbed Boiled Linseed Oil. I chose BLO because this really should not be exposed. Then I finished it with a couple of coats of Johnson’s Paste Wax. Over the coming years the sunlight and paste wax will give a deep rich finish.

Closing and congratulations
Wahoo – you are done!! This is a Whiskey Display to make you proud and something you can brag about every time you have friends show up for a glass of whiskey.

Thanks for reading and until next time Good Making!
Bill
Whiskey Display Video https://youtu.be/vVuqMnA4IPo
Bourbon/Whiskey Shelf Video https://youtu.be/ggMIH50ggAY
DIY Cigar and Whiskey Butler Video https://youtu.be/PR0C5dOrO2E
Barrel Stave Bottle Opener Blog https://30minutewoodshop.com/barrel-stave-bottle-opener/
Easy DIY Whisky and Cigar Butler https://30minutewoodshop.com/easy-diy-whisky-and-cigar-butler/
Tools and Materials you may need
BOSTITCH Air Compressor Combo Kit https://amzn.to/3C9bZ8i
SUIZAN Japanese Flush Cut Saw https://amzn.to/3CphEav
PORTER-CABLE Random Orbit Sander https://amzn.to/3QJQn6d
Air Blow Gun with Adjustable Nozzle https://amzn.to/3qeG4Mx


