DIY Easy to Build Wood Vegetable Crate

I recently built a couple of farmhouse style pieces, with the rustic farmhouse bench being my favorite. It’s a great place for the kids to take off their shoes. But you need a place to put their shoes. With that in mind, I decided to make this easy to build wood vegetable crate with only a few tools and inexpensive wood. It is a very light weight crate and still very strong.
Tools and Materials
For tools you really only need a saw, a tape measure, a square, and some sandpaper. Power tools are of course faster. I used my radial arm saw, orbital sander, and air nailers. (links below)

Materials are pretty straight forward. The drawing calls for 1-3/4” wide slats which are milled from a 2x4s. In my video, I show an alternative using 1-1/4” garden stakes and lath strips. The lath and garden stakes are much easier.

Cutting
If you are going the 2×4 route, crosscut 3 pieces to 12-1/2” and strip off 10 slats 1/4” thick. Cut 2 more at 12-1/2” and then cut to 1-3/4”x 1-3/4” square. Repeat the process for 4 more 1-3/4”x 1-3/4”x 10” pieces. Next cut 5 sections 21” long and strip off 15 slats 1/4″ thick.
4 short end piece 10”
4 long end pieces 12-1/2”
10 end slats 12-1/2”
15 slats for sides and bottom 21”
Should you choose to use lath and garden stakes the process is much faster, just cut to length and add 2 additional 12-1/2” slats and 3 additional 21” slats. These make up for the 1/2″ difference in width.

Sanding
The parts only need a quick sanding with 220 grit on all sides. This is very important for the lath as it is rough sawn and has a lot of fur on the surface that needs to get sanded off.
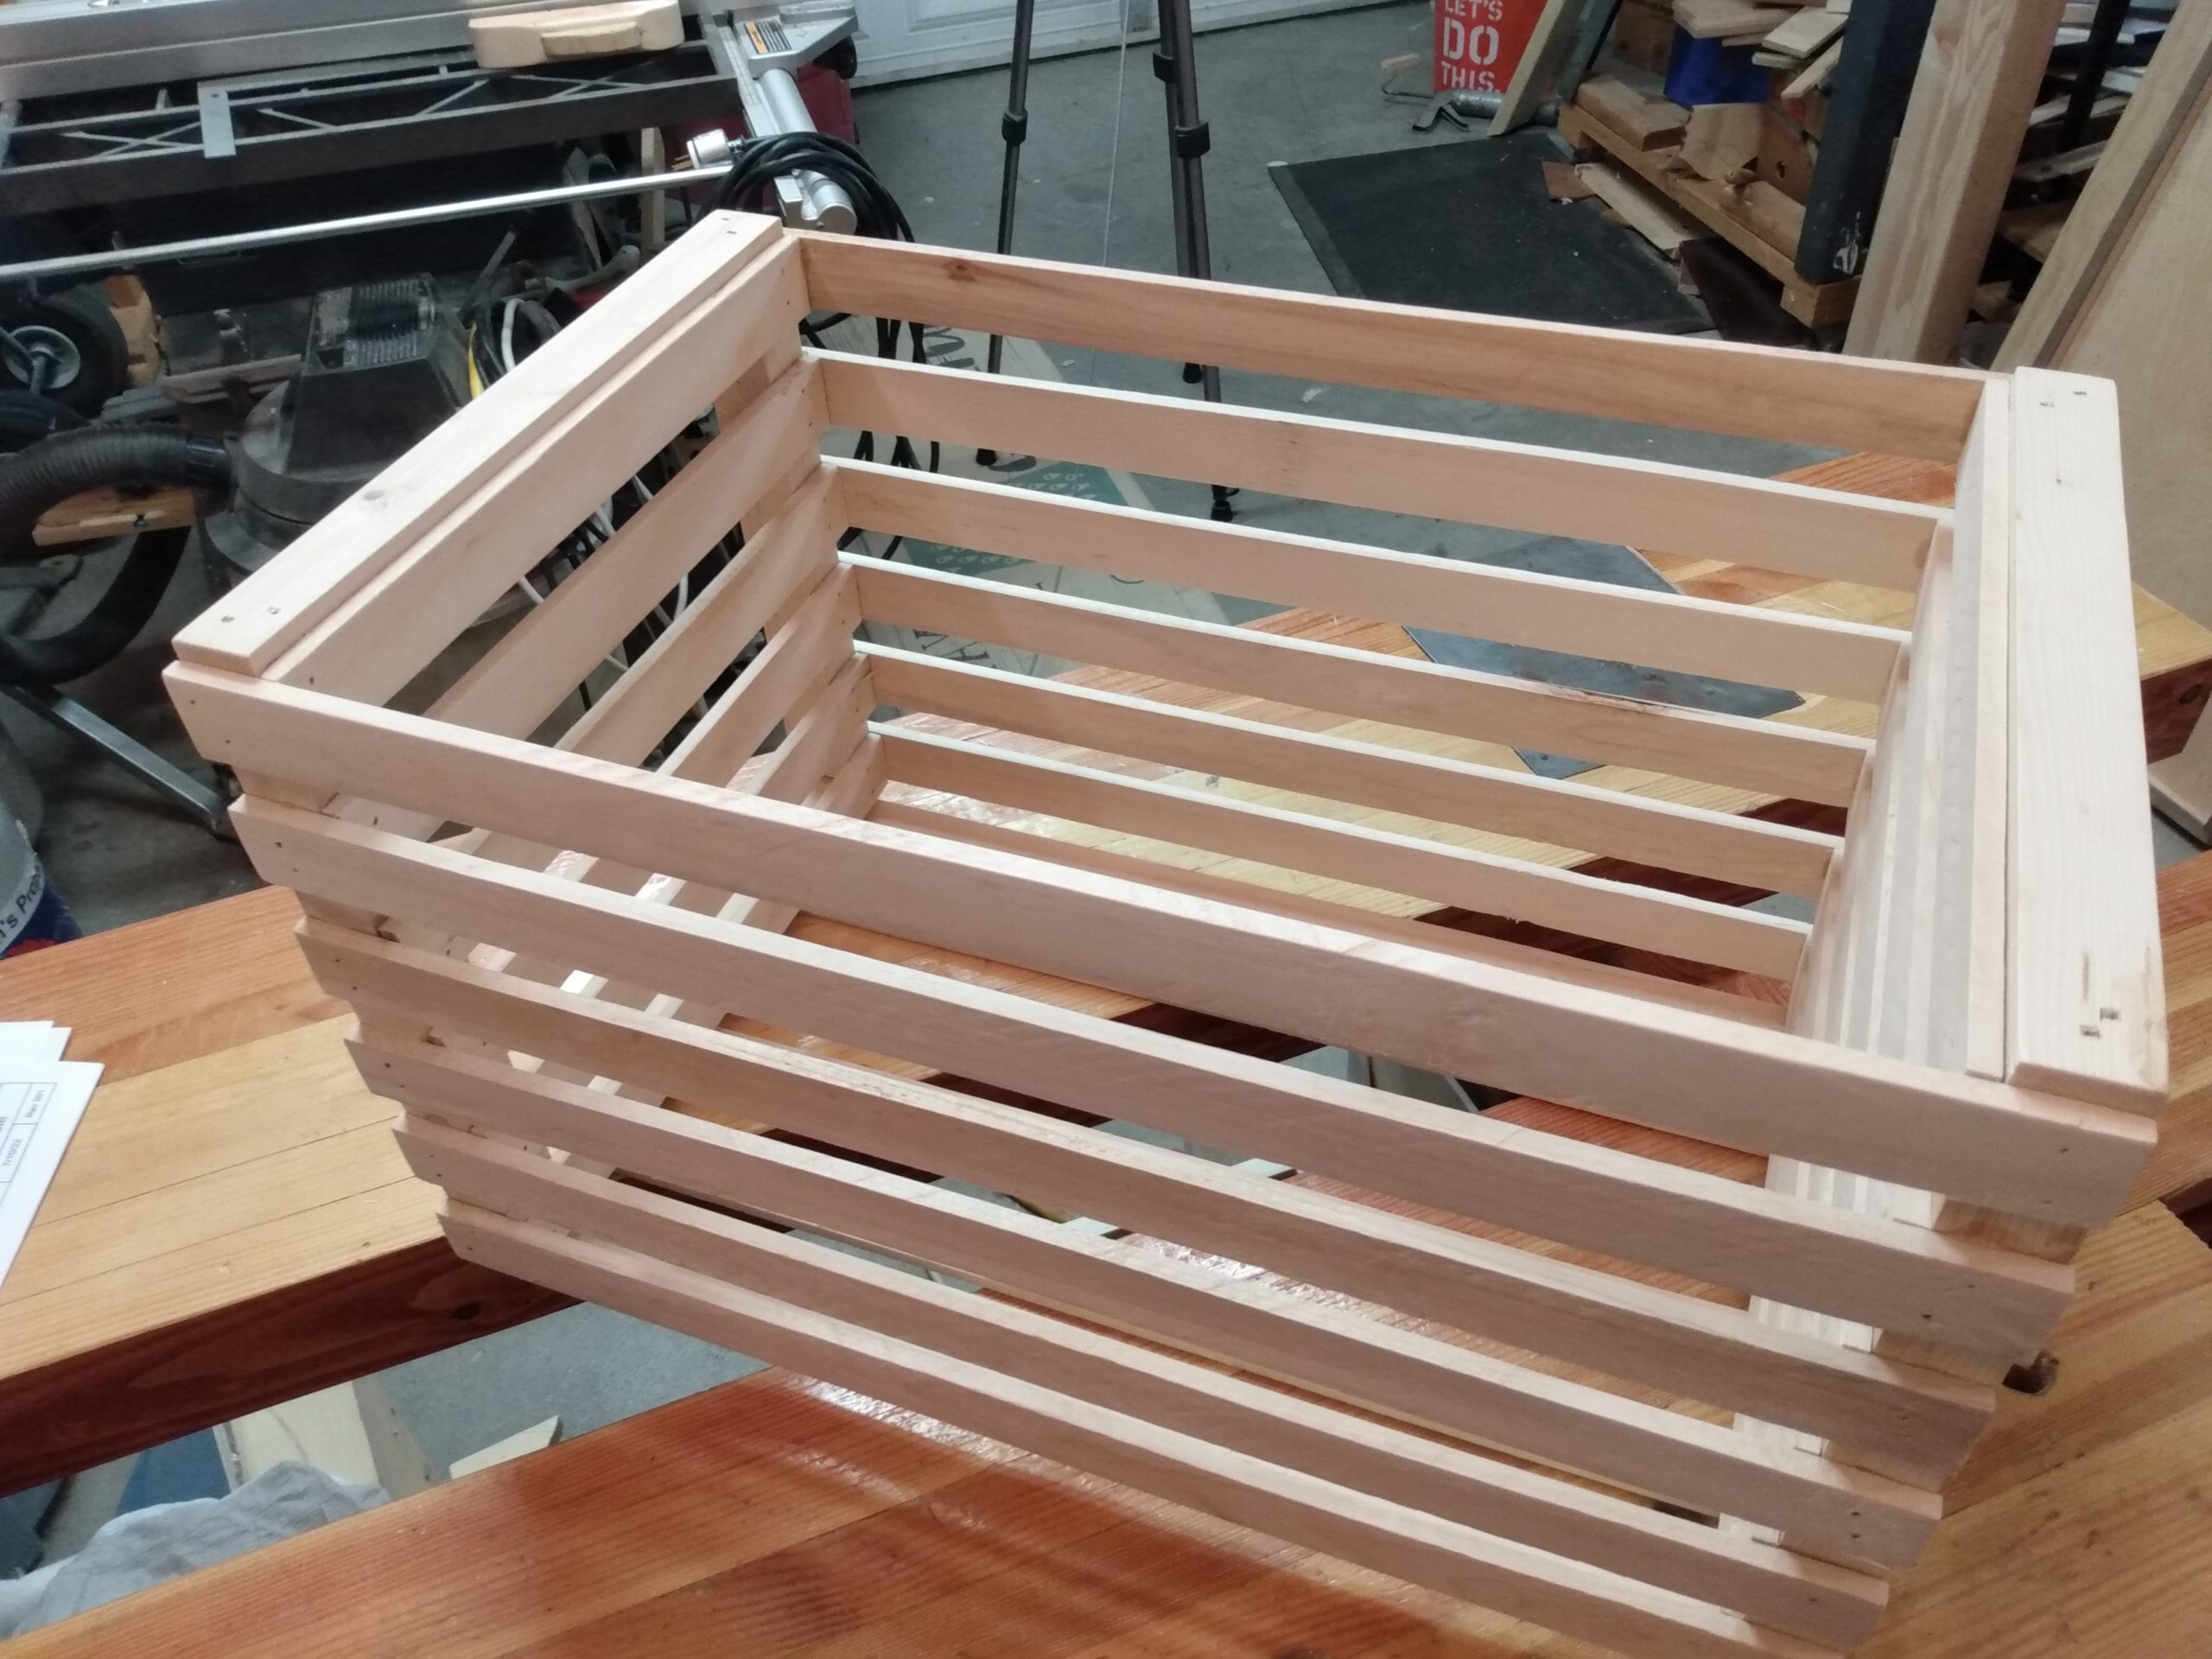
Assembly
Assembly is quick. Glue and nail the end pieces with 2-1/2” 16 ga nails making sure the joints are flush. Next apply a glue and nail the end slats in with the first and last set in 1/4″ from the top and bottom edge. Distribute the remaining slats evenly and glue and nail them down using 18ga ¾” nails. There are links at the bottom for 16 ga and 18 ga air nailers and nails.


Next glue and nail top and bottom slats inset 1/4” from top and bottom. Repeat the installation of the two outer most slats on the bottom and side distribute the remaining slats evenly then glue and nail in place.

Finishing
You can finish this as you feel then need. I preferred to leave it natural.
Congratulations
And if you‘ve made it this far and completed the project – congratulations!!
[Picture of finished project]

Thanks for reading and until next time Good Making!
Bill
Links
DIY Wood Farmhouse Crate Video https://youtu.be/rWg2My_aqLA
DIY Garden Tote https://youtu.be/_brQVu1DVfg
How to Make a Farmhouse Coat Rack Video https://youtu.be/spj8z6rixXI
Easy Farmhouse Bench Video https://youtu.be/7S9SpDErJ5Y
Farmhouse Bench Blog https://30minutewoodshop.com/?p=267
Tools you may need
BOSTITCH Air Compressor Combo Kit https://amzn.to/3C9bZ8i
Finish Nails, Bright, 2-1/2-Inch, 16GA https://amzn.to/3pormCe
Bostitch BT1303B 3/4″ 18-Gauge Brad Nails https://amzn.to/3w60x9k
SUIZAN Japanese Flush Cut Saw https://amzn.to/3CphEav
PORTER-CABLE Random Orbit Sander https://amzn.to/3QJQn6d


