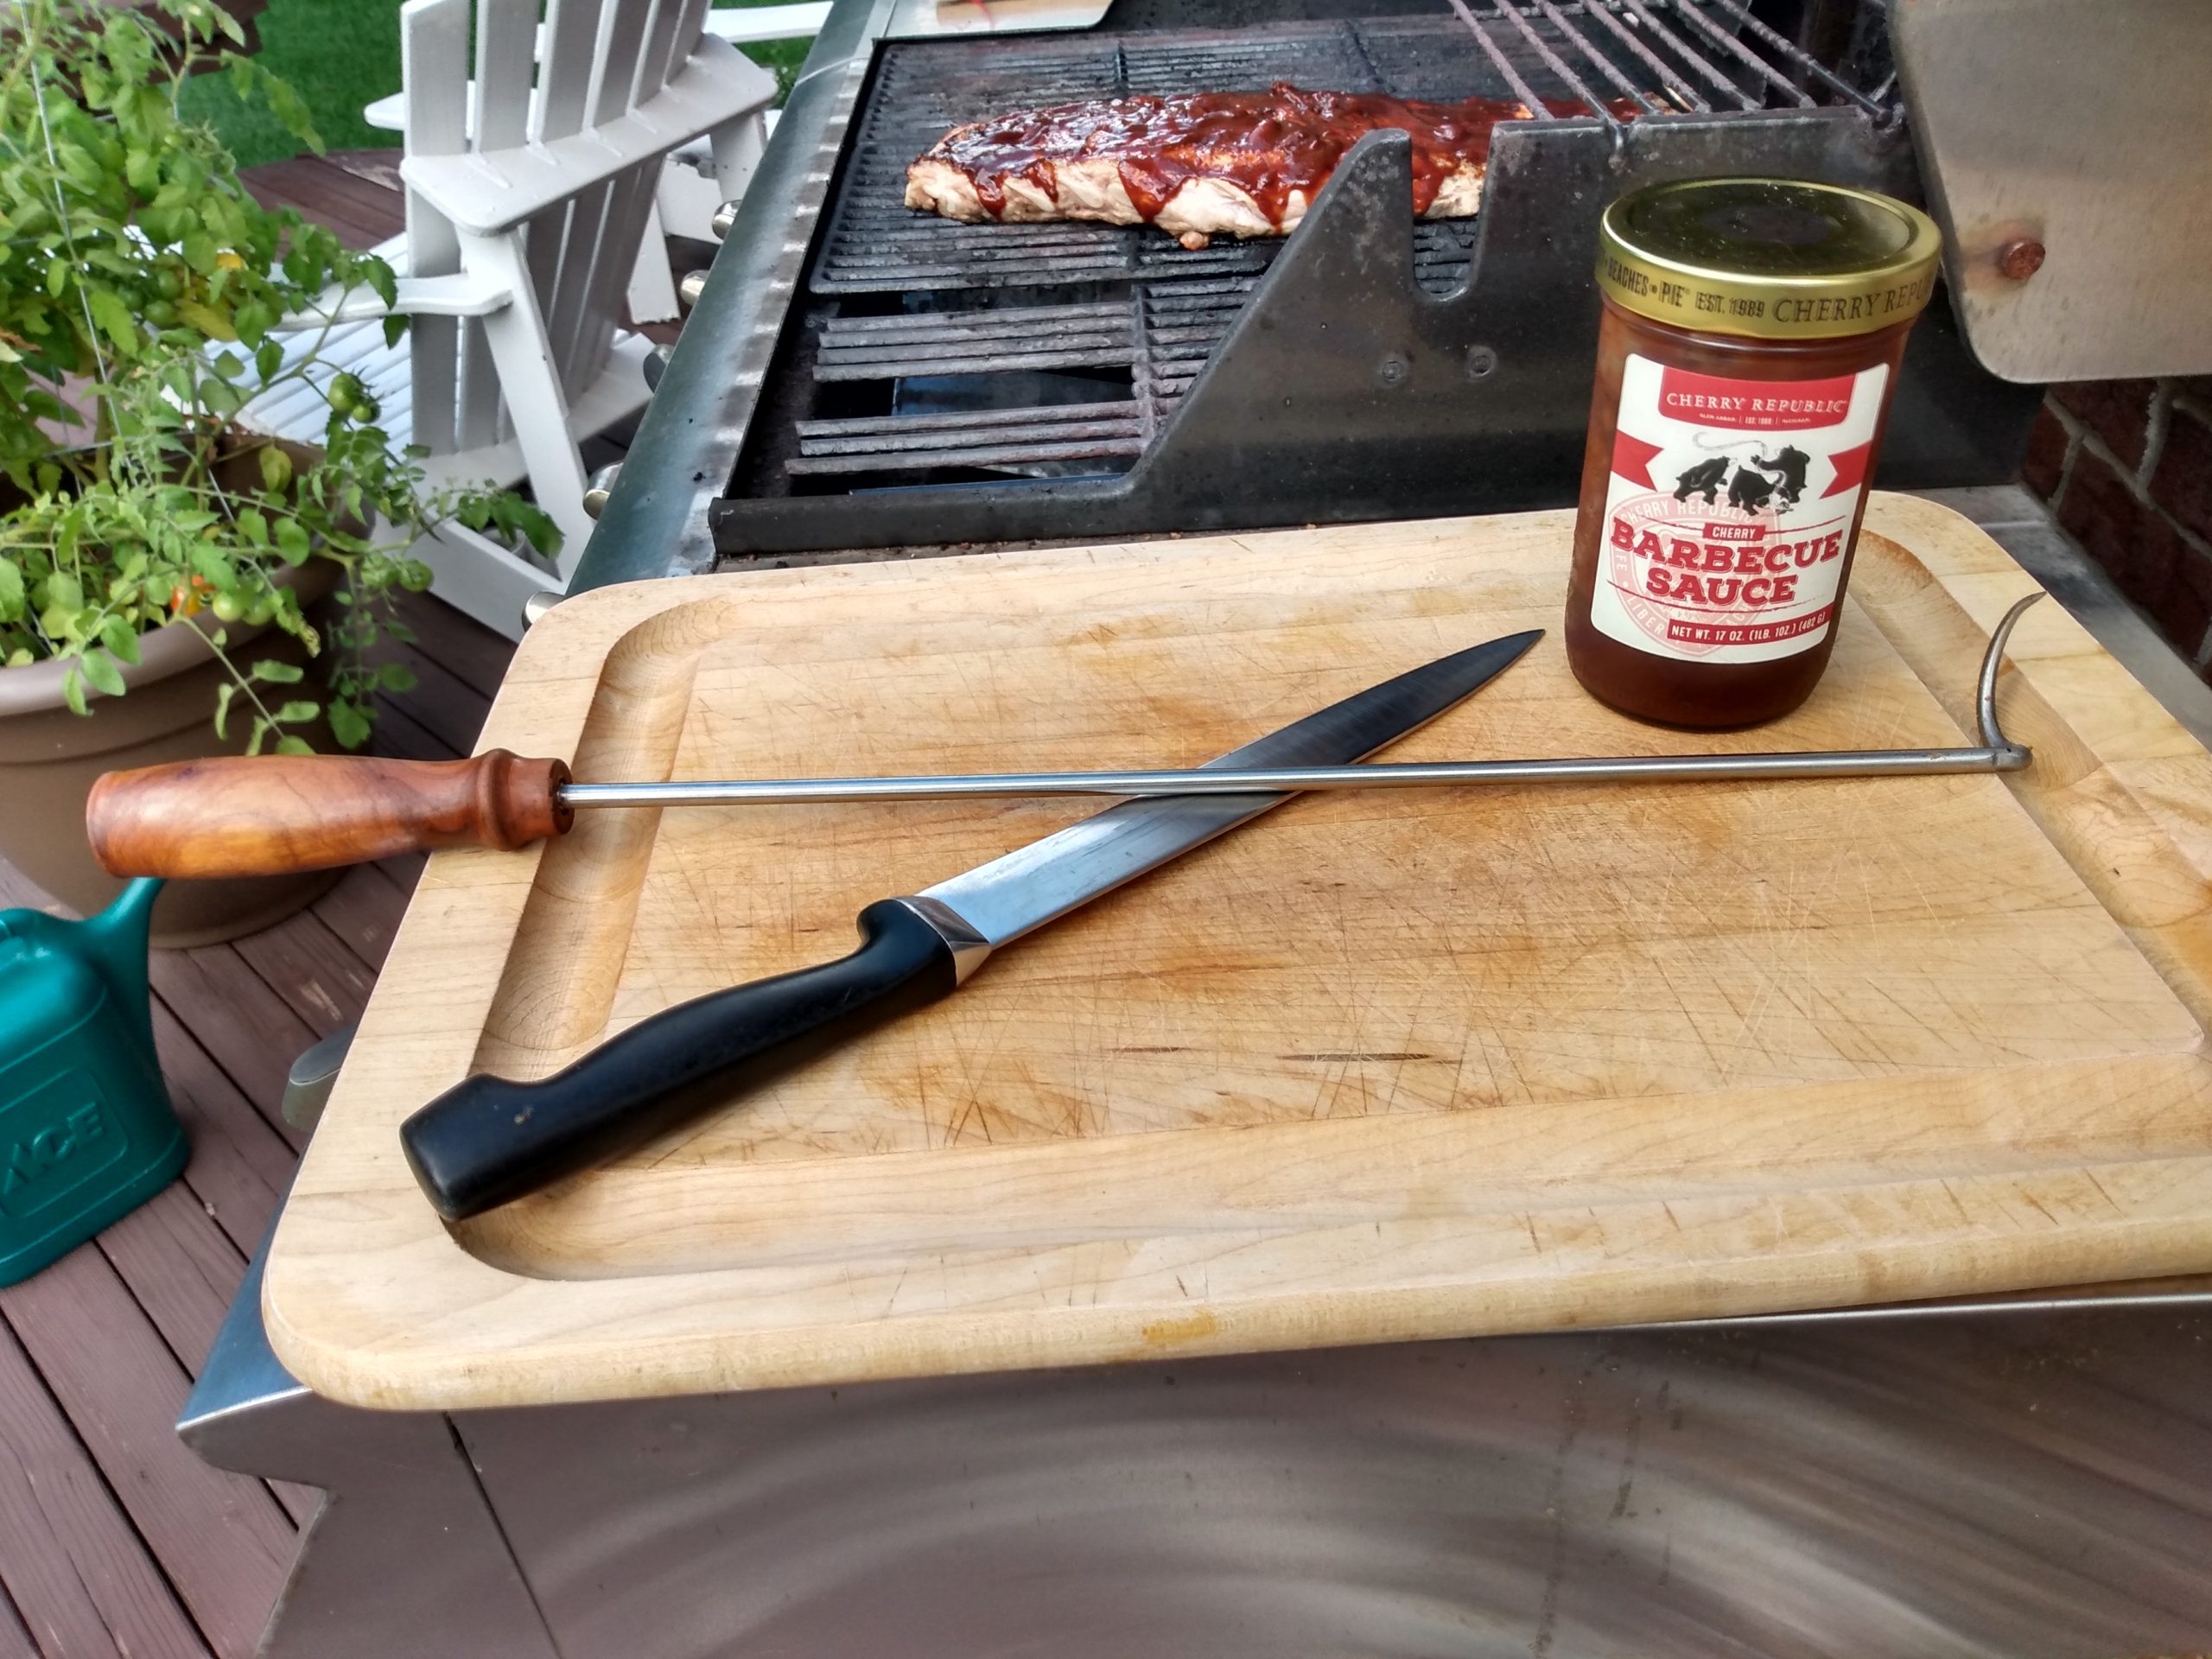
Ok Ladies and Gents – just about everyone likes grilling and BBQ. And making that job easier is a $1Bn business with all kinds of items, things, tools, apps and whatnot. But what if you could change your grill life forever with only one thing? Well this BBQ Grill Pigtail Flipper is just the thing. A BBQ Grill Pigtail Flipper is easy to use for flipping, turning, and arranging meats and veggies on your grill. It can easily turn steak, chicken, sausage, corn, potatoes, zucchini, and pretty much anything else. This is so easy to make and use you will be giving them out for Christmas, Birthday, and even 4th of July. Check out the first part of my video to see how easy it is to use.
Subscribe to my YouTube channel HERE
Tools & Materials
The first thing you will need to get is a Pigtail kit. I recommend the one from Woodcraft (link below). It’s pretty inexpensive, made of stainless steel, and very durable. Next you need some wood for the handle. Easiest is to go out to a wood pile and snag a 1-1/4” diameter branch about 6” to 7” long. I’m using a lathe the turn my handle from an Ironwood branch. If you don’t have a lathe you can use a block plane, be sure it is sharp, and few files and some sandpaper. You also need a drill to drill a hole at one end for the threaded insert that comes with the kit.


Layout
Sorry all, no drawings or sketches for this project because it is so simple and quick. Writing this Blog is taking longer than the build out.
Start with you branch and grab a center finder tool. A link to a good one is at the bottom. Next, mark 5-7 lines on each end and mark the center. You will need to do it 5-7 times because the branch is probably not round.
Once you have marked the center, drill a hole to fit your threaded insert on one end. On the other end you may need to pre-drill for your drive center.
You may have to measure the root diameter of the insert to get a good fit. To do that, use a set of digital electronic calipers. You owe it to yourself to buy a good set – they will last a lifetime. I have a set of Mitutoyo Digital Calipers. Don’t buy cheap ones – they suck. Link at the bottom for a good set.
TURNING
Now you can chuck your piece. I used a 4-spur drive center and a 60-degree live center. Rough out your handle to your liking then use a skew to smooth it out

SANDING.
Sand down through the grits to at least 400 – I went down to 600 grit.

FINISHING
Choose your finish and apply. I used HUT friction polish but that seems to no longer be available so I’m switching to Myland’s Friction Polish. (Link below)

Once you are done with your finishing, part off your new handle and sand and finish the ends. I used a Robert Sorby 1/16” Thin Kerf Parting tool and boy does that work well.
ASSEMBLY
Time to epoxy in the insert. Mix a small amount of “5 Minute” epoxy and smear it on the threads (OUTSIDE THREADS). Screw in the insert and be sure you wipe off any excess epoxy.
Assembly note: DO NOT USE THE PIGTAIL TO THREAD THE INSERT IN. It may get epoxy on it and you will never get it out.
Give it about 10-15 minutes to cure and then spray WD40 on to the Pigtail Threads and screw it in

Congratulations
Wahoo – you are done!! The BBQ Grill Pigtail Flipper is complete and ready to hit the grill.

Thanks for reading and until next time Good Making!
Bill
DIY BBQ Grill Pigtail Turner Video https://youtu.be/IJzpStkVqVU
DIY Custom Cocktail Muddler Video https://youtu.be/L4wDmxv6Nh4
Barrel Stave Whiskey Shelf Blog https://30minutewoodshop.com/barrel-stave-whiskey-shelf-you-can-make/
DIY Custom Cocktail Muddler Blog https://30minutewoodshop.com/how-to-turn-a-cocktail-muddler/
Tools & Material you may need
MT2 60 Degree Live Center https://amzn.to/3Sj0sIQ
5 Minute Epoxy https://amzn.to/3R6H5kx
Woodcraft Pigtail Kit https://www.woodcraft.com/products/10-stainless-steel-bbq-pig-tail-flipper-turning-kit
Mitutoyo Digital Calipers https://amzn.to/3dErI5d
Robert Sorby 1/16” Thin Kerf Parting tool https://amzn.to/3ScH3cm


