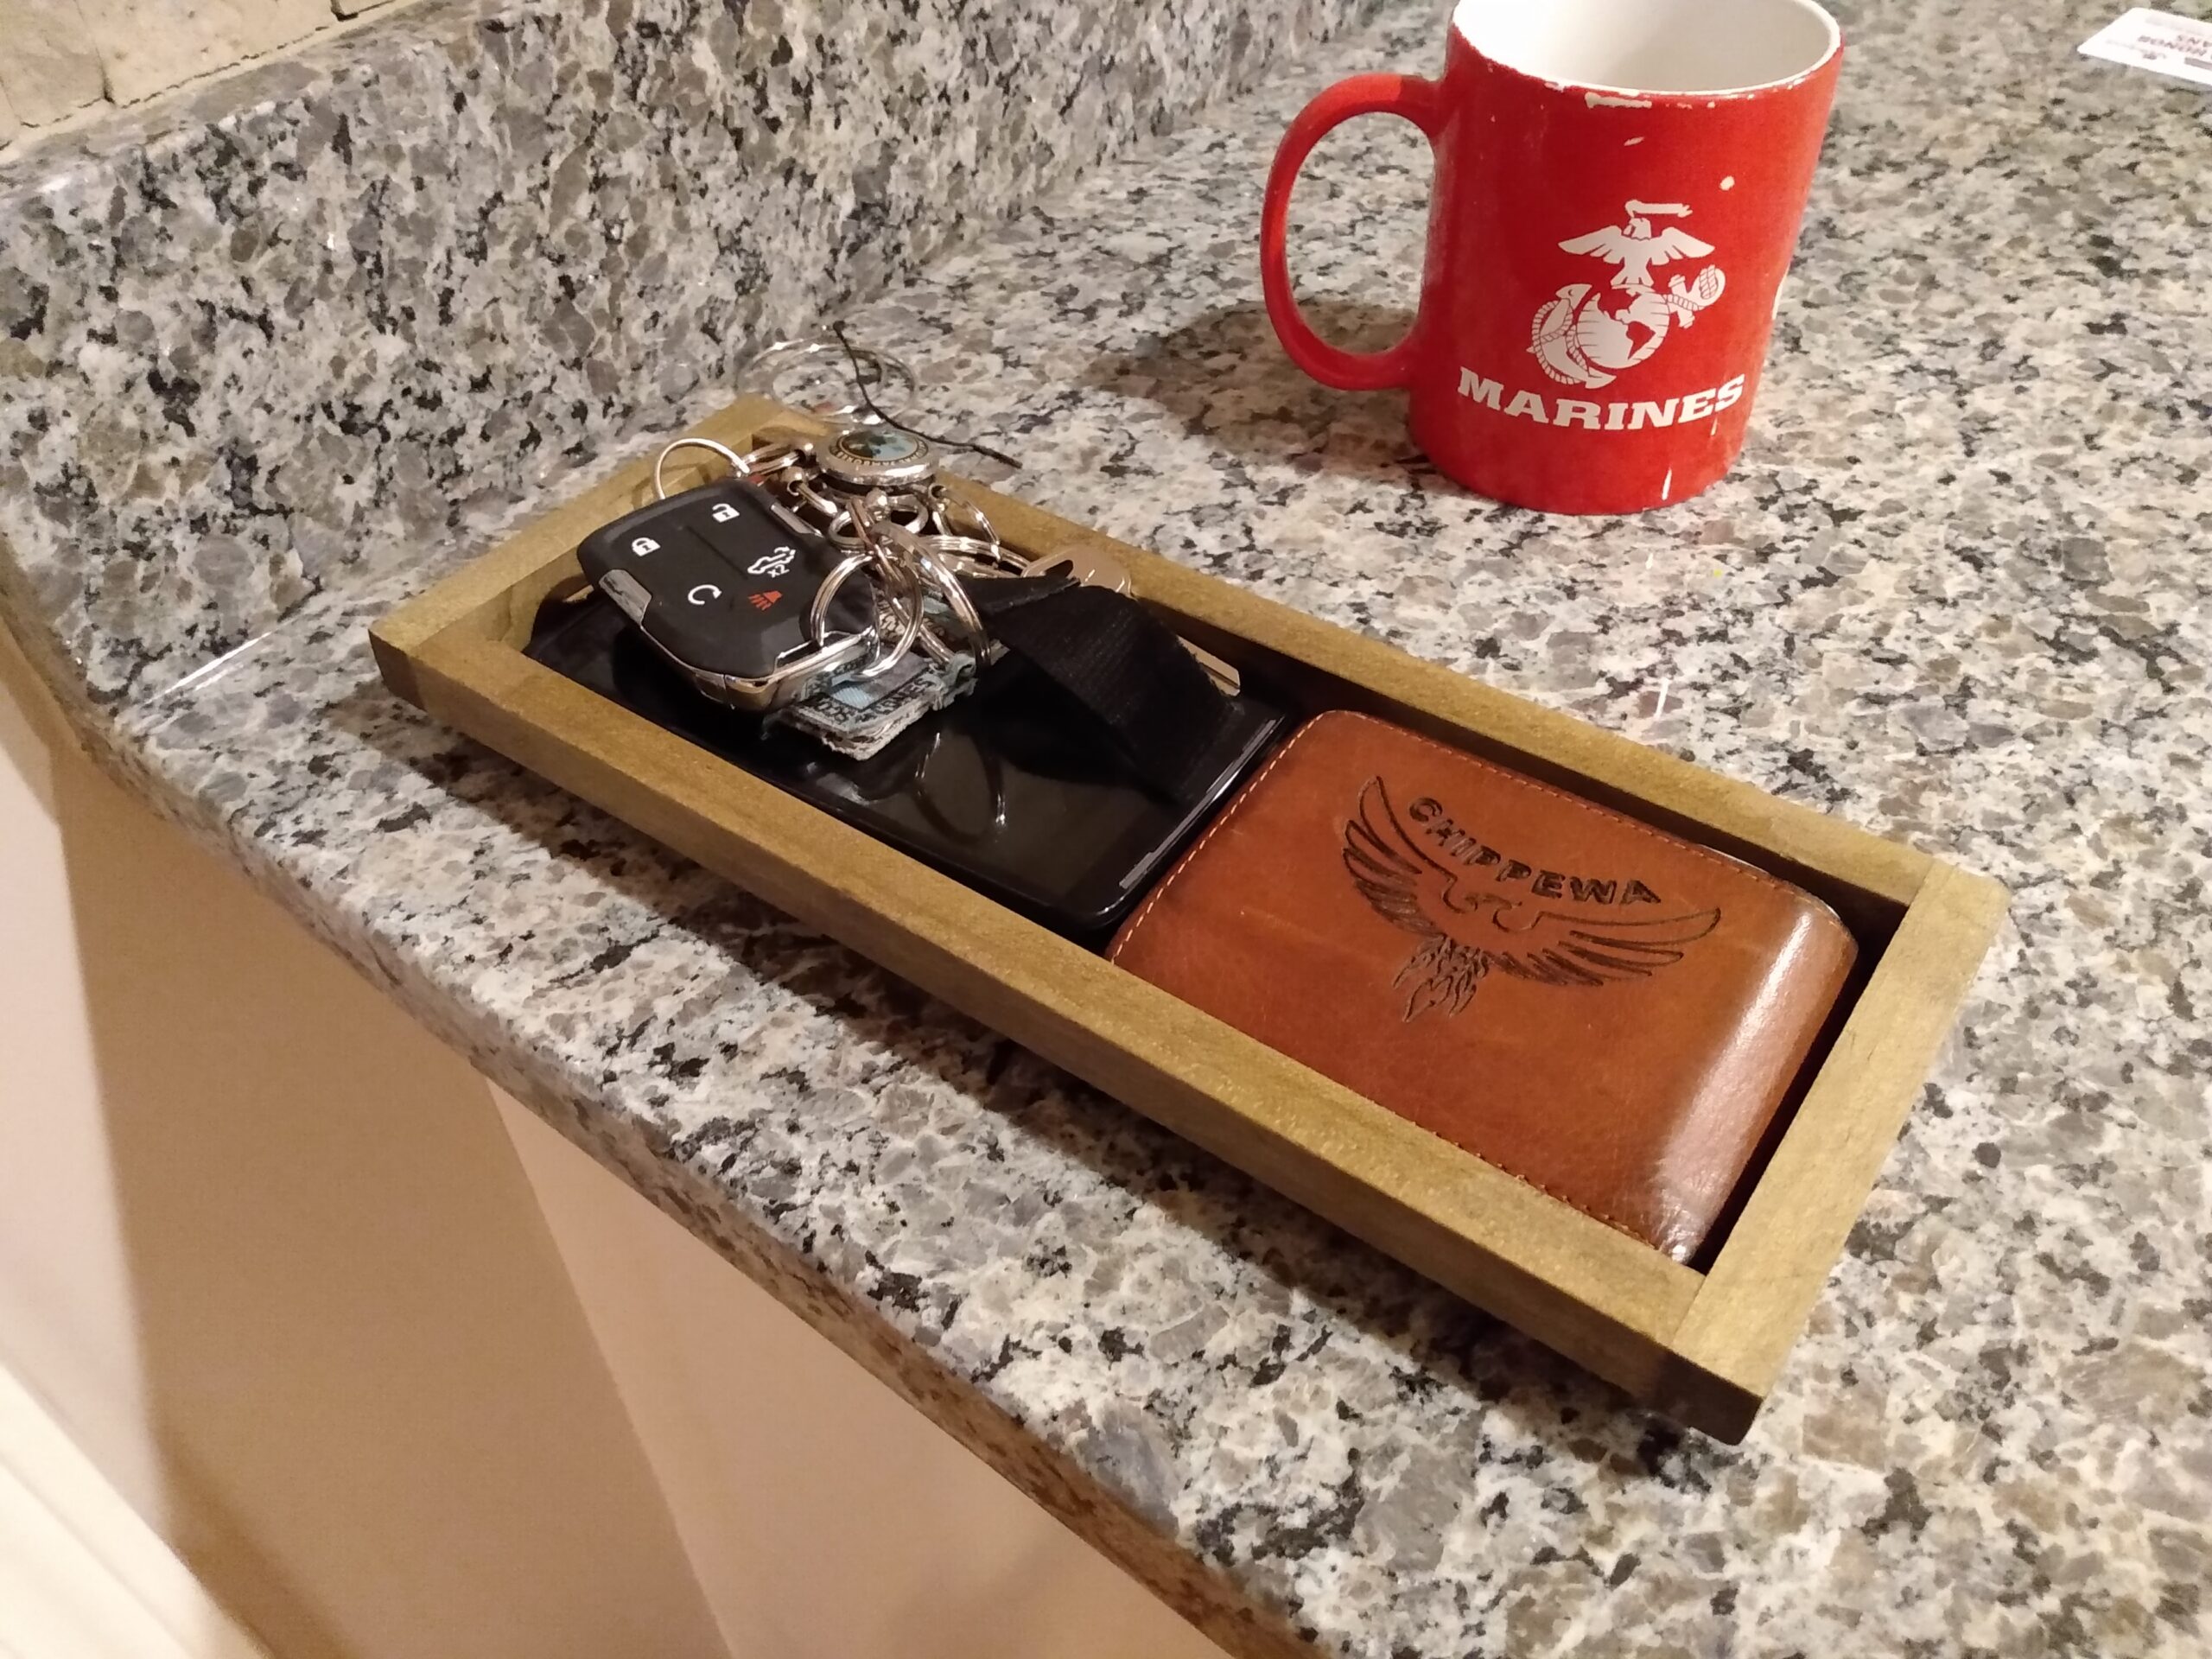

This is how to build a personal valet tray. It is a neat little project that is quick and easy. This valet tray makes an excellent Christmas, Birthday, or Father’s Day gift and has a high margin if you were to sell it on Market Place or Etsy. Complete links to tools and materials are at the bottom.
Tools and Materials
Tools: You only need a few tools and it can be completed using only hand tools. Here are the basic tools you will need to have: a saw, tape measure, pencil, square, four 6” clamps, two 12” clamps and a sanding block. I’m using a Table Saw and a Radial Arm Saw but you can do it exclusively with a hand saw.


Materials: a 6” x 24” x ½” piece of Poplar or other wood like Maple or Walnut, 5”x12” piece of leather, 5” x 12” x ¼” piece of plywood, glue, sandpaper, nitrile gloves, wipe on Poly finish, and stain. I suggest getting most of this at a big box store or local lumber yard, but links are at the bottom if you want to order all of it.
Cutting

Basic dimensions of the tray are 5” x 11” x 1-5/8”. Both sides and ends lay directly on top of the bottom without a rabbet to recess it. The first thing to do is to cut the poplar into strips 1-1/8” x 24 x1/2”. This is best done on a Table Saw but can be accomplished by hand also. So set your table saw fence at 1-1/8″ and rip off a 2 foot strip.
Next, cut the plywood to 5” in width. And then we need to cut all pieces to length. Let’s cut the long sides to 10” and short sides to 5” and the bottom to 11”. I’ll use my Radial Arm Saw for this operation. You can use a handsaw or table saw.
SAFETY TIP

If you are using power tools be sure to wear hearing protection and safety glasses. Also read and follow the directions.

Glue up
Glue up is simple. Test fit all the parts first then spread the glue and clamp firmly. Wait until the glue is dry – about 2-3 hours and unclamp.
Tip: If you don’t have a silicone glue mat then lay down a piece of waxed paper.

Edge Route and Sand
With the glue dry we can move to selection of a profile for the bottom. You have lots of option depending on which router bit you have.


Profiling the bottom provides a shadow line at the base. The shadow line lifts your eye and depending on how deep and dark, it makes the piece appear to float. You can of course leave it square. This is a personal design decision which you need to make to suit yourself. I chose a simple cove for mine as it drives the depth and shadow more quickly.
Last in this phase is to sand. My recommendation is hand sand with 220 grit on a sanding block. You really don’t need a coarser grit unless you have a mismatch in parts when you glued. Generally, all of your parts are machined surfaces (assuming you used something other than a handsaw.) They don’t need the 80/120/180/220 grit run through. And DON’T sand past 320 grit. After that you are effectively closing the wood pores and stain/finish will not soak into the wood. Be sure that you sand a small radius on all the sharp edges. A sharp edge will not take finish. Wipe the entire Valet down to rid it of any dust and you are ready to finish.

TIP: If you did use a handsaw check out my post on Card Scrapers. Here > How to sharpen a Card Scraper It will help you clean up saw marks very quickly.
Finish the Valet Tray
Now you are ready to apply a finish. This will be dependent on the wood you choose. Walnut is very dark, Maple very light or some exotic with striped or twisted grain. I started with a dark Poplar and chose two stains. Dark Walnut for the cove and Special Walnut (both from Minwax) for the rest of the Valet. Using Dark Walnut along the cove makes the shadow even deeper and to be frank I’d have gone with Ebony or True Black if I had either. These are generally wiped on then wiped off one or more times to achieve the desired look.
I laid a coat of Wipe On Poly on all surfaces and wiped it off. Dry time for this finish is very short and the finish film is very thin. That works for me but be sure that you consider the finish durability and gloss that suits your intentions. My thin poly looks more like natural wood.
Cut and Glue Leather
The last step in this project is to apply something in the bottom. It is not totally necessary but dropping keys or phone on a softer surface is much quieter. As I knew I wanted leather in the bottom of my Personal Valet Tray I started with a plywood bottom. Your options here are just a varied as your wood choice. There are multiple kinds, colors, and styles of leather or you could choose a thick felt or wool like a tartan. I don’t recommend flocking as it will wear off fairly quickly.
The leather I used was salvaged from one of my wife’s purses. PLEASE ask before you repurpose your wife’s purse. Most women have no sense of humor should they find you have carved up one of their Coach purses. You can also find a purse at one of the thrift stores or buy leather online or at a craft store. I prefer Tandy Leather, because I can pick out exactly what I want.

Once you have cut the leather or felt to fit, glue it in place.
And, you are DONE!! You have completed a beautiful little project for yourself or as a Christmas, Birthday, or Father’s Day gift or possibly a high margin product for Market Place or Etsy.
Thanks for reading – until next time – Good making.
Bill
Tools for the Valet Tray
- Gerber Gear Prybrid X, Pocket Knife https://amzn.to/3JDlVaC
- Nicholson Saw Handsaw,150 Professional https://amzn.to/497WsDr
- Irwin Tools Combination Square https://amzn.to/3p0JiTw
- Jorgensen 12 Inch Bar Clamp 2 pack Heavy-Duty 2 Pack https://amzn.to/3BwBdeq
- Jorgensen 6 inch Bar Clamp Set, 4 Pack https://amzn.to/3BxdWsJ
- Basic Sanding Block https://amzn.to/3sRRpmr
Optional Tools
Materials for the Valet Tray
- Titebond 5004 II Premium Wood Glue, 16-Ounces – 2 Pack https://amzn.to/34TaL2v
- Red Brown Leather Hide 2.0mm Thick Full Grain Cowhide https://amzn.to/3sV14IW
Note: these are affiliate links


