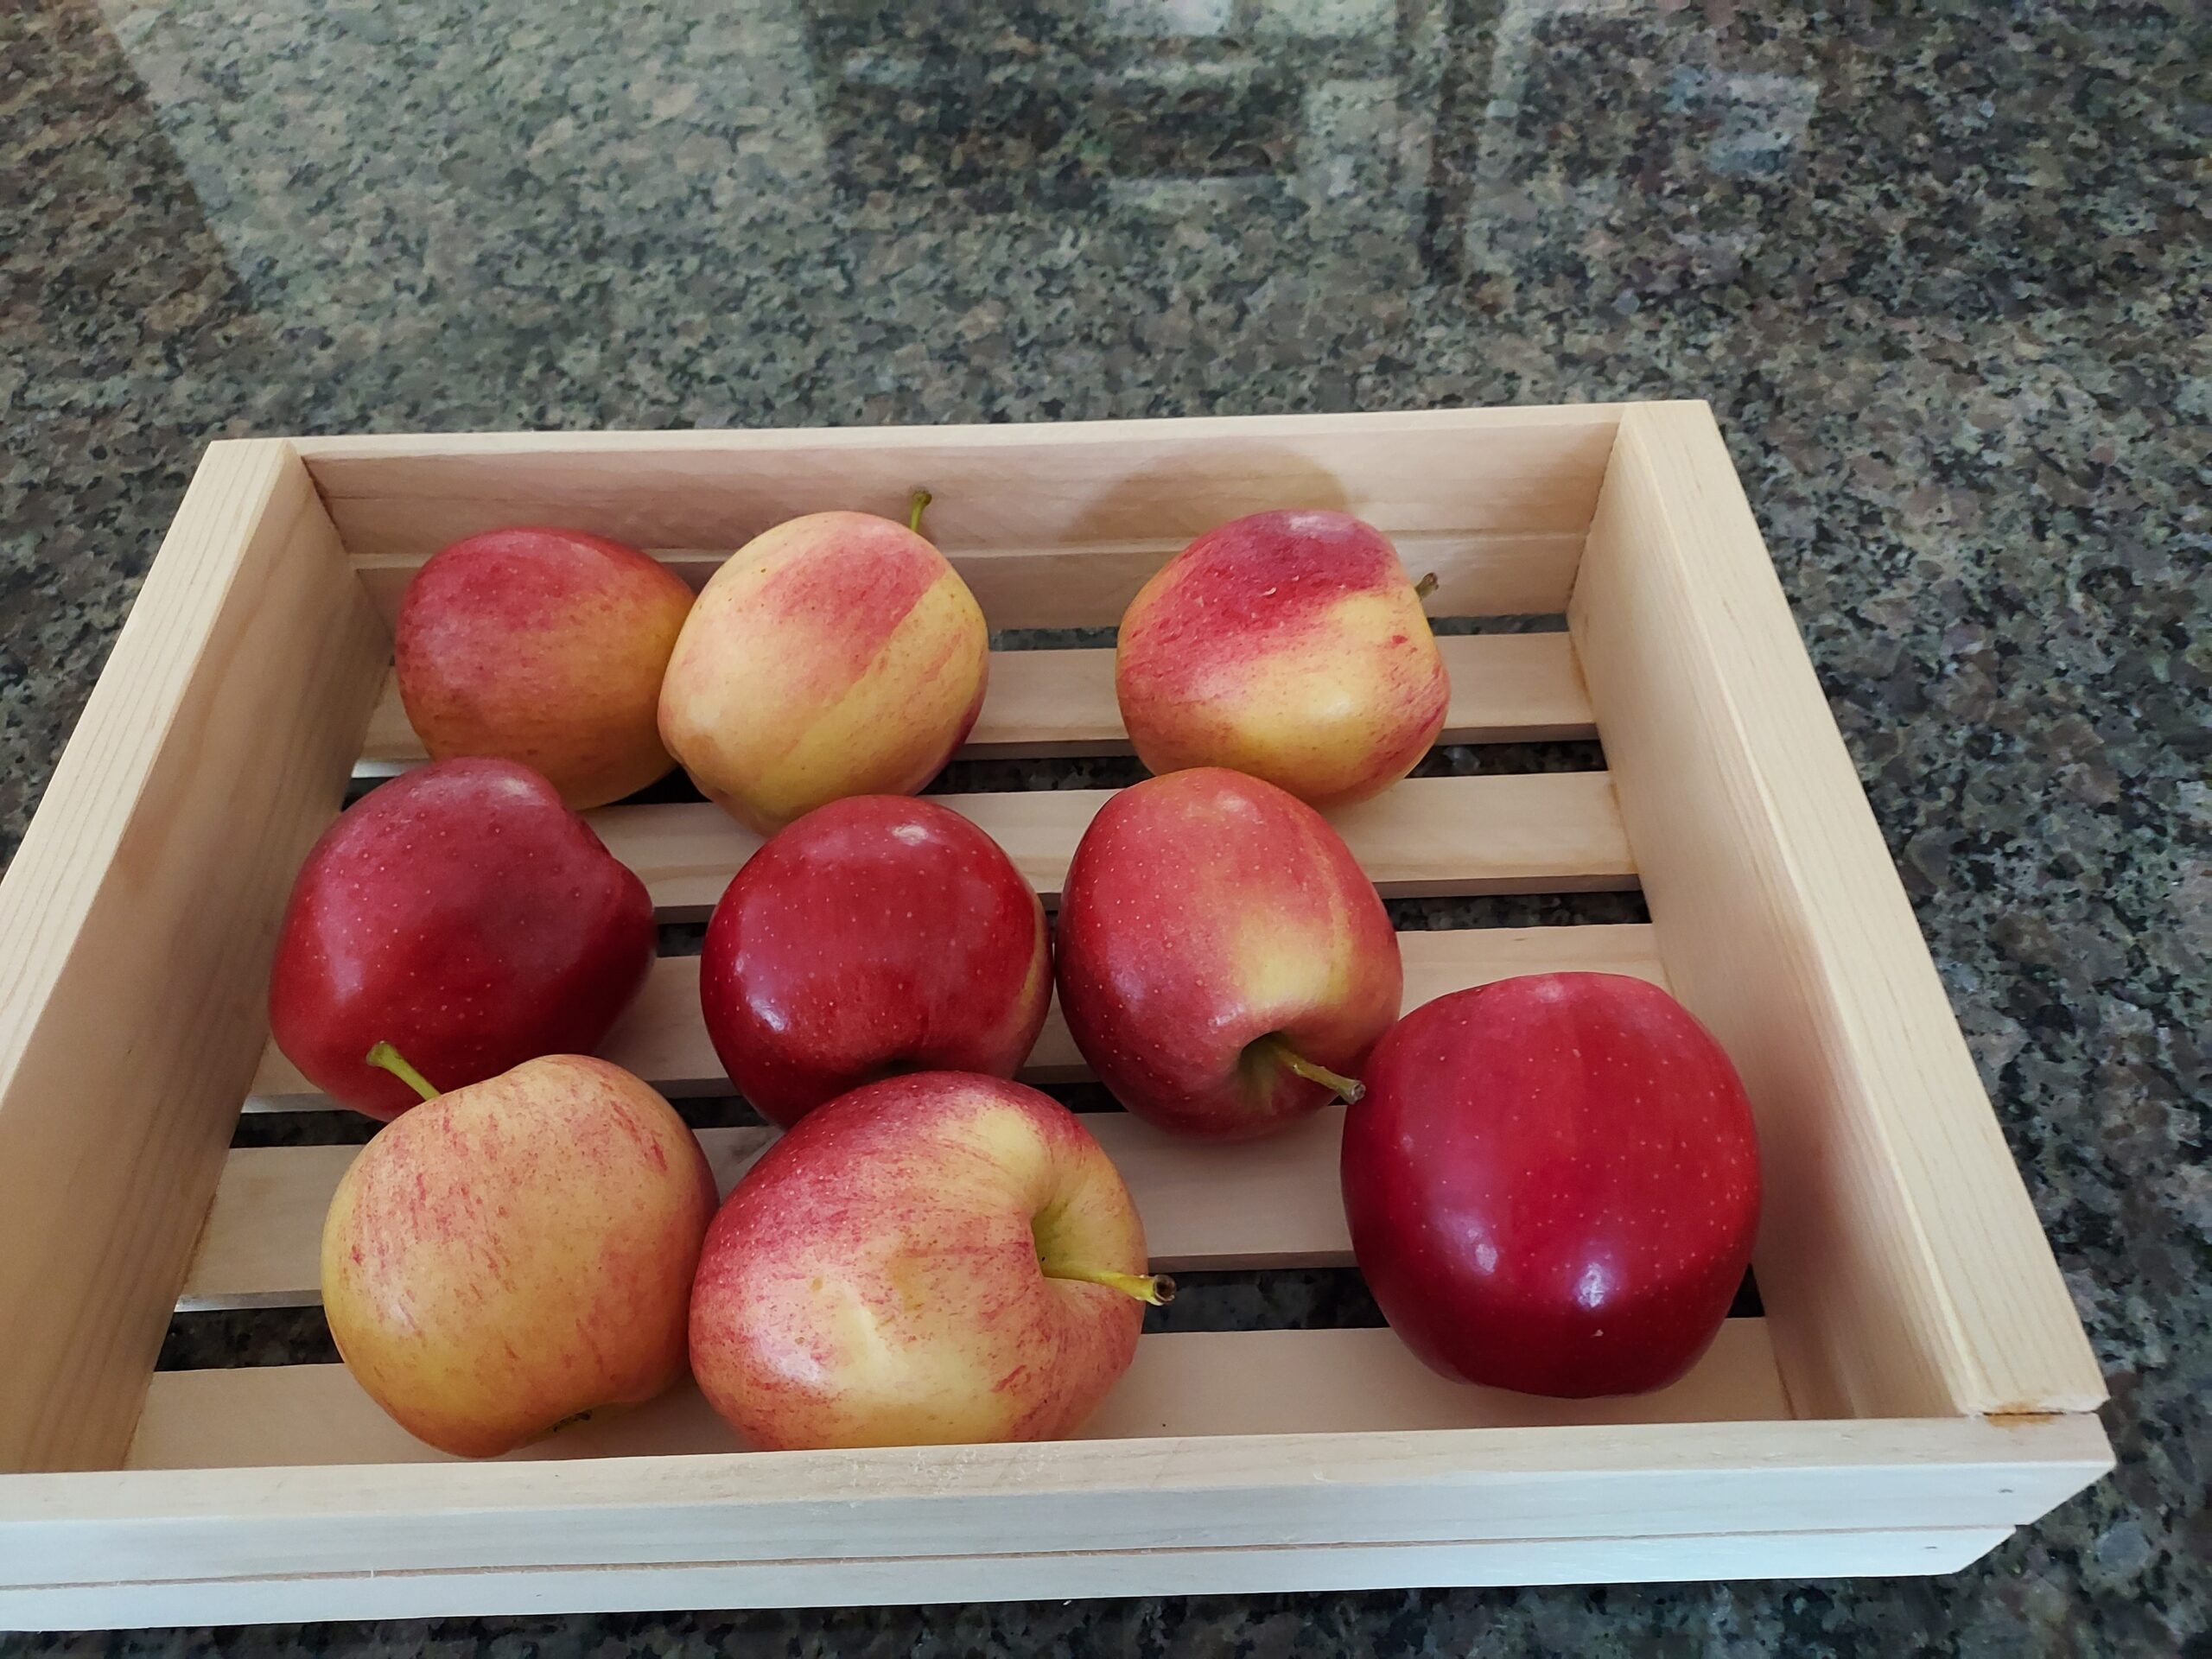
Everyone needs something on the counter for fruit and produce. Here is a really quick and easy countertop fruit crate. This countertop fruit crate is perfectly sized and is a fun, fast, and easy DIY project you can get one on your kitchen counter in about 30 minutes. While I will be putting apples in mine, you can fill your countertop fruit crate with any kind of fruit or produce you choose.
Tools and Materials
Pulling this project together you will need about 2 feet of 1 x 4 and four Lath Strips maybe five if they are very split. The tools you really need are sandpaper, a saw, glue, and hammer and nails. I used scrap so had a bit more work to do in sizing the ends and used a Radial Arm Saw for the crosscut for building my countertop fruit crate. A Compound Miter saw would be a great tool to have for this project as would an orbital sander.

Sanding the Lath
The first thing you will need to do is sand the lath strips. Better to do it now as long pieces because they are easier to handle. I suggest you use 220 grit sandpaper in an orbital sander for the fastest results. Once you’ve finished sanding the flat faces stack them and then tackle the edges.

Layout
You need to layout nine 14” long slats. These make up the sides and bottom. And mark out 2 end pieces from the 1×4 at 9-12” long each.

Check the dimensioned sketch below for more detail.

Cutting
You now need to cut the 9 slats evenly as these set the length of the countertop fruit crate (see sketch). Next chop the two ends to 9-1/2”. Be as precise as possible.


Assembly
Assembly is easy as one-two-three. Start with the bottom and mark ¼” in from the edge on both front and back of the end pieces. This will be the initial setback of the slats. Apply a generous dab of glue on each and position the first slat on the ¼” mark and flush then nail it with a single nail at each end. Repeat for the other slat on the far side. Next, lay in the remaining three slats and space them equally. The spacing will be 11/16” to 3/4” but just space them by eye. Mark the location of each slat then add glue and nail them down, again with a single nail at each end.
At this point, things are probably not exactly true and plumb so grab your square and adjust everything until it is square.

Finally drive that second nail in each end of all the bottom slats. That will keep the crate from racking while the glue dries.

Final Sanding
Now is the time for you to finish up your sanding. Take your orbital sander with 220 grit and flush up the ends if you need to and then make sure you sand all the corners to soften them. This piece will be used by little hands daily and you don’t want splinters. When you are done you should feel no sharp points or edges.

Finishing
Finishing this project is up to you. You can select an oil, a wax, or a polyurethane if it suits you. For me, I chose no finish. I like the bright white of the pine and frankly none of our crates were finished when I was growing up. I do have to say that it might look good with a Farmhouse Style white finish though.
Wahoo – you are done!!
Well, this countertop fruit crate was a fun, fast, and easy DIY project that I enjoyed making and you can get one on your kitchen counter in about 30 minutes.

I have links below for some of the tools I use that you might find useful so feel free to explore. If you got something out of this do me a favor and hit like and subscribe.
Btw if you give this project a try then post pic on my FB Page!!
Thanks for reading and until next time Good Making!
Bill
Visit my Etsy Store at www.etsy.com/shop/30MinuteWoodshop
Facebook https://www.facebook.com/30MinuteWoodshop
Links to my Videos and Blogs
DIY Whiskey and Cigar Butler https://30minutewoodshop.com/?p=550
Farmhouse Key Rack https://youtu.be/I65FGq4dKYY
DIY Cigar and Whiskey Butler Video https://youtu.be/PR0C5dOrO2E
Barrel Stave Whiskey Shelf Blog https://30minutewoodshop.com/barrel-stave-whiskey-shelf-you-can-make/
Tools and Materials you may need
Milwaukee M18 Jig Saw Kit https://amzn.to/3FAWXsS
BOSCH 12” Sliding Glide Miter Saw https://amzn.to/3IvOt72
DEWALT Router Kit https://amzn.to/3FzUJKh
Milwaukee M18 Hot Glue Gun https://amzn.to/3ZXf6Jv
Ridgid Oscillating Belt Sander https://amzn.to/3KdzeSo
BESSEY 12”Tradesmen Clamp https://amzn.to/3Z2s3Am
PPE Gear


