How to Make a Bench Hook and Outrigger

I’m not really big on making things to make things but sometimes you just have to do it. So, here’s how to make a bench hook and outrigger.
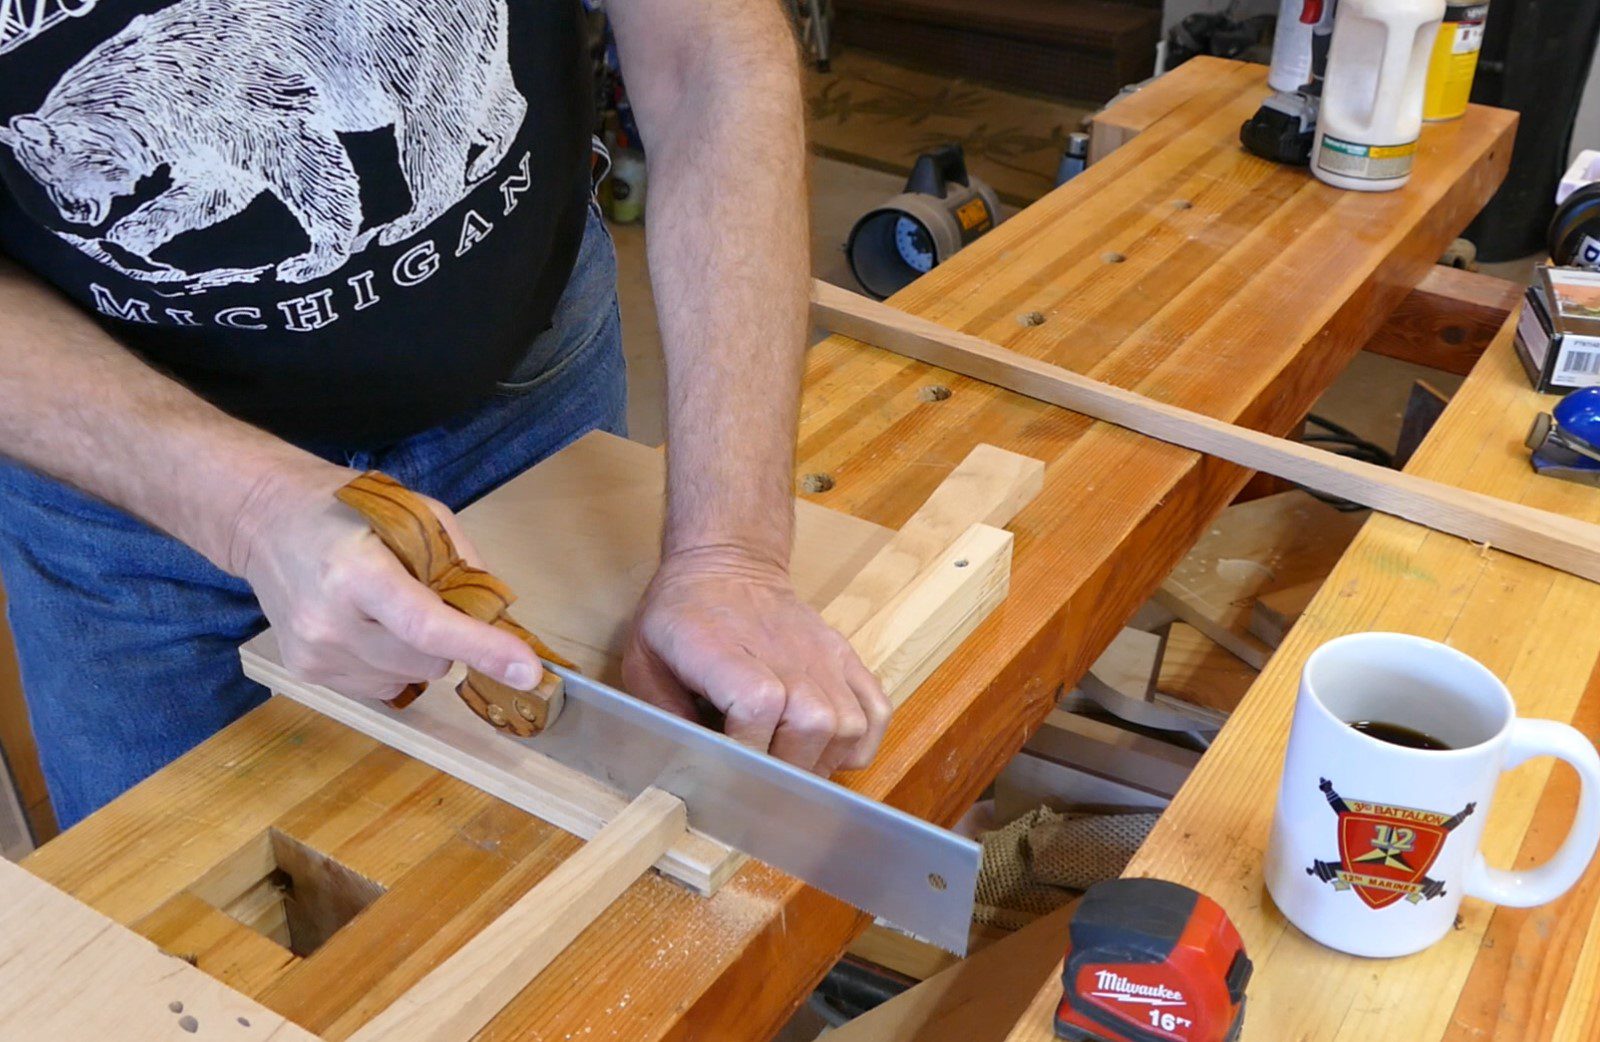
A bench hook will make crosscutting small parts with your dovetail saw easy and accurate. My old bench hook has seen better days and really it has a few short falls that needed to be fixed. The biggest of these is that it is too short so I am always cramped when using it. Second, the stop is too chunky. I used a stock 2×2 and really that is overkill for what I use the hook for. Last because of the oversized stops and short working platform the whole thing is unbalanced and easily tipped off the front of my bench. This new bench hook design corrects all those problems and I also add in an outrigger to support long pieces. As always, links at the bottom for tools I use.
And follow this link to my Video to see how it is done. VIDEO LINK
Tools and Materials
Nothing special for tools needed. A saw, a square, a block plane, and clamps will get the job done. As far as materials you will need a 3 fit section of 2×2 and a piece of plywood that is 12”x 18” either 1/2” or 3/4” will work.

Layout and Sizing Your Material
The first step is to lay out a 12” by 12” square on your plywood. Set it aside and mark and cut your 2×2 for two 11” pieces and two 3” pieces. Next you will need to cut the 2×2 pieces down to 1” x 1”. Just run them through your table saw.


Sanding
You will be handing this quite a bit so use some 220 grit sand paper to round the edges.

Chamfering
One edge needs to be chamfered. That is you need to put a small 45 degree angle on one long edge. This is a place for dust to go when you push you stock against the stop. Use a block plane to make one long edge 45 degrees. You will need to remember to assemble this edge down and facing towards you later on.

Assembly
Assembly is quick and though I used screws you really don’t need any. Just clamps will do. Apply glue to one long edge. Be sure the chamfer is on that side.

Next stick it on the far edge of the base. Make sure the chamfered edge is facing you and not the back. Now, align the left edge and the back of the stop with the edges of the base and gently clamp it in place. Use your square to make sure it is square. If it is not square just nudge it a bit then clamp it tightly. Flip the board over (front to back) and repeat the process.

You should have a 1” gap on the right end of the stop on both sides of the board. By the way if you are a lefty then line the stop on the right side of the board.
Outrigger build
Ok you should have two pieces 3” x 1” x 1” and a piece of plywood 3” x 12”. Same steps as above glue, match the edges and gently clamp then square it up and tighten the clamps down.

Congratulations
Once the glue is dry your project is done. No need for a finish just hook it to you bench and saw away.

Thanks for reading and until next time Good Making!
Bill
Visit my Etsy Store at www.etsy.com/shop/30MinuteWoodshop
Facebook https://www.facebook.com/30MinuteWoodshop
Links to my Videos and Blogs
DIY Whiskey and Cigar Butler https://30minutewoodshop.com/?p=550
Farmhouse Key Rack https://youtu.be/I65FGq4dKYY
Create Your Own Lazy Susan https://30minutewoodshop.com/?p=491
Tools and Materials you may need
JET 14-Inch Bandsaw https://amzn.to/3lJiaty
Ridgid Oscillating Belt Sander https://amzn.to/3KdzeSo
JET Dust Collector, 2-Micron Canister https://amzn.to/3HHguIh
3M N95 PPE Mask https://amzn.to/3x4NGEu
ISOtunes Bluetooth Earmuffs https://amzn.to/3lpj1iA Mitutoyo Electronic Digital Caliperhttps://amzn.to/3DS2tX5


