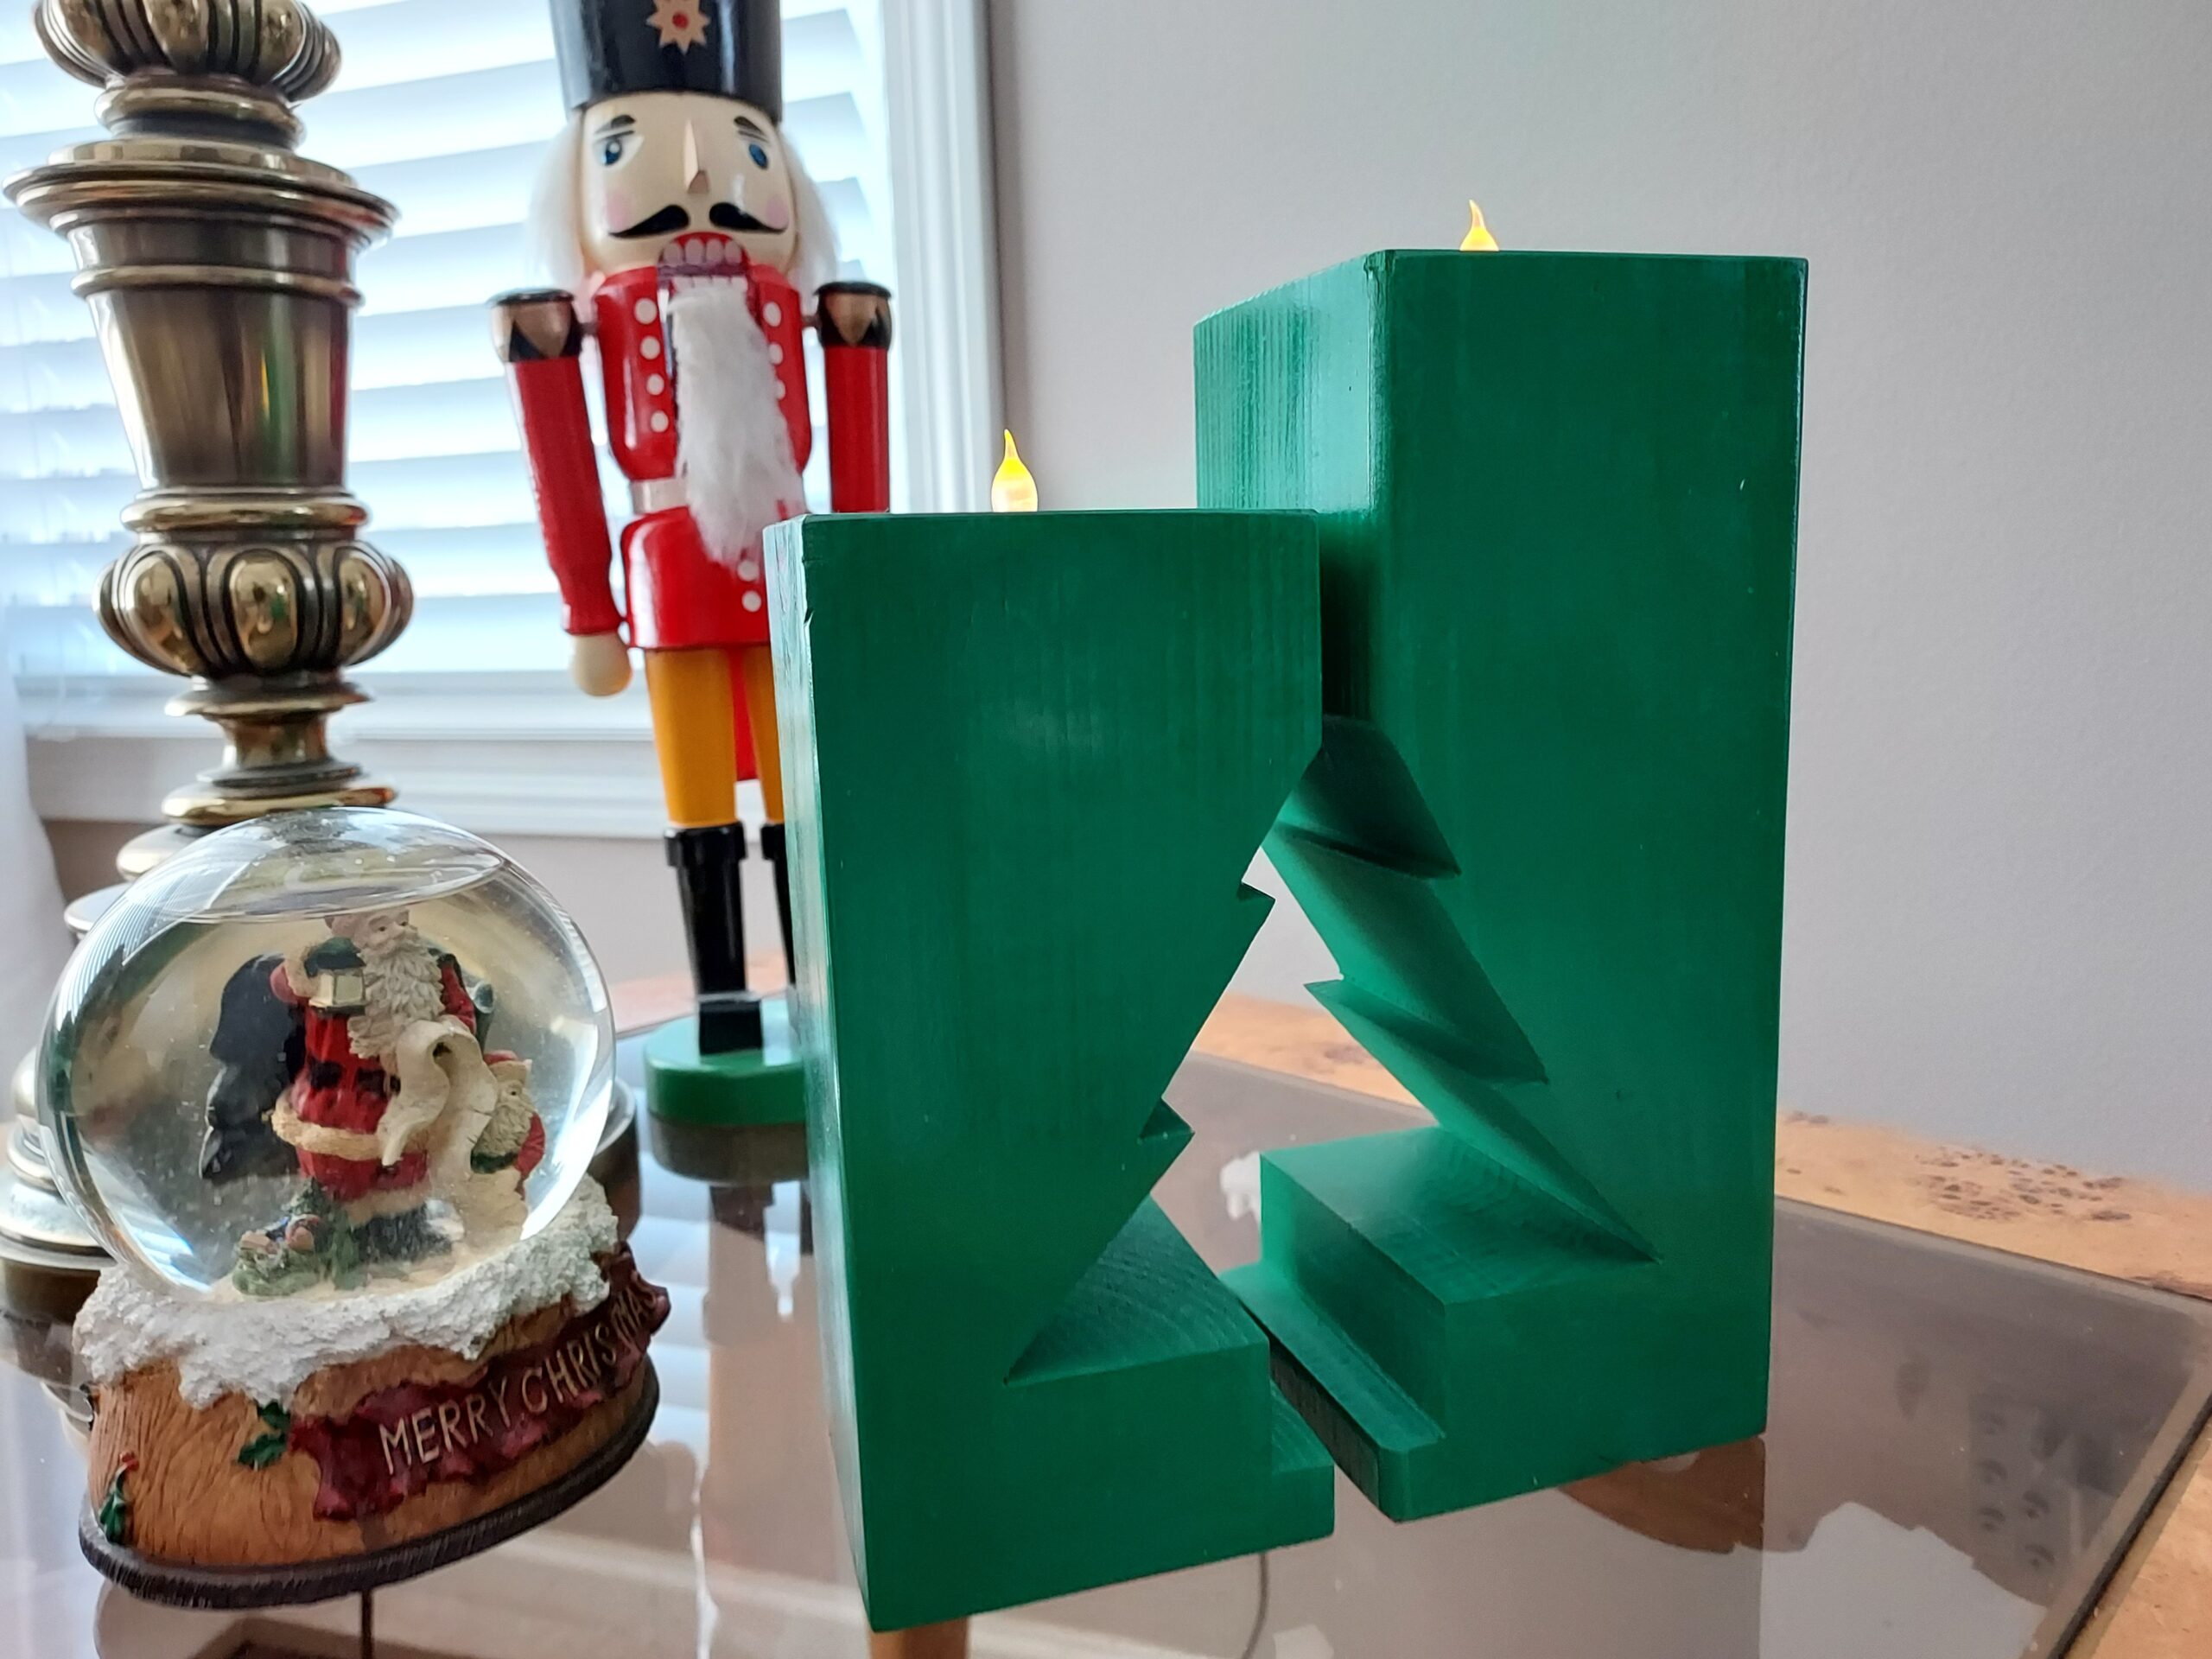

Lights are strung, decorations are hung, gifts are wrapped and Christmas is nigh. BUT… here is a project you can squeeze in at the last minute, a DIY Christmas Tealight Candle Pillars! These are so easy that you can knock a pair out in about 16-18 minutes with the right tools (links at the bottom) plus dry-time for your finish. And the decorator in your home will LOVE them. Btw if you need a fast finish choose a paste wax or “rattle can” lacquer both are ready to go in a few minutes.
Explore the links below to tools and some materials I used in building my project.
And follow this link to my Video to see how it is done. VIDEO LINK
Tools and Materials
The only material you need for this project an 18 inch section of a 4×4. I recommend using untreated wood and specifically Western Cedar. It available at most any lumberyard or big box store

As far as tools I used a 15” Floor Drill Press but you only need something like a WEN 10” Bench Top Drill Press. So, why do you need it? To get the holes in and square. Using a Drill Press is far easier than trying to do it by hand. You can of course give that a try. You will also need a 1-3/4” Forstner Bit as well as a 1” Forstner Bit. I recommend a good Forstner Bit Set because you will probably use these more often than you think. And here is a really nice 9” Bench Top Bandsaw by Shop Fox that would be a great addition to any shop. BTW I have a 14” Delta. And of course a saw. I used a 10” Radial Arm Saw and hd to make several passes – ouch! A 12 Inch Miter Saw will do It in one pass. If you are going to buy one I recommend a Bosch GCM12 SD. It’s pricey but one, it’s Bosch and two it’s Bosch. The thing is classic German Engineering – over designed and bulletproof.

Cutting
The first step is to cut your Tealight candle pillars to length. Cutting a 4×4 in half is not easy. Especially if you want it to be flat. Some Miter Saws can make the cut in a single pass – to be clear, a 12 inch Compound Miter Saw like the Bosch GCM12 SD will do it in one pass. A 10” will take two passes and a 7-12” is not worth having.
All that said, cut two pieces one at 9 inches and one at 7 inches. However you cut these make sure the ends are even.

Drilling
Next you need to drill a 1-5/8” hole 7/8” deep center in one end. While I have provided dimensions be sure you size your drill dimeter and depth to accommodate the Tealights you are using.
Measure Twice, Cut Once
I used a Forstner Bit chucked in my drill press. This hole is actually small enough that you can manage it with a drill motor instead. Just make sure that you secure your work piece and that the hole is square.

Layout
Layout of the tree is straight forward. I have dimensions in my sketch below but frankly you can free hand a tree, just clamp the two pieces together with the bottoms matching (If you want to see something funny watch my video when I finish cutting out the tree) then sketch on your tree or use my dimensioned sketch. Be sure you mark the waste material with an “X” or something.

Cutting Out the Tree
Ok – the very next thing is to cut out the tree. I used a bandsaw but a handsaw or table saw will work too. Working from the inside, cut away the tree.

When you are done it should look like this:

Sanding
Nothing to sanding here. If you used the Western Red Cedar, then hit it with 320 grit sandpaper. Fresh sandpaper will remove just about anything on the surface. You may need to sand the ends to get them flat if your initial crosscuts were little off. I gave mine a dusting on an oscillating belt sander.

Finishing
Well, like the rest of these steps, finishing is super easy. The choice of finish is up to you. I used “rattle can” green enamel. But if you need a fast finish choose a paste wax or “rattle can” lacquer both are ready-to-go in a few minutes and you can start using. The enamel looks good but takes awhile to dry fully.
Congratulations
I had a lot of fun making this for the holidays and it is a great addition to our set of seasonal decorations. So, I hope you got something out of this and will give it a try in your shop. If you do, let me know how it goes and post a comment to my Facebook page. I’d love to see what you are working on.
Additionally, explore the links below for tools and some materials you might need to complete this project. These are things that will help you speed the completion of the project.

Thanks for reading and until next time Good Making!
Bill
Visit my Etsy Store at www.etsy.com/shop/30MinuteWoodshop
and Facebook https://www.facebook.com/30MinuteWoodshop
Christ Tree Tealight Candle Pillar Video
Whiskey Display Video https://youtu.be/vVuqMnA4IPo
Barrel Stave Bottle Opener Blog https://30minutewoodshop.com/barrel-stave-bottle-opener/
Mid-Century Modern Two Tier Plant Stand Video https://youtu.be/kmgkzB6utZA
Tools you may need
Freud 16PC Diablo Forstner Drill Bit Set https://amzn.to/3FC4sim
WEN 10-Inch Drill Press with Laser https://amzn.to/3HKZcf8
Shop Fox 9″ Benchtop Bandsaw https://amzn.to/3BHA5FS
Bosch 12” Compound Miter Saw https://amzn.to/3v5tSA0
Ridgid Oscillating/Edge Belt Sander https://amzn.to/3Wcvcgn
DEWALT Router Fixed/Plunge Base Kit https://amzn.to/34TeXzp
Router Bits Sets of 24A Pieces 1/4 Inch Shank https://amzn.to/3I5SYU7
Powertec Non-Slip Woodworking Mat Pad https://amzn.to/3Yy2IPW
Electric Wood Branding Iron https://amzn.to/3Wsqaw8
Minwax Clear Aerosol Lacquer Spray https://amzn.to/3HTq3p2
Minwax Paste Finishing Wax https://amzn.to/3HXqU8j
Dremel Cordless Rotary Tool https://amzn.to/3jexdu0