
My daughter has one of those brick ranch homes that were built in the 50s. You know the small ones with a small front porch all cookie cutter homes. She’s been working to dress it up and I thought something like a high back flower box for her front porch would be a great addition. The intent of this particular project is to have a place to put potted plants and paint on the House number. This is one of those 30 minute projects that doesn’t take much in the way of tools and it comes together very quickly. I think I may leave the painting to her.
By the way if you go to the bottom there’s a link to the blog that has the six tools you need to do this project. These tools will make it very quick and easy.

Tools and Materials
Materials for this project are nothing more than a 1 by 12 eight feet long, some glue, and a few nails Or screws. You could scale this down and use a 1 by 10 instead. the tool list is just as simple. You’ll need a square, a saw, a measuring tape, and some clamps. If you want to get fancy you could even use a Kreg Jig and use pocket hole screws. Actually, I think that’s what I’ll be using for this project.


Layout
So I love these simple projects because all you have to do is follow the dimension sketch. And for this particular project all we’re doing is making right angle cuts. So go ahead and grab your square you’re measuring tape and a pencil and start by marking off A4 foot piece. Then mark off too one foot pieces. We’ll save the last piece and it will be cut to fit.


Cutting
This project only requires that you make 4 cross cuts. You can do these with a hand saw a circle saw or a radial arm saw. For this project I’m using my Milwaukee M18 circle saw. There will be a few other things we have to cut because the way I am making this I don’t want a solid bottom. I’ll be cutting a few strips and just laying a few pieces into the bottom because ultimately this really is just for a potted plant.

Drilling the Pocket Holes
You don’t really need to use pocket hole screws for this but it doesn’t hurt. If you choose not to use a Kreg Jig for pocket holes you can just drive screws directly into side. I would use 4 on each side and four in the front.
Laying out the pocket holes is straightforward for the sides I’m going to create those pocket holes in the back and I’m going to space 3 of them about 3 inches apart With the middle pocket hole at six inches.
So on the back which is the 4 foot piece measure 6 inches up from the bottom then from there measure and mark three inches up and three inches down. Do that for both the right and the left. With those marks you can drop in your pocket holes. Now grab your two 12 inch side pieces and do the same thing along one edge of each one. These pocket holes will be holding the front on. This is one of the reasons I love a Kreg Jig because it makes this operation so easy

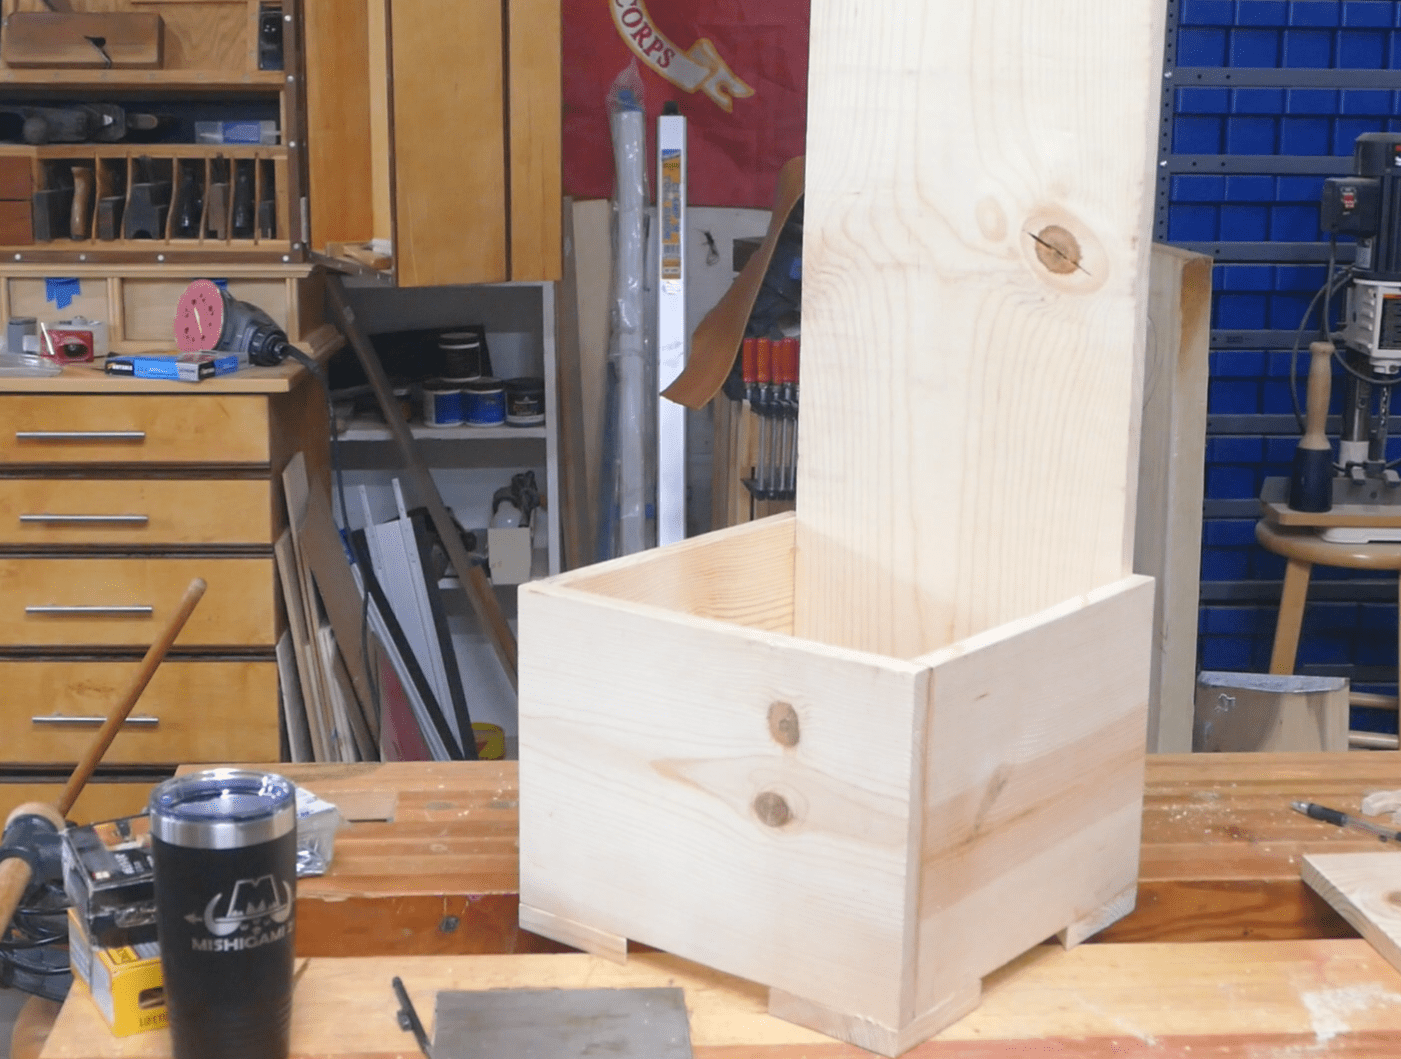
Assembling the Case
Assembling the case it’s very straightforward all you have to do is apply glue clamp the pieces in place and drive the pocket screws. Be sure you drive the pocket screws from the inside. Also be sure you drive the pocket screws fully in. Be sure they seat. Because we’re using soft wood make sure you get pocket screws that our coarse. The fine screws are for hardwoods and don’t hold very well in soft woods.


Adding the Feet and Supports
the feet are nothing more than 4 three by three triangles. You could also use three by three square pieces. Feet do two things one lift the entire planter box off the ground so that water can drain the second reason is it strengthens the corners. You can either screw or nail these on but definitely add glue. I chose to screw them in and because I decided on screwing them in I pre drilled holes to prevent splitting of the wood. If you’re going to nail you can use 16 or 18 gauge air nails two inches long or 4 penny finish nails.


Finishing
You can finish this project however you choose. Mine is going to my daughter and she will finish it her way. Just be sure that whatever paint you use it is an exterior grade paint. And once it’s painted this is a perfect time to tack on your house number.
This project is very quick and very easy to do. It requires very few tools. And those tools basically are the Six Tools You Need to Start Woodworking. There’s a link below that will take you to the video and the blog for the Six Tools you need to do this project.

Hope you got something out of this and if you did, do me a favor, hit like and subscribe. I’d appreciate that a lot.
Thanks for reading and until next time Good Making!
Bill
Visit my Etsy Store at www.etsy.com/shop/30MinuteWoodshop
Facebook https://www.facebook.com/30MinuteWoodshop
Links to my Videos and Blogs
6 Tools to Start Woodworking https://30minutewoodshop.com/you-need-these-6-tools-to-start-woodworking/
Create Your Own Dice Vault https://30minutewoodshop.com/?p=1226
DIY Whiskey and Cigar Butler https://30minutewoodshop.com/?p=550
Farmhouse Key Rack https://youtu.be/I65FGq4dKYY
Create Your Own Lazy Susan https://30minutewoodshop.com/?p=491
Tools and Materials you may need
Milwaukee M18 Fuel 2-Tool Combo KIT https://amzn.to/4l7vAsc
Milwaukee’s M18 Compact Router https://amzn.to/4oh0pxm
Milwaukee M12 Detail Sander https://amzn.to/46I6tss
Milwaukee M12 Rotary Tool https://amzn.to/4lDpz6Z
Bostitch Nailer and Compressor Combo Kit https://amzn.to/3HsfXO6
Bostitch 18 GA Brad Nails (900) https://amzn.to/3Hopnu4
Kreg K4 Pocket Hole Jig https://amzn.to/45bxFgQ
Ridgid Oscillating Belt Sander https://amzn.to/45C3rTK
Starrett Combination Square https://amzn.to/3XpbrDN
Milwaukee M18 Jig Saw Kit https://amzn.to/3FAWXsS
BOSCH Compound Miter Saw https://amzn.to/421A1vl
Minwax Fast Drying Polyurethane https://amzn.to/3V5h0pO
PPE Gear
3M N95 PPE Mask https://amzn.to/3x4NGEu
ISOtunes Bluetooth Earmuffs https://amzn.to/3lpj1iA


