
I am not normally a person who makes jigs. But I am working on a project, a Christmas Advent Chest, that requires me to make some deep lap joints. These joints need to be precise and to do that I need a jig. I decided to make this jig using materials I have laying around the shop, that is scrap. It’s a pretty easy jig to make and does it take long. And it’s one of those I can see using for other projects in the future like a tea chest or a spice chest.
Tools and Materials
As I said, materials for this Deep Lap Join Jig are scrap. But you’ll need a 20 inch 2 by 4, a four3-1/2″ x 24″ piece of quarter inch plywood, two scraps of hardwood about 14 inches long each and width and thickness to match your table saw, and a 3 1/2 by 3 1/2 piece of 2 by 4 scrap for the safety block.

For tools you could build this almost all with a hand saw and a hand plane. I, of course, used power tools and this Jig is made to be used with a table saw. So I’d recommend a table saw, a bandsaw or jigsaw, a belt sander, and some clamps. You will also need some glue and a few screws.

Layout

As far as layout it doesn’t take much to make the base or the back you will have to do some layout to make the safety block if you want it curved.

Cutting the Base Parts
For me all I had to do was strip off a piece of quarter inch plywood for the base. I suspect you might have to use your table saw to cut your backer piece to length as well as cutting the plywood to size. These are pretty straightforward cuts and easy to do.
The tricky part is to cut the two runners for your table saw to the correct width and thickness. Be sure you measure and when you cut the parts they should fit so they slide smoothly without any side-to-side play. I’d suggest you use either Maple or Oak for these slides.
Making the Safety Block
Next, we need to make the safety block. If you don’t want to make a curved safety block you can just glue on 3 1/2 inch by 3 1/2 inch piece of 2 by 4 the time comes. I chose to make mine rounded because it looks kind of cool. To do that I use the 1 quart can to mark the radius. Then took it over to the bandsaw and cut the curve.


Once I had the curve cut I took it over to my oscillating belt sander and sanded out all saw marks and made the curve nice and smooth.

Then I went ahead and spray painted the back red and the sides white.
Sanding
Other than sanding the safety block I did not do any additional sanding because I was using sanded plywood. You may have to take some 220 grit in your orbital sander and clean up the surfaces if you’re using a 2 by 4.
Assembly
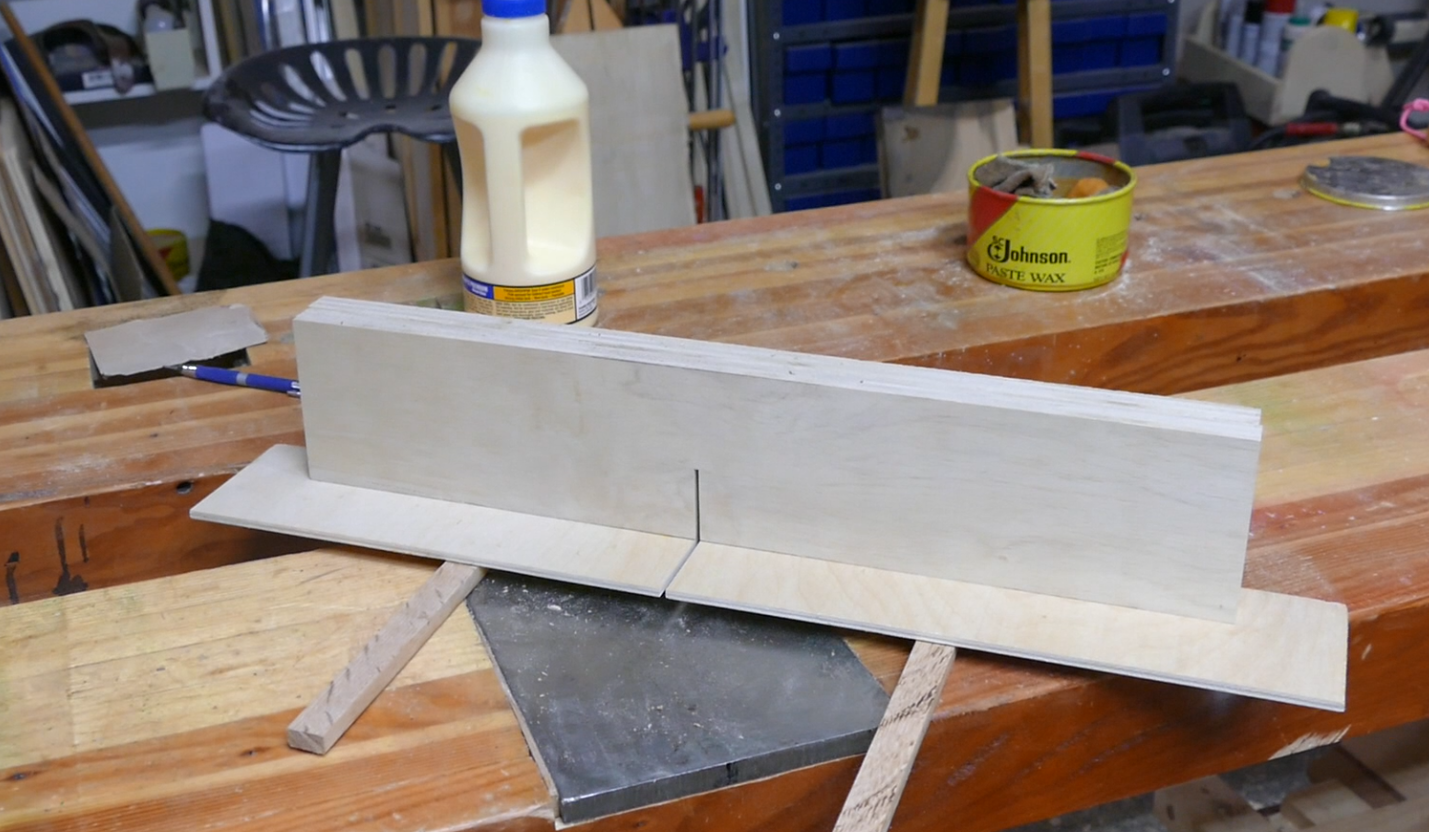
There are a few tricks to assembling this jig. First you’ll need to attach the base to the back. Do this with three or 4 screws and glue. Be fairly generous with the glue. And make sure the screws are not in the path of the saw blade. You’ll be checking this again just before you run it through the saw.
With the base and backer assembled, place four washers in the bottom of the tracks then place the runners on top of the washers. This makes the runners a 16th of an inch higher than the table. Next slide the runners forward until there’s about 7 inches from the center line of the blade to the far end of runners and taped them in place.
Place the jig on top of the runners and use a Carpenter square to make sure it is 90° to the blade. Use your pencil and mark both the front and the back of the jig on the runners. Apply glue sparingly to the runners between the two pencil marks. Then carefully set the jig on to the runners and put some weight on it to hold it down. You will need to let it dry for about two to three hours.

Once it’s dry, drill and counter sink two holes from the bottom up into the backer for each runner. Use one inch number 6 screws. These will keep the whole thing together in case the glue fails. Which it shouldn’t.

Installing the safety block
with your jig almost done put it on the table saw raise the blade to 1 inch, check to make sure you won’t his a screw, and cut all the way through the base and the backer.
Next, apply glue to the safety block and glue it to the backer so that the bottom is even with the bottom of the base plate and it’s centered on the saw cut. Allow this to dry for two or three hours. We really don’t want to screw on this particular part because we don’t want the saw blade cutting into metal.
Once the glue has thoroughly dried put the jig back on the table saw and cut a kerf into the safety block until the front face of the backer is even with the center line of the saw blade. Be sure you keep your fingers away from the safety block.

Finishing
To wrap this project up we need to apply a finish. The only finish that I applied to mine is a paste wax. I applied it to the runners and the bottom so that the Jig slides freely. The paste wax ensures slick and easy movement and can be reapplied at any time.

OK you’re deep lap joint jig is ready to use. It’s a fairly quick and easy project but I had fun building and I’m going to have a lot of fun using this to make my Christmas advent chest for my granddaughter. This jig will ensure me consistent keep lapse so that the cubbies are all even and everything goes together without a problem.

Hope you got something out of this and if you did, do me a favor, hit like and subscribe. I’d appreciate that a lot.
Thanks for reading and until next time Good Making!
Bill
Visit my Etsy Store at https://www.etsy.com/shop/30MinuteWoodshop
And Follow on Social
Facebook https://www.facebook.com/30MinuteWoodshop
Instagram https://www.instagram.com/bill_berklich/
Pinterest https://www.pinterest.com/30minutewoodshop/
Links to my Videos and Blogs
6 Tools to Start Woodworking https://30minutewoodshop.com/?p=3391
Create Your Own Dice Vault https://30minutewoodshop.com/?p=1226
DIY Whiskey and Cigar Butler https://30minutewoodshop.com/?p=550
Farmhouse Key Rack https://youtu.be/I65FGq4dKYY
Create Your Own Lazy Susan https://30minutewoodshop.com/?p=491
Tools and Materials you may need
Milwaukee M18 Fuel 2-Tool Combo KIT https://amzn.to/4l7vAsc
Milwaukee’s M18 Compact Router https://amzn.to/4oh0pxm
Milwaukee M18 Jig Saw Kit https://amzn.to/3FAWXsS
Bostitch Nailer and Compressor Combo Kit https://amzn.to/3HsfXO6
Kreg K4 Pocket Hole Jig https://amzn.to/45bxFgQ
Ridgid Oscillating Belt Sander https://amzn.to/45C3rTK
Starrett Combination Square https://amzn.to/3XpbrDN
Minwax Fast Drying Polyurethane https://amzn.to/3V5h0pO
PPE Gear
3M N95 PPE Mask https://amzn.to/3x4NGEu
ISOtunes Bluetooth Earmuffs https://amzn.to/3lpj1iA


