
This is a very simple kid friendly bird feeder. No special tools are really needed and you can even use hand tools. The kids will have great fun gluing and nailing this together too. And they will love it birds as they come to feed. Free plans are included to make this an easy project for you and the family.
And follow this link to my Video to see how it is done.
Tools and Materials
This project is cheap and easy. All it requires as far as tools, is a saw, waterproof glue, a hammer, and nails. I will say however a table saw with a good blade, an air nailer, and a compound miter saw would make this a much faster and easier job. And if you’re doing this for kids you probably want a drill to pre-drill holes for the nails.

.
Materials could not be simpler all you need is a 6 foot long dog eared fence picket, waterproof glue, and 1-1/4 inch brads. Be sure you choose a western red cedar picket. Western red cedar is soft, very easy to cut, and weather resistant. These three things make it the best choice for a low maintenance bird feeder.

Layout
First don’t be over constrained by the dimensions in the sketch below. You can make this bird feeder a little larger or even a little smaller if you want. The layout is super simple use the drawing below to mark the two roof pieces, the two sides, and the bottom.

Cutting
Now you need to cut all your parts. Start by cross cutting to all the dimensions noted. For both the roof and the platform you will need to cut several pieces. All three are wider than the standard fence picket. So you will need to glue up three different panels. Be sure to joint the glue edge so you have good contact throughout.
You will also need to cut several 5/8 inch by 5/8 inch rails. This is where a table saw comes in handy.

Next, cut the Top edge of both sides to 45 degrees.

Gluing the panels
First step is to glue up all three panels the bottom will be 8 inches by 10 inches and you will have two roof parts one will be 13” x 7” and the other will be 13” x 7-5/8” inches. When gluing these together be sure you have the joint fully covered with glue and snug. Do not over tighten the clamps. Wait about two hours for the glue to dry and you can continue the build.

Assembly
Start your assembly process by gluing and nailing the 5/8 inch side rails onto the platform. You can use just the platform as a feeder if you don’t want to go any further.

To finish the project however you will need to glue a nail on both side pieces be sure they are centered and even. Next you will glue on the roof. The short roof piece butts into the long roof piece. I used Tite Bond III waterproof glue and an air nailer. Put on the short piece of roof so that it is even with the point of the side. Apply glue and glue on the long piece so that it overlaps. Nail all these pieces together. If you’re doing this with kids I don’t recommend the air nailer. Just pre-drill several holes and have the kids hammer in 1-1/4 inch brads.

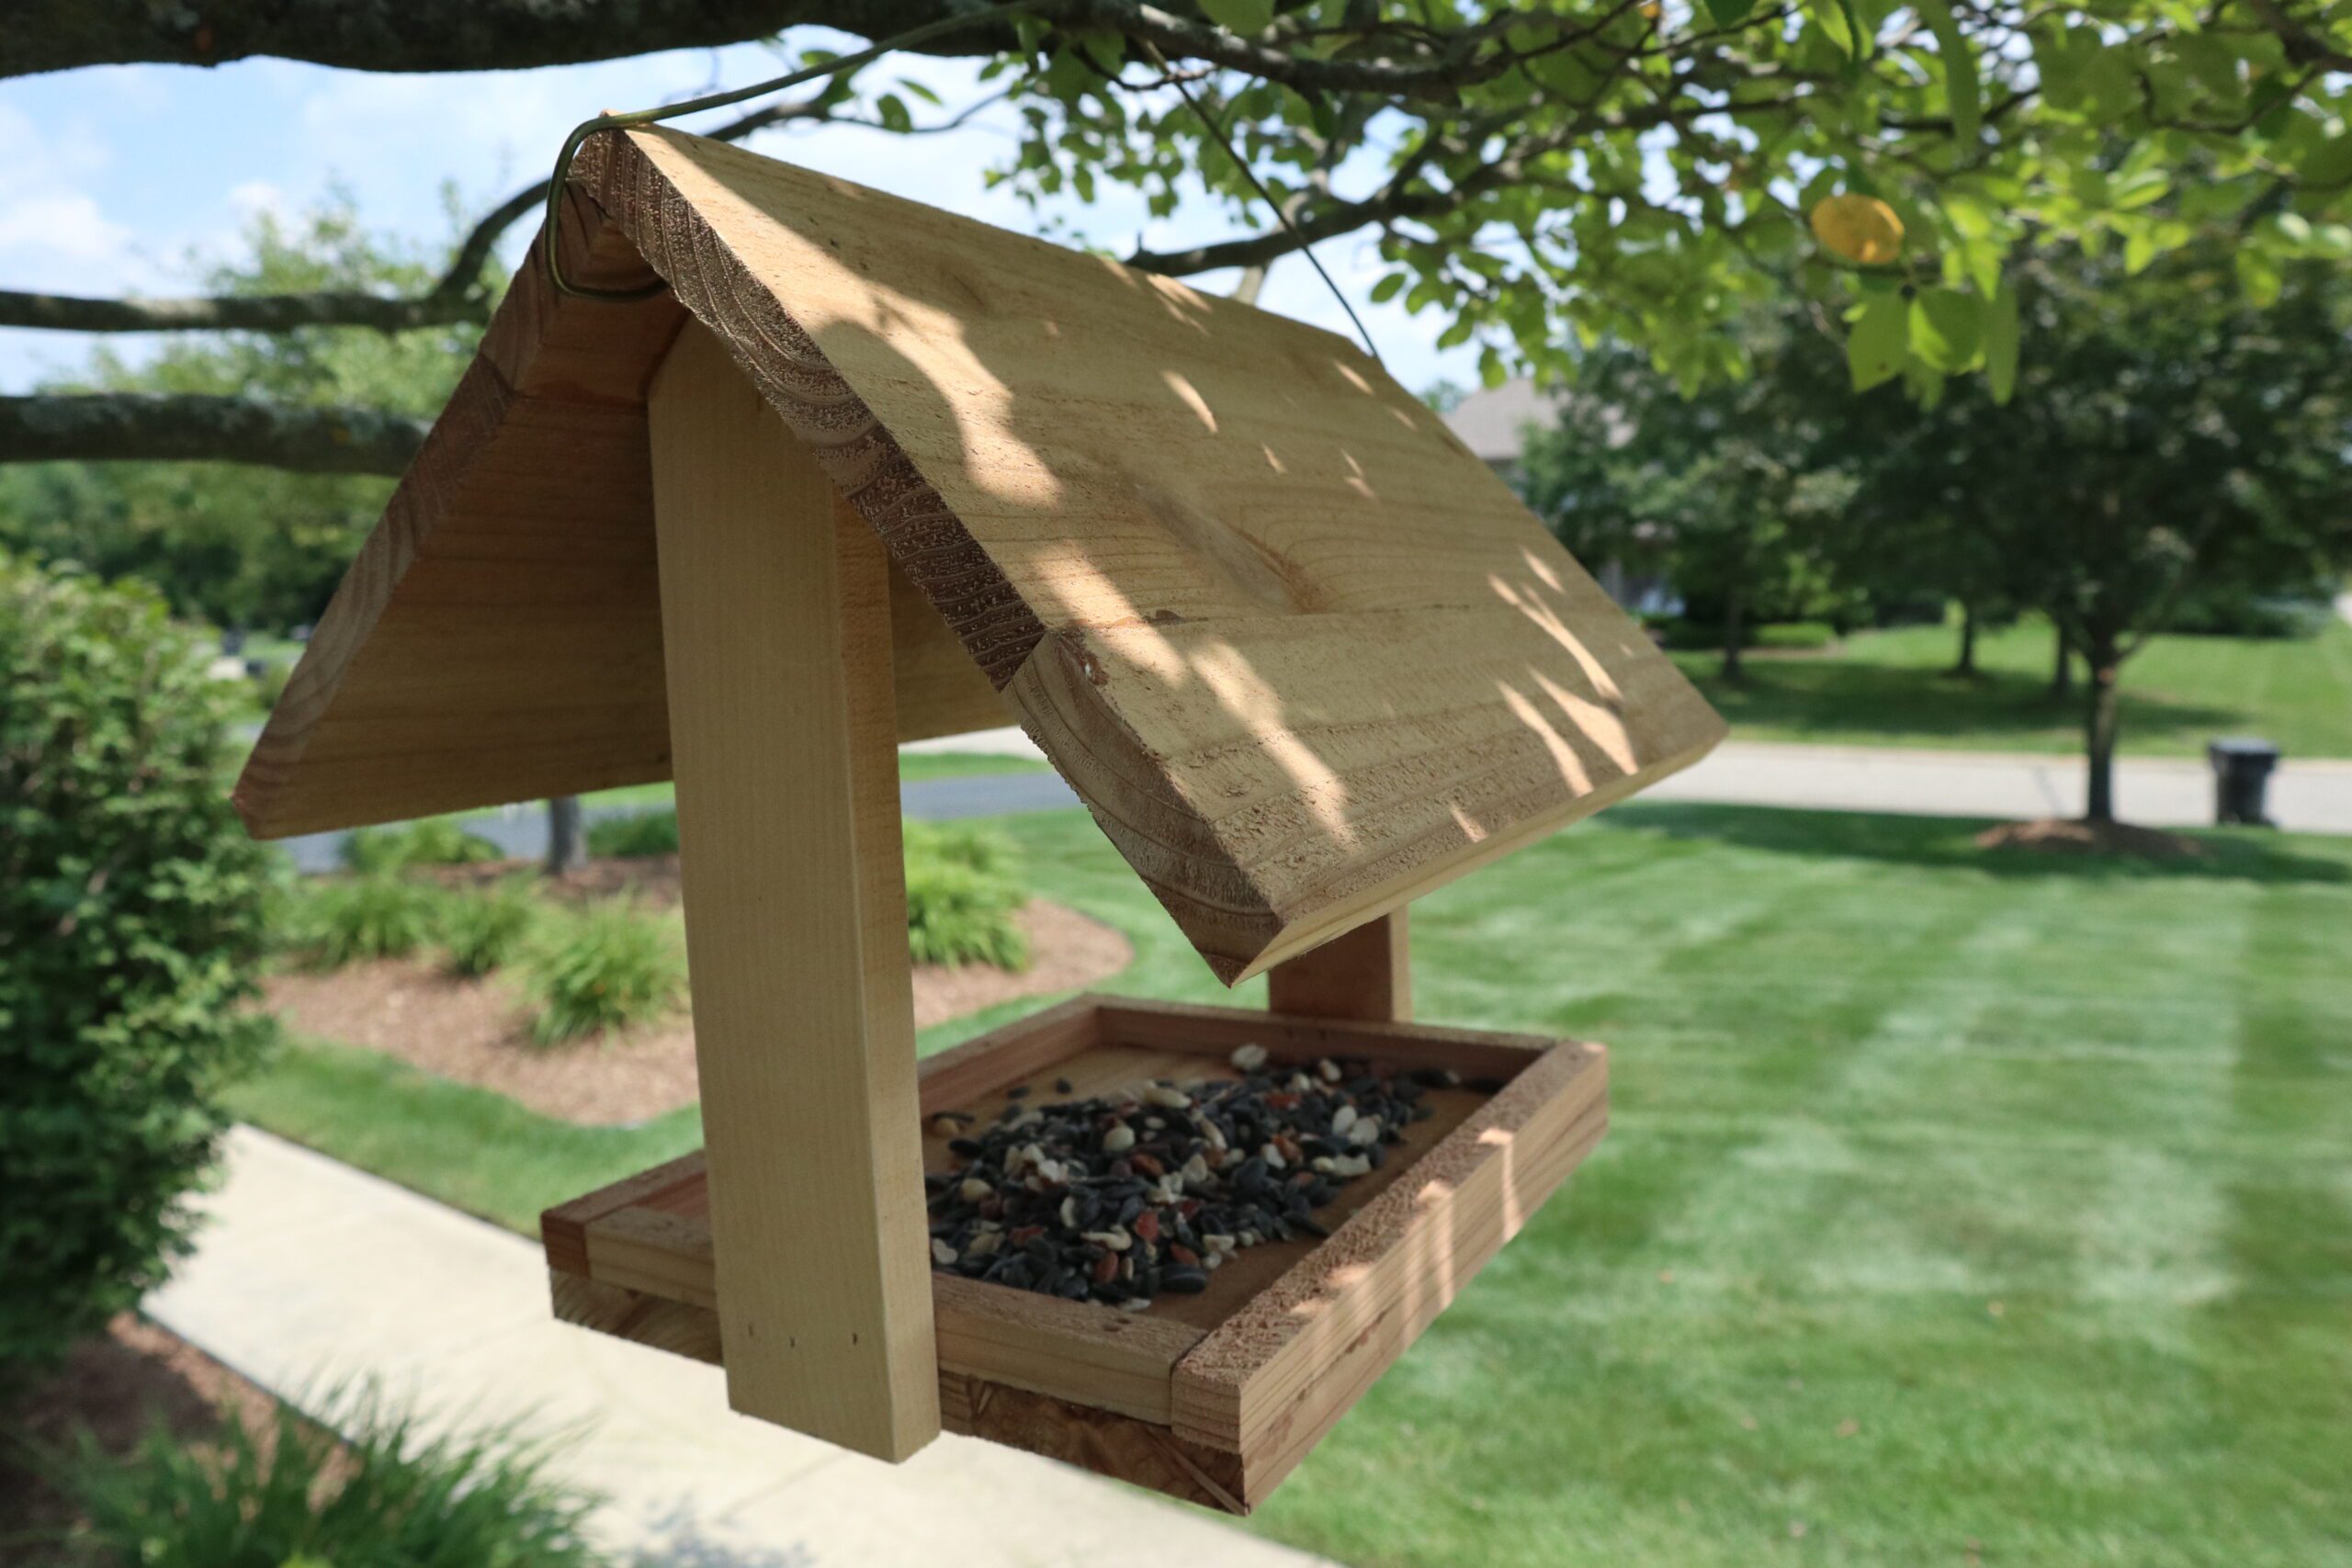
The Finished Project
As I said this project does not take a significant amount of time or number of tools. Certain tools will help you complete the job faster and easier. But when working with kids it’s sometimes best to stick with hand tools. Or prep the parts and get them involved in the assembly.

I hope you find the time or make the time to do this project with your kids. They’ll have a lot of fun with it and once it’s complete they’ll love watching the birds. If you do make this project, congratulations on a job well done. And do me a favor and post it on my Facebook page. I’d love to see your work.
Hope you got something out of this and if you did, do me a favor, hit like and subscribe. I’d appreciate that a lot.
Thanks for reading and until next time Good Making!
Visit my Etsy Store at www.etsy.com/shop/30MinuteWoodshop
Facebook https://www.facebook.com/30MinuteWoodshop
Links to my Videos and Blogs
DIY Whiskey and Cigar Butler https://30minutewoodshop.com/?p=550
Dove Nesting Box Video https://youtu.be/LHnS7bBv9cs
Farmhouse Key Rack Video https://youtu.be/I65FGq4dKYY
Create Your Own Lazy Susan https://30minutewoodshop.com/?p=491
Tools and Materials you may need
Titebond III Wood Glue https://amzn.to/3pzOm4G
Wire Brads 1-1/4″ https://amzn.to/44t584M
SUIZAN Japanese Pull Saw https://amzn.to/3O2lWKg
26” Western Crosscut Saw https://amzn.to/3O0ukts
Woodworker II Saw Blade https://amzn.to/3XG2Psn
Compressor Combo Kit w/ 3 Nailers https://amzn.to/3rkvlE8
DEWALT Drill and Driver Combo https://amzn.to/42yybmy
DEWALT Router Plunge Base Kit https://amzn.to/3LKkJEK
Milwaukee M18 Jig Saw Kit https://amzn.to/3FAWXsS
BOSCH Compound Miter Saw https://amzn.to/421A1vl
PPE Gear
3M N95 PPE Mask https://amzn.to/3x4NGEu
ISOtunes Bluetooth Earmuffs https://amzn.to/3lpj1iA


