Things are warming up and you should see a host of Robins with the coming good weather. They are getting ready to nest. Here is a very inexpensive ($2.50) Robin Nest Box. I’ve made quite a few of these as a kid and nailed them to post at the edge of our fields. Like the Bird House [blog and video link] you still need minimum tools and only need a single fence board. We are adding a jigsaw to the tool list however. This is a great project to involve your kids, grandkids, nieces and nephews, and is the perfect opportunity to teach them about birds, conservation, and wildlife management. Check out the links below.
And follow this link to my Video to see how it is done. VIDEO LINK
Tools
You only need a saw, a square and pencil, a hammer, and a tape measure. I recommend you have a pneumatic nailer, jigsaw, Wixey digital angle gauge, and a tablesaw. Those tools make the job go much faster.

Materials
Again, you only need minimal materials – one 6’ fences board, 18 4p finish nails (I’m using a pneumatic nailer), and waterproof glue or construction adhesive. We will be doing some edge gluing to make the pieces 8” wide. You could use a single 6’ 1 x 8 and adjust all the width dimension to 7-1/2” – the birds won’t mind.
Layout
Start by laying out the font, left side and right side. These are each 8” long. When laying the measurements out be sure you add in the thickness of your saw blade. Then mark the back at 12” Root at 9”, and the floor at 8”. Layout one more piece at 12” and one at 8”. These will be used to make strips to build up the Top Sides and Floor to 8” and sides to about 6”
Cutting
Cut these with your handsaw, tablesaw, chopsaw or Radial Arm Saw. I use a Radial Arm Saw.
Nex take the two extra pieces and rip two pieces 8” x 2-1/2”, one piece 12” x 2-1/2” and two pieces 12” x 1/2”. Cut the 1/2” pieces to 8” in length.

On completion you should have the following parts:
1 Back 12” x 5-1/2” x 5/8”
1 Roof 9” x 5-1/2” x 5/8”
2 Sides 8” x 5-1/2” x 5/8”
1 Floor 8” x 5-1/2” x 5/8”
1 Extension Piece 12” x 2-1/2” x 5/8” (for the Back)
2 Extension Piece 8” x 2-1/2” x 5/8” (for the floor and roof)
2 Extension Piece 8” x 1/2” x 5/8 (for the sides)

Jointing and Panel Glue up
A successful glue up of the panels requires flat glue edges. For us to get flat edges we need to joint them. Several ways you can do that jointing. First is with a hand plane. Second is with a special machine called a jointer. Third is a Router table with an offset fence, and last is with a table saw. I’ll use a table saw.
Set your table saw fence to a width where the blade just skims the edge of the board. This will clean up the edges making them smooth and straight. Run all the parts, roof, back, sides, and floor, through and clean up one edge. With that done we can move on to gluing.

Taking each part apply glue along the joined edge. Then stick on an extension piece. Rub the extension piece back and forth lengthwise several times to spread the glue. Be sure you line up the ends and faces then clamp with firm pressure (don’t crush it). Repeat the process for the rest of the parts. When you are done you should have all 5 parts clamped with extensions.
More Cutting
Now that everything is dry, let’s finish the cutting. Set your table saw blade to 18.5 degrees and trim off the top edge of the roof creating the bevel to match the side slope.
Next, grab the sides and layout the slope for the top and the notch. I use my table saw miter set to 18.5 degrees to cut the tops. To cut the notch you will need a hand saw, band saw, or a jigsaw. Cut along the two lines to create the notch. Oh By The Way… you could make this notch an arc or a scallop or dress it up in any way you like – or leave it straight. The birds won’t care.
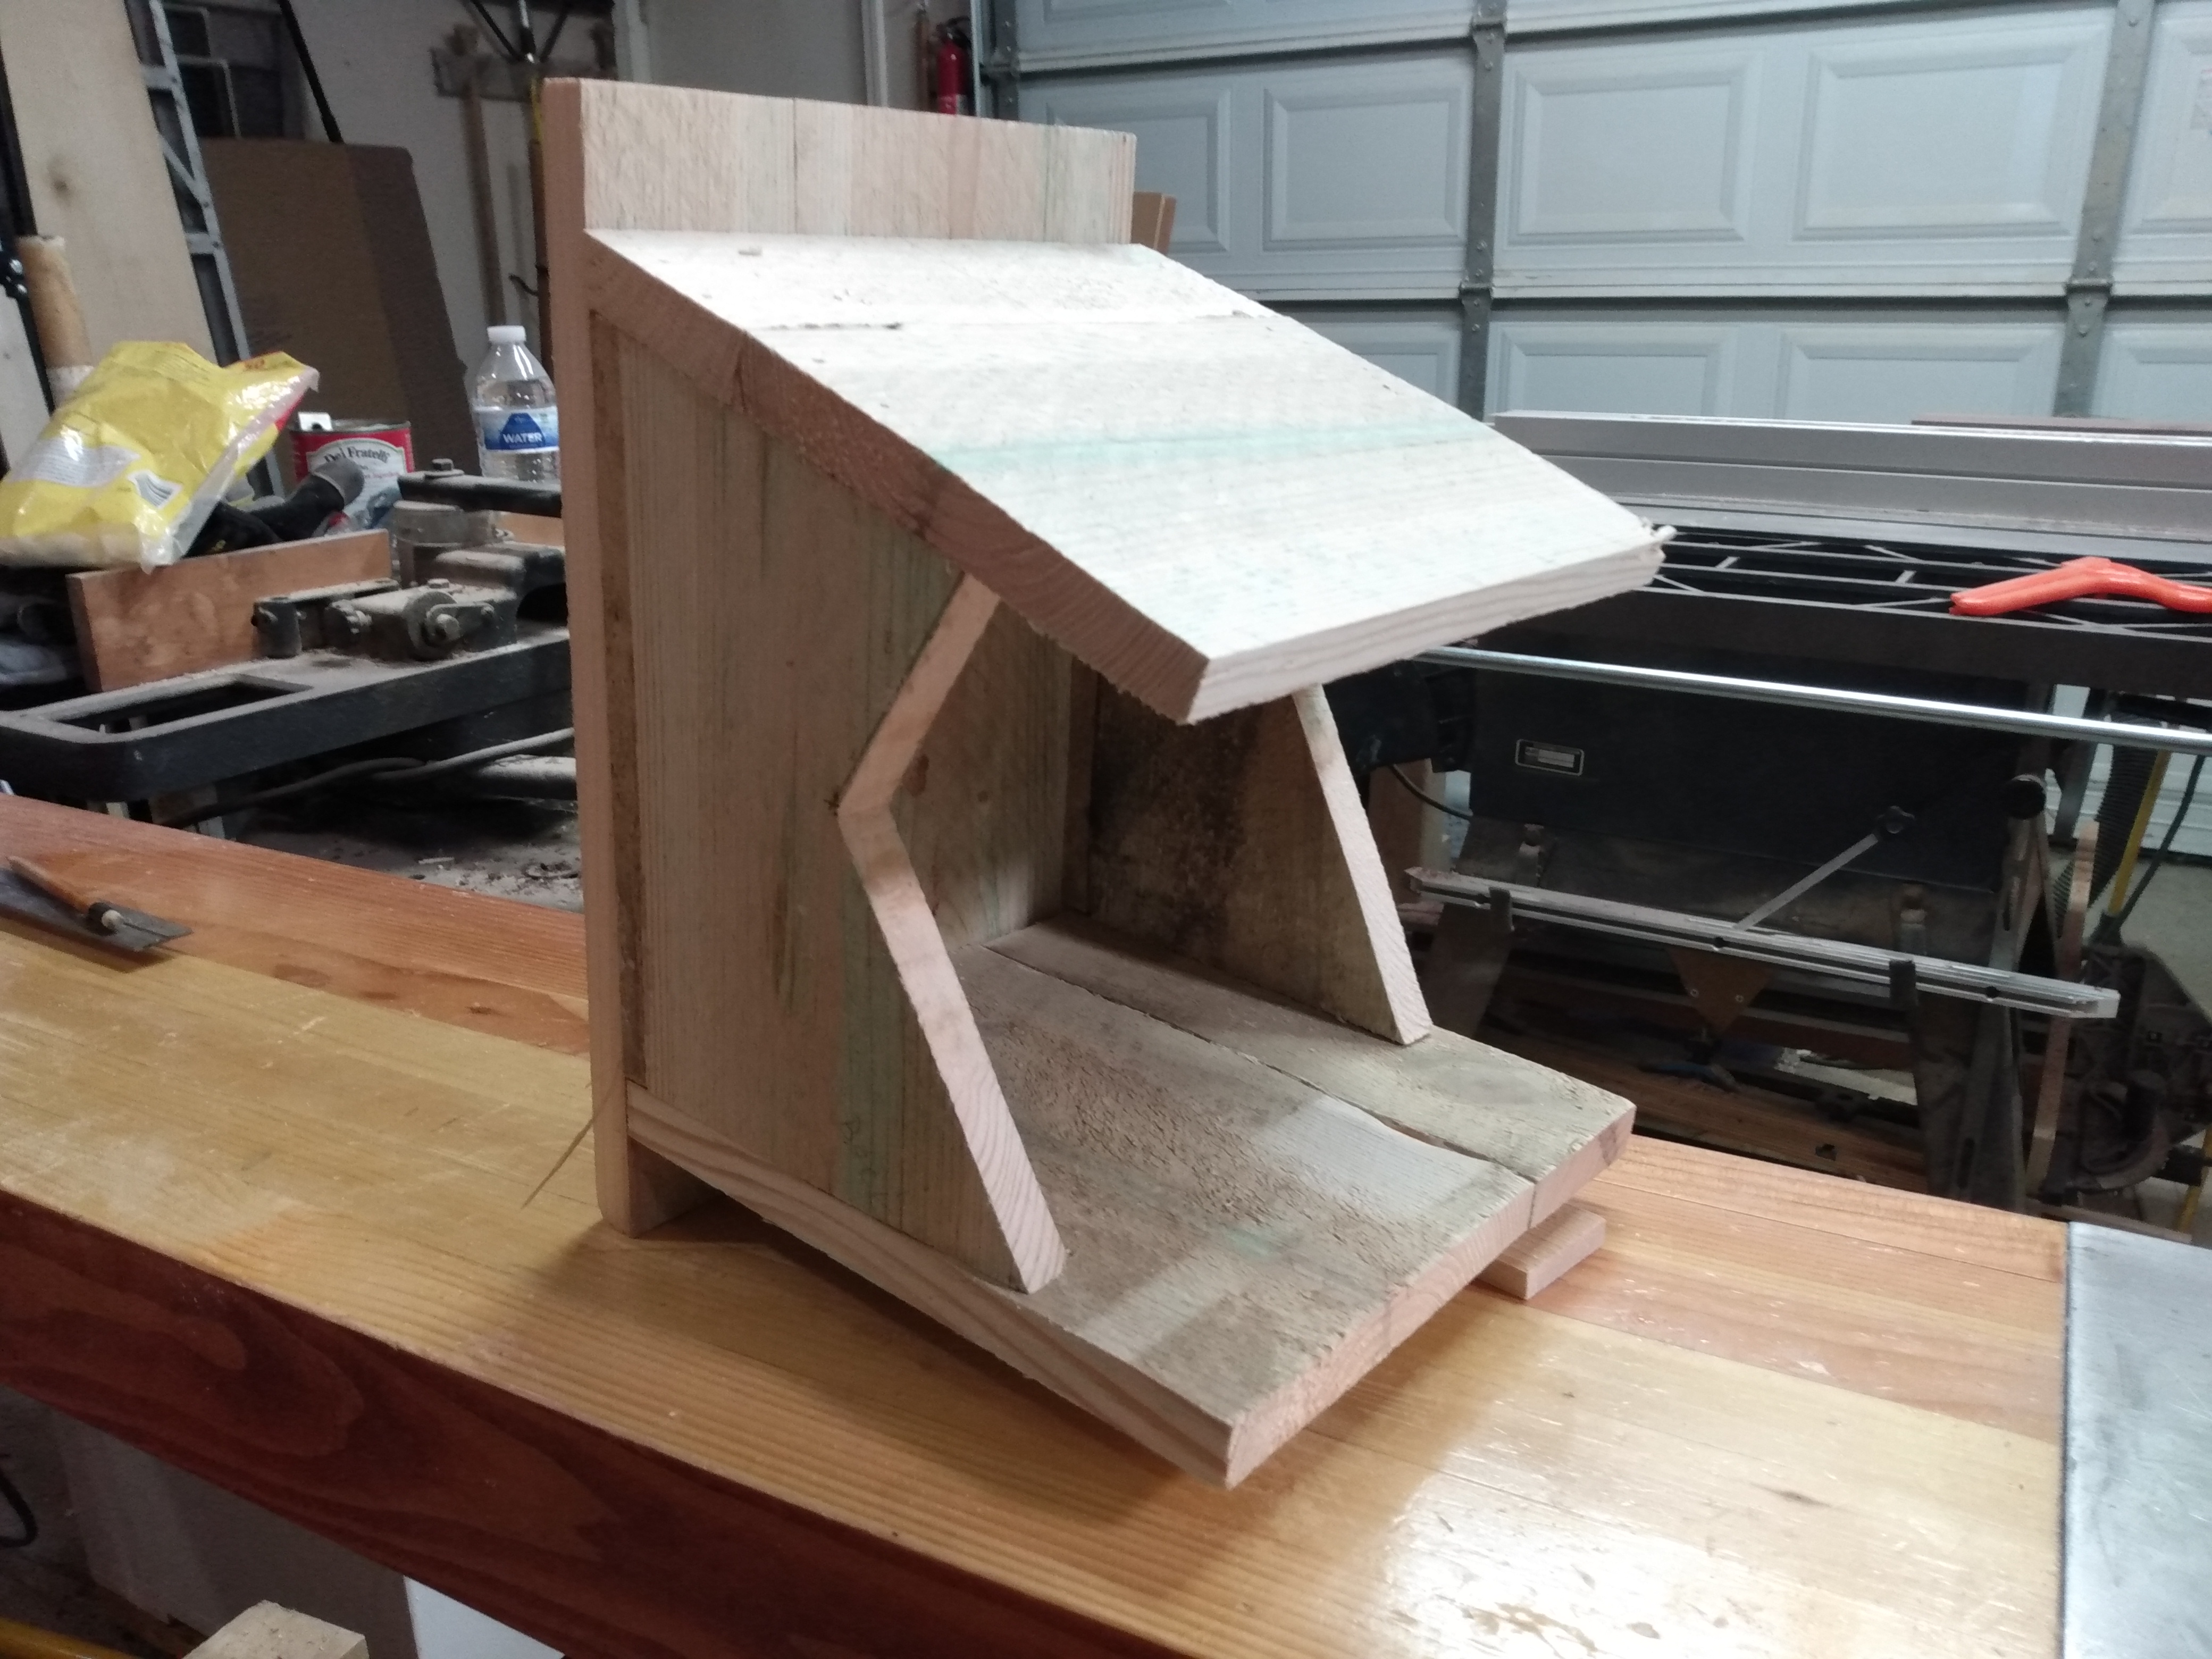
Assembly
Here’s the basic plan. I made this for a project for my Boy Scouts a few years ago as a conservation project and to teach them a bit about woodworking and the youth really enjoyed it. Feel free to use and distribute with my name. This is not for sale or resale.

Start assembly by nailing (or screw) the sides to the back. Position it about 1-1/4” up from the bottom and flush to the edge. Make sure that they are even across the bottom. I’m using a pneumatic nailer to tack things in place.

Next, nail the floor and then the roof in place.
Wahoo – you are done!! No finish needed

A conservation note
PLEASE do not nail or screw this bird house to a living tree. This damages the tree and it creates problems for future urban foresters trying to sustainably recover and harvest urban trees. Instead nail it to a wood fence, a barn or garage, or install a post and nail it to that.
Oh and Robins prefer to nest in seclude sheltered spots so put this up behind bushes, just inside a tree line or the back of the barn or garage where they generally won’t be disturbed.
Use this project to teach your kids about woodworking, and wildlife.
Thanks for reading and until next time Good Making!
Bill
Link to my Robin’s Nest Box Video
Link to my Rustic Bird House Video
Link to my Rustic Bird House Blog
Tools you may need
Bostitch Dual Nailer and Compressor Combo https://amzn.to/3MKSp53
Tay Tool #5-1/2 Bench Plane https://amzn.to/3MNRHUs
DeWalt Cordless Jigsaw https://amzn.to/3wA9t8j
Wixey Digital Angle Gauge https://amzn.to/3qyJc6q
Wildlife links
All about Birds https://www.allaboutbirds.org/news/the-basics-how-why-and-where-of-bird-migration/
Audubon Society https://www.audubon.org/
National Wildlife Federation https://www.nwf.org/Kids-and-Family/Connecting-Kids-and-Nature
U.S. Fish and Wildlife Service https://www.fws.gov/