Summer is coming and with it comes flowers and butterflies. Here is an easy and a very inexpensive summer garden butterfly house. I’ve made several of these and kids love nailing them together and painting them. Like the Bird House [blog and video links below] you need minimum tools and only need a two cedar fence boards. We are adding a jigsaw to the tool list however or a router and 3/8” Straight Bit. This is a great project to involve your kids, grandkids, nieces, and nephews, and is the perfect opportunity to teach them about ecology, conservation, and wildlife management. Check out the links below.
Tools
You only need a saw, a square and pencil, a hammer, and a tape measure. I recommend you have a jigsaw or a router with a fence and 3/8” straight bit, Wixey digital angle gauge, and a tablesaw. Those tools make the job go much faster.

Materials
Again, you only need minimal materials – Two 6’ Cedar fences boards, 18 6p finish nails (I’m using a pneumatic nailer), and waterproof glue is optional.

Layout
Layout is simple. From the two fence boards you will cut two sides at 21”, a front and back at 23” two roof pieces at 7” and a bottom at 3-7/8”, So lay the parts out on the boards but make sure you leave an extra 1/8” for the saw kerf.
Cutting

Once you have all the pieces crosscut to length you need to size them. First rip both sides to 3-7/8” wide. Next rip the bottom to 4-1/2” wide. On both front and back cut the corners off at 45 degrees to form a point. Last, set you saw blade to 45 degrees. Here I suggest a Wixey digital Angle gauge (see link below) to make sure you have an accurate bevel. Bevel one 7” edge on both of the roof panels. And Bevel the Top Edge of both sides.
Be sure you drill a hole in the bottom and a stopped hole in the block sized to match the pipe you plan to mount it on.
Your parts are ready
On completion you should have the following parts:

Assembly
Lets start by dry assembling the Butterfly House. Use a couple of clamp to hold everything in position. At this point you side should be a bit long – mark and cut them so they are even with the bottom of the front/back.
** Did you pick up your free Plans yet? **
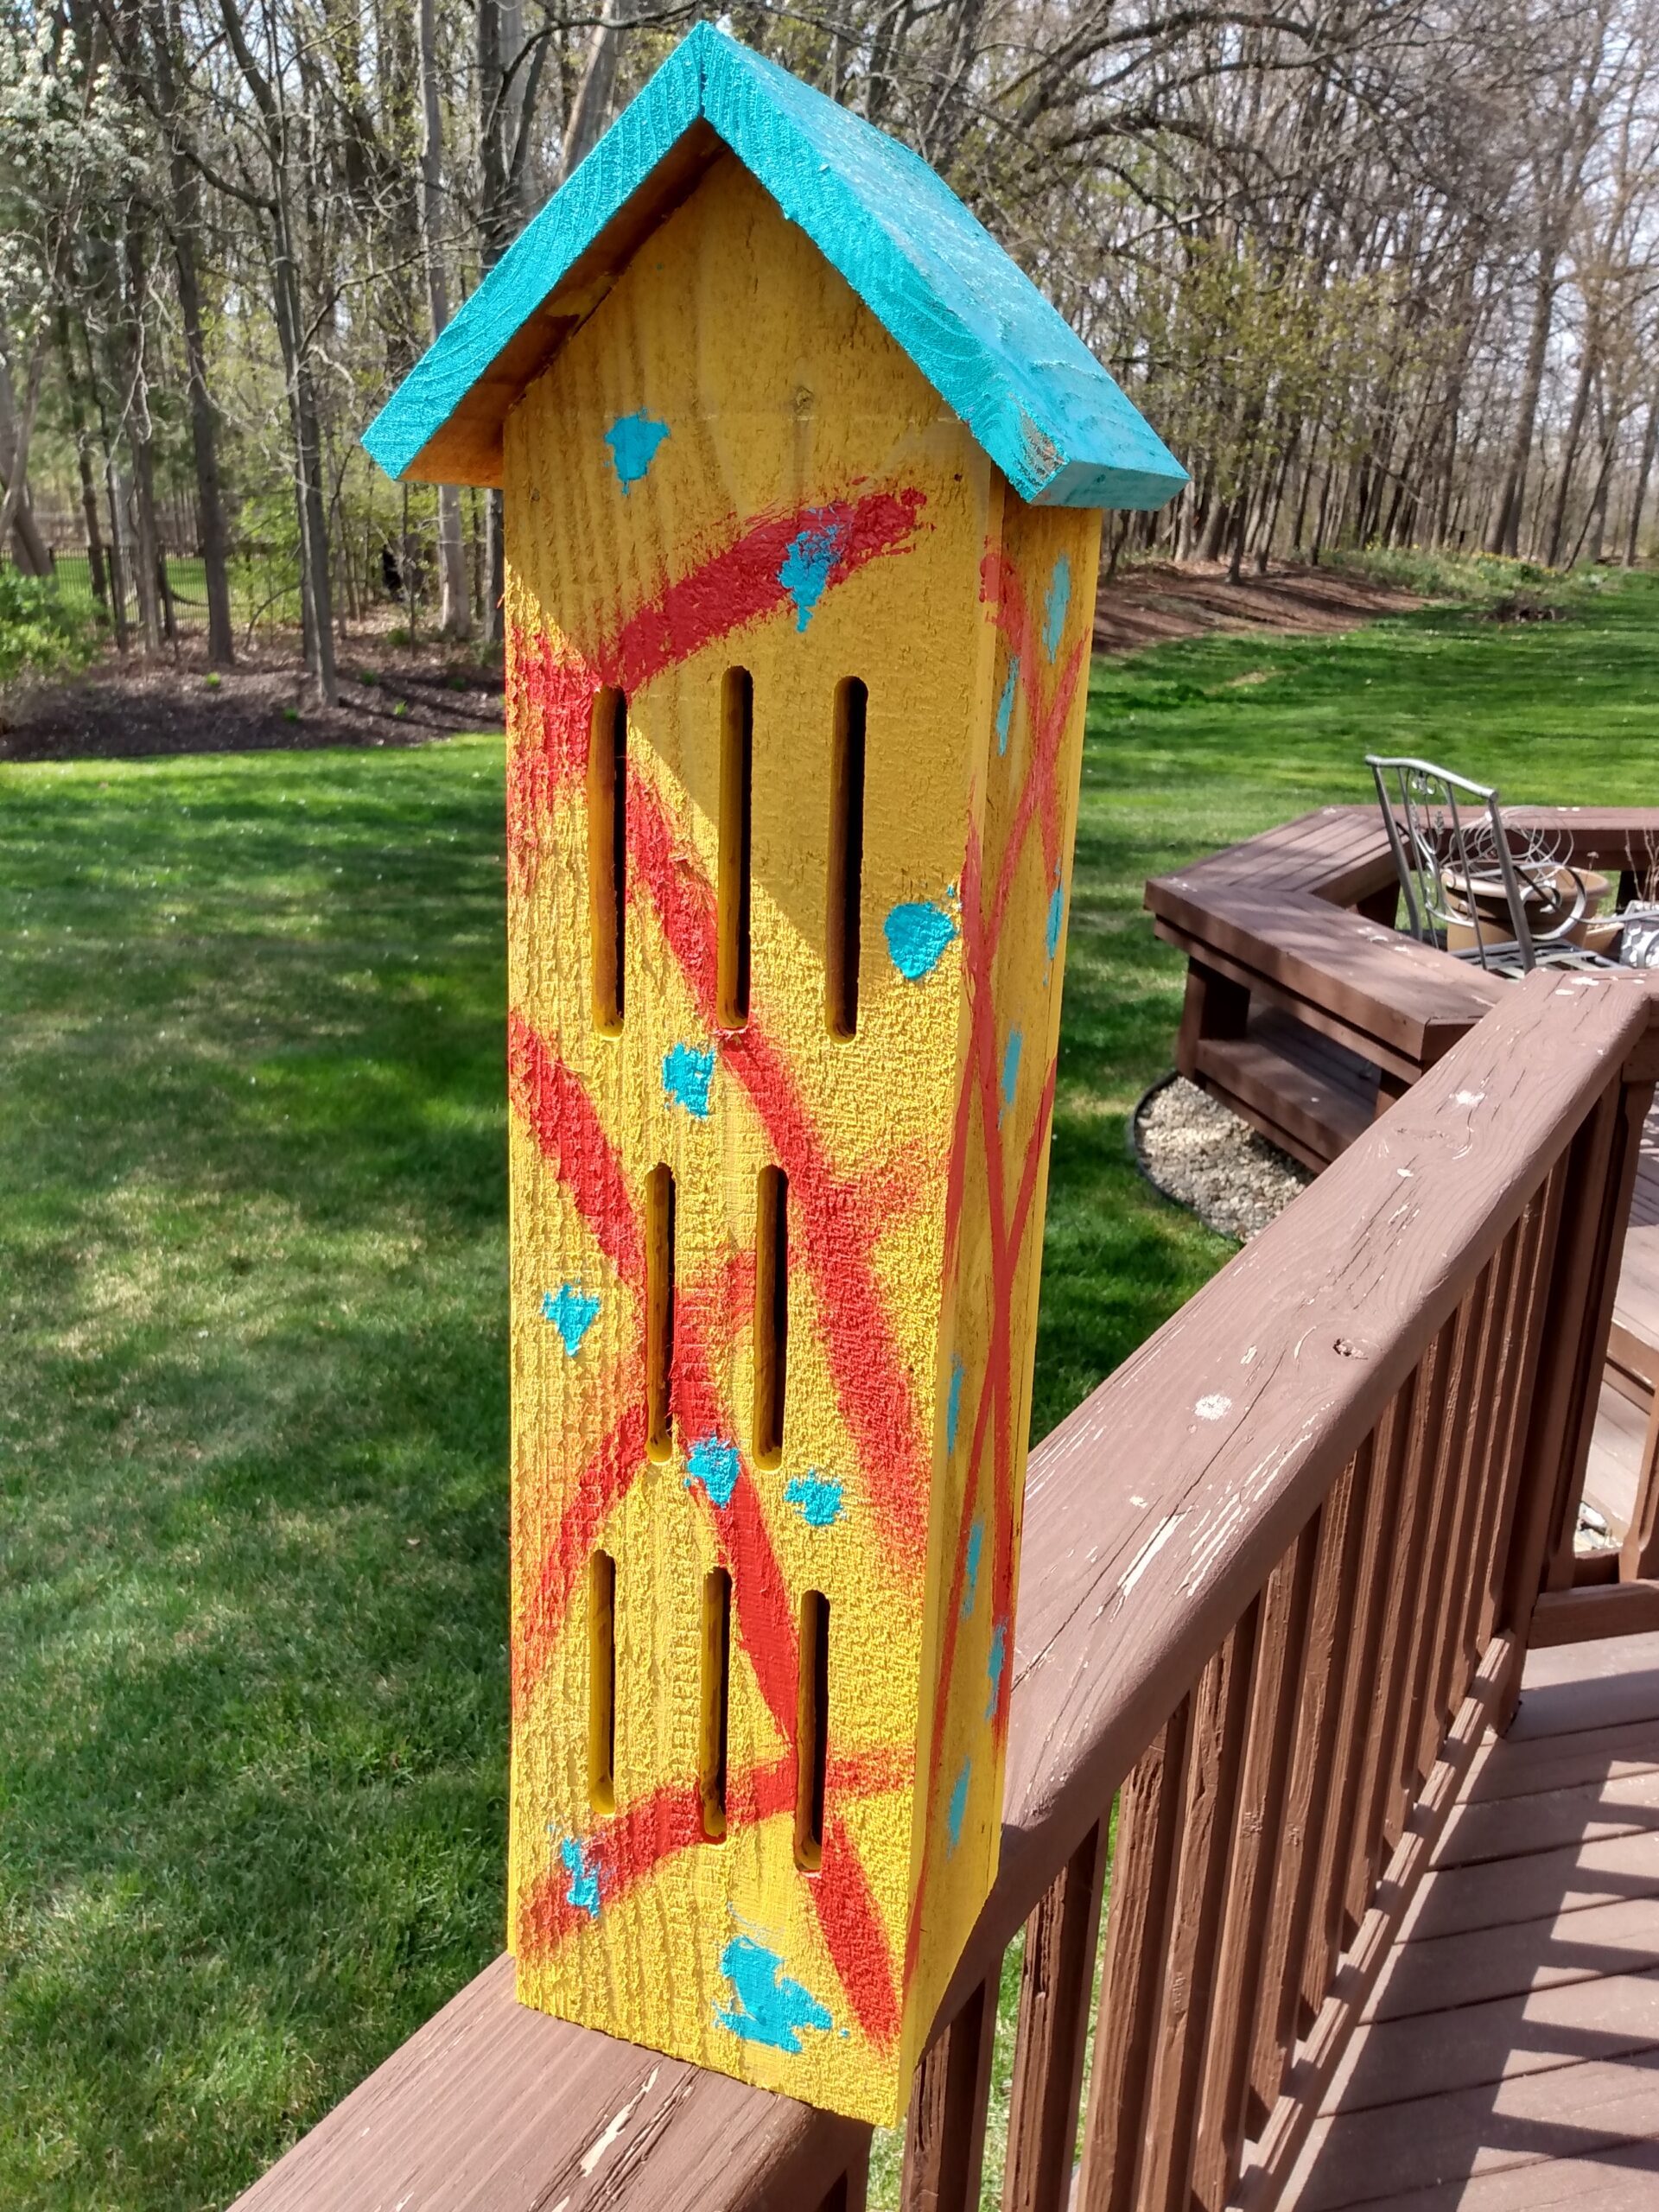
Now you need to mark and cut the eight 3/8” wide x 3-1/2” long slots. Lay these out from the plans or you can estimate where they go. I used a compact router with a fence and a 3/8” straight bit (see links below). Be sure to use some sandpaper to easy the edges to help the butterflies get in and out.
Now final assemble with 6d nails or like me, I used glue and a pneumatic nailer. Install the block in about 7” – use glue to hole this in.

On one side put in one nail on the left and right about 1-1/2” down from the top. Make sure these are in line as they are your hinge. At the bottom drill a 1/8” hole through the back and into the edge of the side – this is the latch to keep the side closed.
Finishing
Pick two or three bright colors and let the kids paint everything. As long as they are having fun there is not wrong way to do it.
Pic a spot in your flower garden and drive in a 6’ piece of conduit or pipe about 2; into the ground. Slide the Butterfly House over the pipe.
Wahoo – you are done!!

Thanks for reading and until next time Good Making!
Bill
Click Here to see Making a Butterfly House Video
Follow this link to my Rustic Birdhouse Video https://youtu.be/WVL7Z1oOQgk
And click this link to my Building a Rustic Birdhouse Blog https://30minutewoodshop.com/?p=230
Tools you may need
Wixey Digital Angle Gauge https://amzn.to/3xqyrrc
Gerber Prybrid X, Pocket Knife https://amzn.to/3rnw2cR
DEWALT Router Fixed/Plunge Base Kit https://amzn.to/34TeXzp
Router Bits Sets of 24A Pieces 1/4 Inch Shank https://amzn.to/3I5SYU7
Freud 3/8″ (Dia.) Double Flute Straight Bit https://amzn.to/3snjJ0L
Special Project Links
Smithsonian Gardens Butterfly Habitat