
You can use anything for a dice cup, but I wanted to show you how easy it is to turn one. This turned dice cup is one that will make you the envy of your friends at the gaming table. The advantage of turning your own dice cup is that you can select woods and patterns to match your gaming preferences. Also a wood dice cup offers a tactile and sensory experience. The feel of the wood cup and the sound of the dice against the interior enhance the overall play. You do need a few specialized tools but once you have those this project comes together fast and easy. And, if you are not already into woodturning this actually is a great first project to get started.
Remember that woodturning requires practice and patience. It’s important to take your time and prioritize safety throughout the process. Always wear appropriate safety gear, follow the manufacturer’s instructions for both your lathe and tools, and seek guidance from experienced woodturners if you’re new to the craft.

And follow my Video below to see how it is done.
Tools and Materials
OK, most of my projects don’t require special tools. As a matter of fact, most can become accomplished using only hand tools. This project, however, does require you have a lathe and lathe tools. I would recommend a Jet 10” x 15” Lathe because it gives you plenty of room to grow. If you’re just getting into it I’d also recommend a set of High Speed Steel (HSS) tools. This will give you a good basis to turn anything you want over the next few years if you’re a beginner. You can always sell them on eBay and upgrade as you get better. There are links in the bottom for both the lathe and tools. And last you will need a good 2 1/2 inch forstner bit
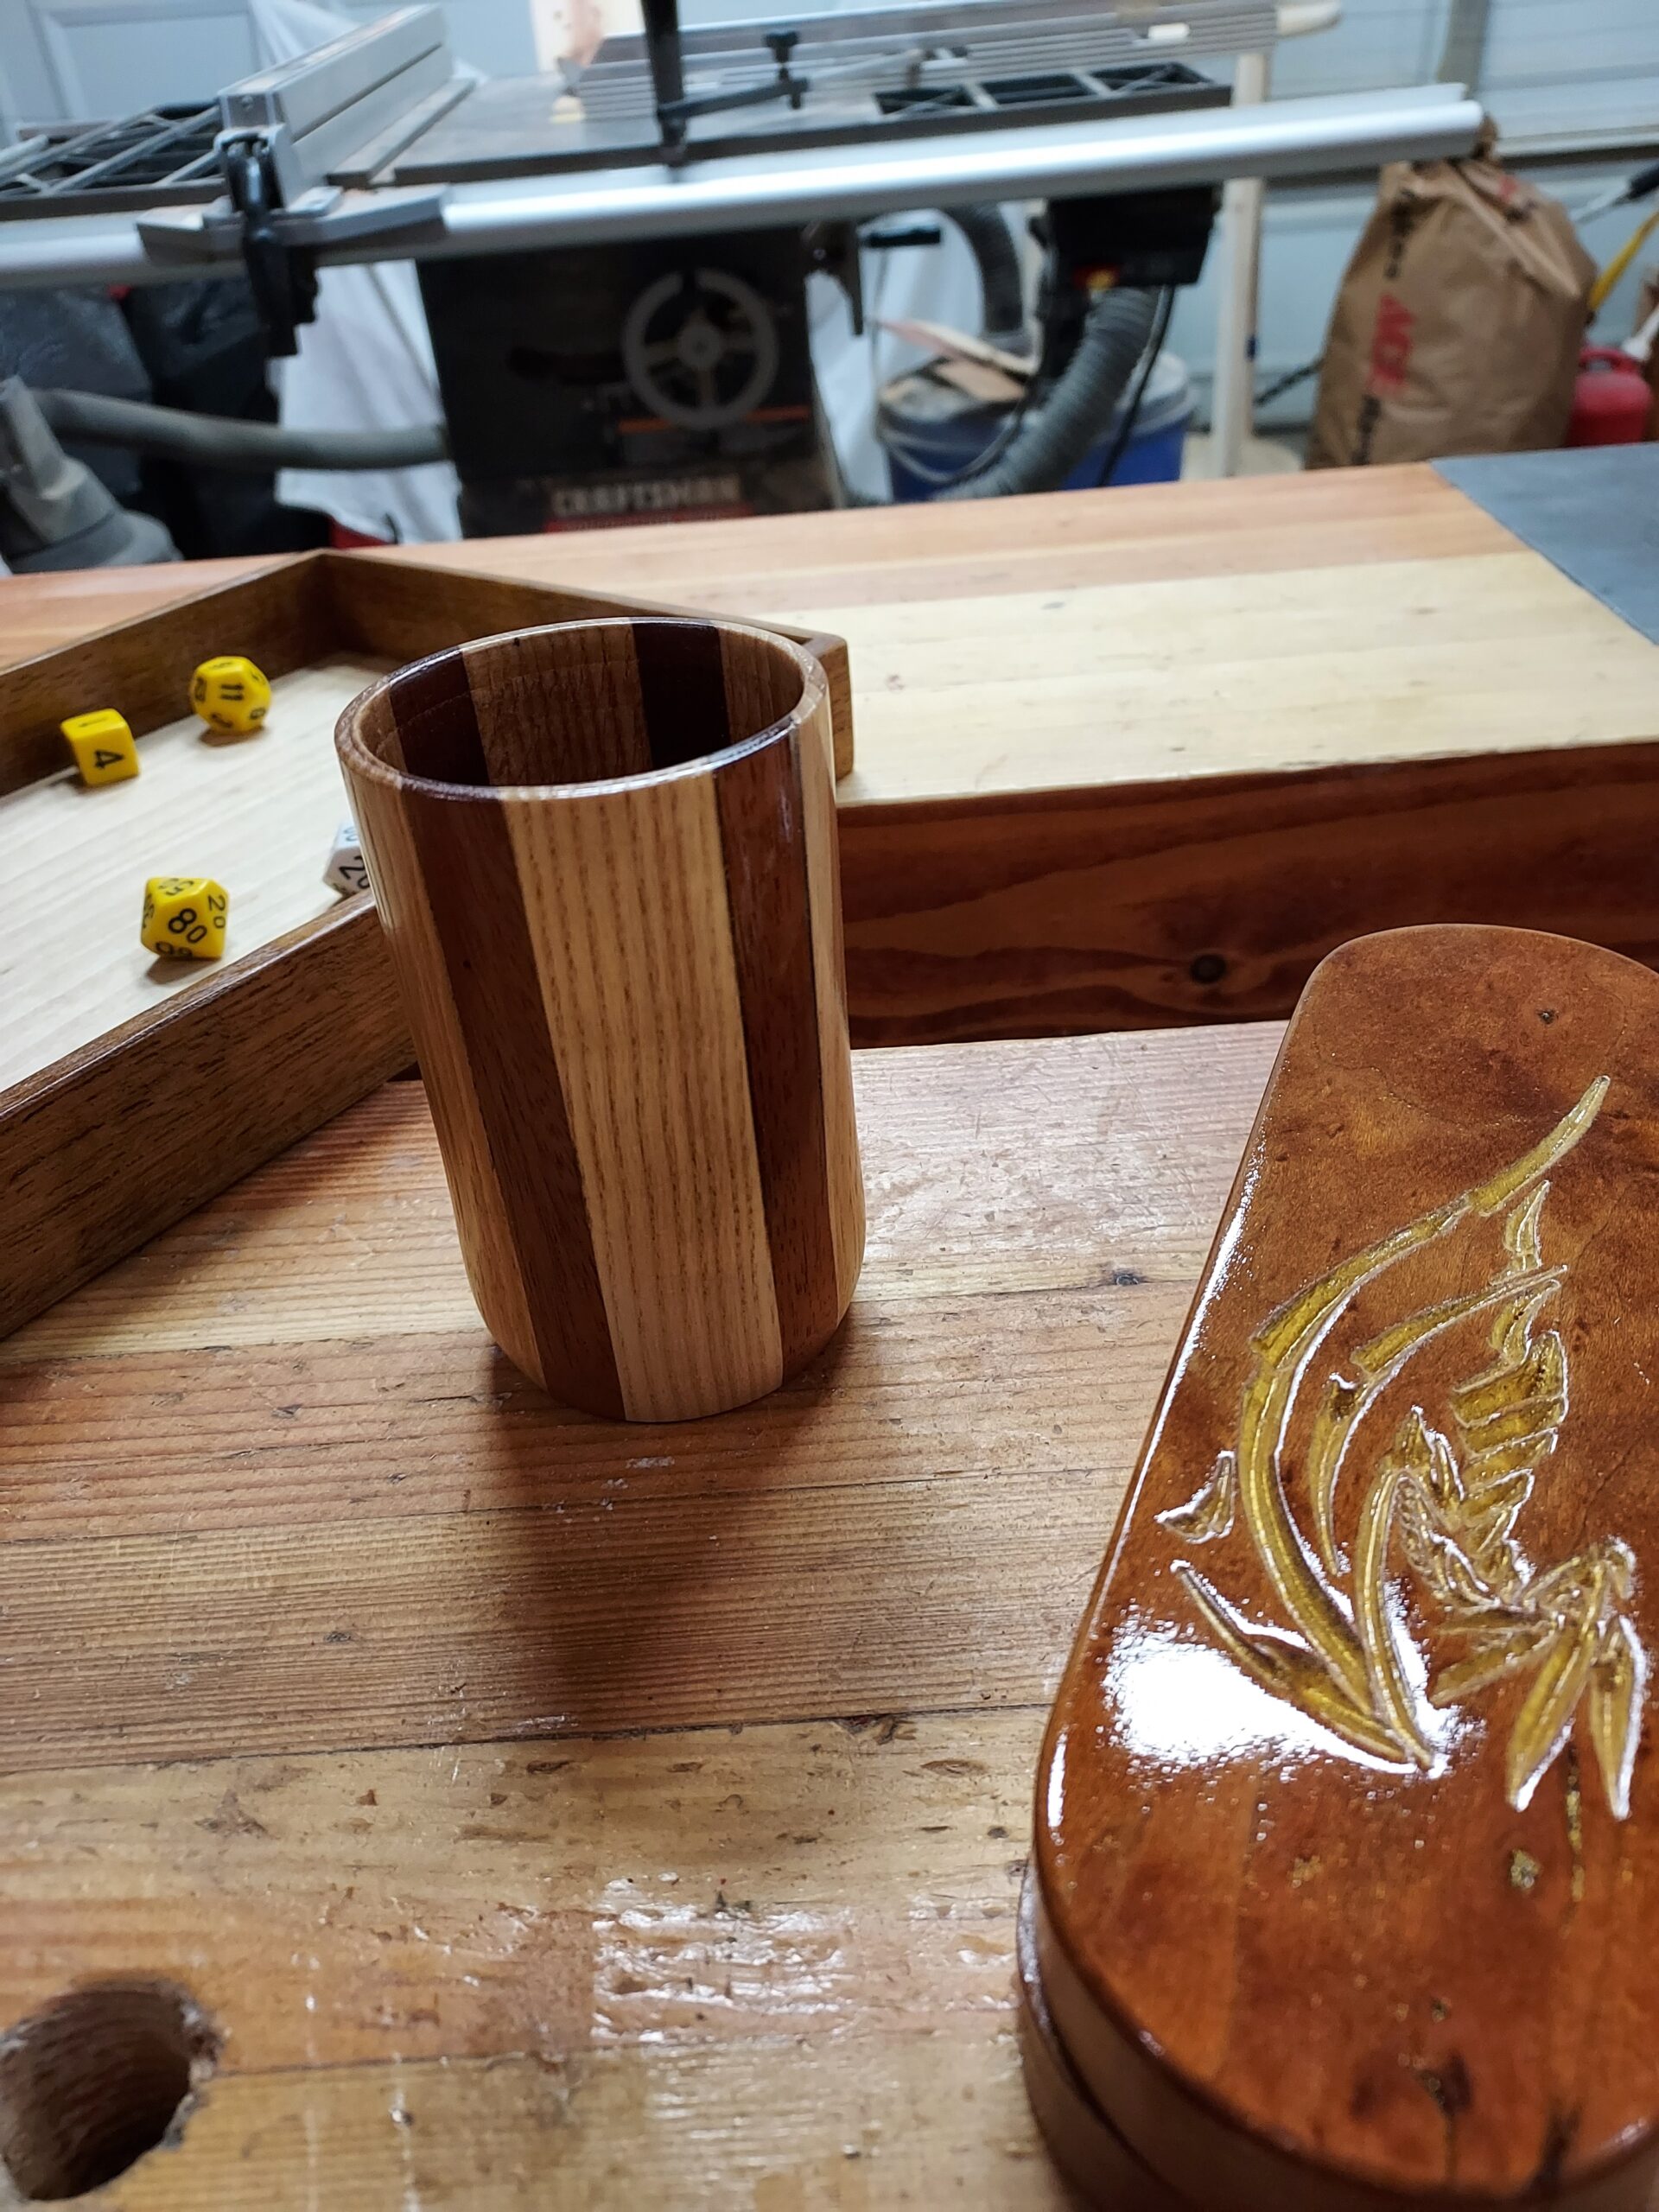
Materials for the turned dice cup are minimal. I used scrap Ash, Mahogany, and Hickory that I glued together into a 4 by 4 by 5 inch block. You could actually glue up a block that is more like 3-1/2 inches by 3-1/2 inches by 4 1/2 inches and that would suit you just fine. The wood you choose and the pattern you want is solely up to you. You will however have to make sure that after you’ve glued it up your block is actually square and whatever length you choose. One thing, be sure when you glue that you spread glue everywhere or you could have a split along a glue line. This is one of those times when a little extra glue can’t hurt.

Layout
Layout is pretty straightforward. First scrape away all the glue residue on the ends and the sides. Or at least the first half inch. Because that’s where the Center Finder will rest. Then you’ll need a Center Finder Line Gauge to find the center of the block. If you have a square block, you can just use the cross corner method. That is where you put a straight edge from corner to corner and strike a line then put another line at 90 degrees from corner to corner this will give you this proximate center of the piece. Once you’ve marked the center use the awl to put a hole in it. This is where your live center will be at one end and the other end is where you will drill your hole.


Drilling
So the first thing you want to do after marking is to drill out the center. I suggest a 2 1/2 inch diameter Forstner bit. Secure the block and drill your 2 1/2 inch diameter hole 3 inches deep. This might take a little bit of time if you’re doing it with a hand drill. I use a drill press which is the recommended method for a large Forstner bit. Be sure you clear the chips frequently as you drill to prevent overheating.

Turning
Now that you have the center cored out you can start turning. There are a lot of ways to Chuck this part. I used a jam Chuck which is nothing more than a tapered piece of wood that jams into the opening that I drilled out. Then use the live center on the bottom.
If you are totally due to turning I would suggest you actually watch a couple of videos so you’ll understand how it’s done but Simply put start with a roughing gouge and turn off the corners that is you will use the roughing gouge to make the square part round. Once you have it round you can go to a spindle gouge and continue cutting and refining until you’ve reached the desired wall thickness of the cup. I took mine down to 1/8 of an inch. I did this because I like to thin sidewall but it can be difficult if you’re new to turning. So feel free to leave it at say 1/4 inch. When you get down close to where you want it you have two choices you can try to use a skew chisel to clean it up.

Sanding
Once you get the hang of a skew it will save you a lot of time. But a skew chisel is very tough to use. So if you don’t do that method grab some 60 grit sandpaper and then 80, 150, 220, and 320 grit sand paper and start sanding. While sanding make sure that you don’t hold the sandpaper one spot move it across the entire surface left to right while you’re sanding. By the way during the process of sanding it helps to have a vacuum to suck up all the dust that you will make. Hold the nozzle close to the sandpaper as the piece turns and you apply the sandpaper. You can see the picture below where I have the shop back nozzle to suck up all the dust.
Once you’ve run through all the grits and you’re down to 320 you have a choice. You could go 400 and 600 grits because this will be a piece that you will handle frequently sanding down to 600 will give it a super silky smooth finish.
The last step after sanding is to part off the cup. All you’re doing here is using a skew or parting tool and cut the base of the piece off. This will probably leave a small nib that you’ll have to sand off by hand.

Finishing
Now that your sanding is done it’s time to put a finish on the cup. You have a super wide range of finishes available to you. Everything from varnish to a simple wax or wax and oil finish. Boil linseed oil is a really nice way to go also. I chose to use a spray lacquer. I like the look and feel of the lacquer. And it’s an easy finish to use for a small part like this. I sprayed on four coats of lacquer, sanding with 400 grit lightly between each coat. And then I did a final finish of paste wax. By the way I also sprayed lacquer on the inside of the cup too.

The Project is Finished
This was really fun and fast project that will get a lot of use in the coming months. And especially in the winter. It’s a beautiful piece that is a great addition to the gaming sets that I’ve been creating. As I said You’ll get a chance to use several tools and methods and have a nice piece when you’re done.

If you do make this project, congratulations on a job well done. And do me a favor and post it on my Facebook page (see link below).
Hope you got something out of this and if you did, do me a favor, hit like and subscribe. I’d appreciate that a lot.
Thanks for reading and until next time Good Making!
Bill
Visit my Etsy Store at www.etsy.com/shop/30MinuteWoodshop
Facebook https://www.facebook.com/30MinuteWoodshop
Links to my Videos and Blogs
Create Your Own Dice Vault https://30minutewoodshop.com/?p=1226
DIY Whiskey and Cigar Butler https://30minutewoodshop.com/?p=550
Farmhouse Key Rack https://youtu.be/I65FGq4dKYY
Create Your Own Lazy Susan https://30minutewoodshop.com/?p=491
Tools and Materials you may need
Jet 10” x 15” Lathe https://amzn.to/3ODpu4x
HSS Lathe Tool Set https://amzn.to/3qd9tu9
Center Finder Line Gauge https://amzn.to/3phRhPm
DEWALT Drill and Driver Combo https://amzn.to/42yybmy
DEWALT Router Plunge Base Kit https://amzn.to/3LKkJEK
Starrett Cobination Square https://amzn.to/3XpbrDN
WoodRiver Low Angle Block Plane https://amzn.to/3pkNvos
Center Finder Line Gauge https://amzn.to/3phRhPm
2-1/2″ Forstner Bit https://amzn.to/44WWTOA
Milwaukee M18 Jig Saw Kit https://amzn.to/3FAWXsS
BOSCH Compound Miter Saw https://amzn.to/421A1vl
Minwax Fast Drying Polyurethane https://amzn.to/3V5h0pO
PPE Gear
3M N95 PPE Mask https://amzn.to/3x4NGEu
ISOtunes Bluetooth Earmuffs https://amzn.to/3lpj1iA


