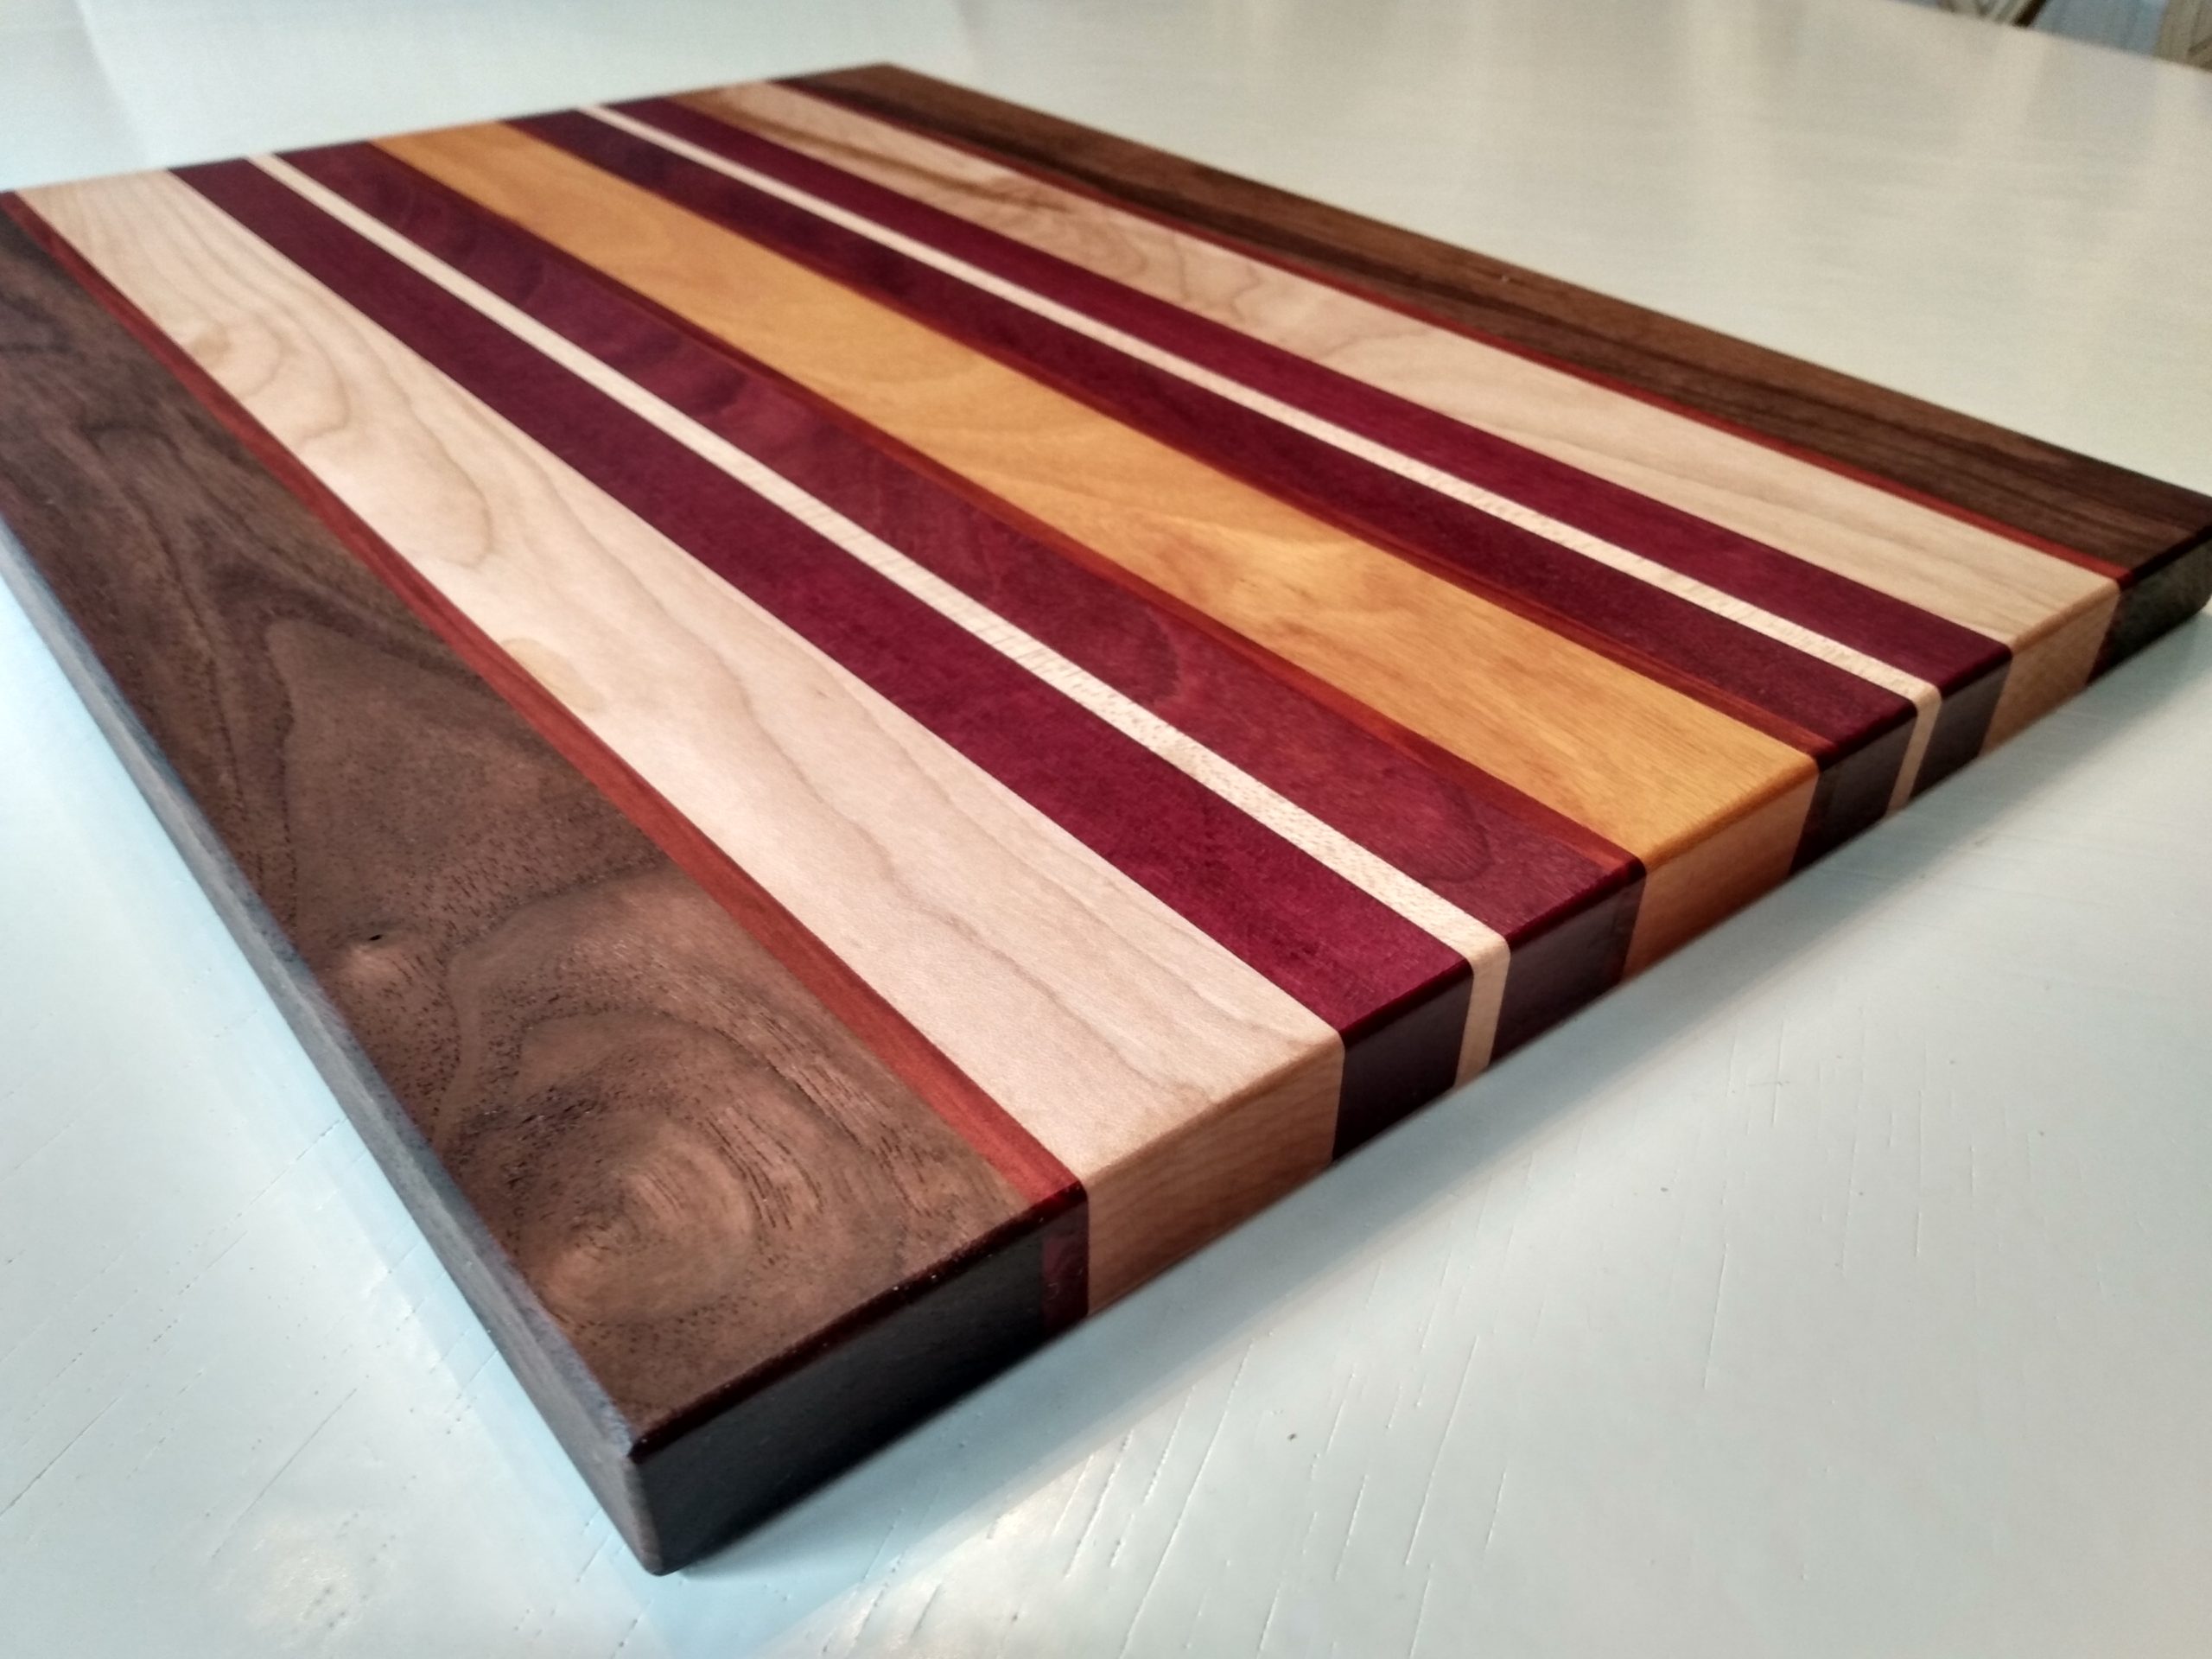
Cutting boards abound at craft fairs for a reason – they are easy to make. Here is a DIY Cutting Board Your Family Will Love. It is a beautiful mix of hardwoods in colors that make this a family treasure. This DIY cutting board very simple project and a great gift for friends and family too.
Below are some links to tools, materials. and kits.
And follow this link to my Video to see how it is done. VIDEO LINK
Tools
Very few tools needed for DIY Cutting Board project. A table saw with a REALLY good blade (Link below I recommend a Forrest Woodowrker II), a Card Scraper (Links to Blog and Video), orbital sander, and a few clamps. A “Lunch Box” style planner is a really nice add to the tool list. (Link below to a DeWalt Planer)


Materials
To make this cutting board I used offcuts from other projects out of my scrap bin. I don’t know about you but I hate tossing out “good” wood. These were all about an inch thick and ¼” to 3” or 4” wide and about 15” to 17” long. You will need enough to make a 9” to 11” wide by 13” to 16” long board. Be sure you are using close grained hardwoods. No Pine, Red Oak, Mahogany, etc. My board is 12-1/4″ which just fit my 12-1/2″ Delta Planner.

Cutting
If you have wide pieces I suggest that you cut them down and be sure you have thin strips of light and dark wood as accents. Using narrower strips and gluing the pieces together pretty much insures that you will have a flat cutting board for a long time.
Use a good sharp blade which will give you a nice glues surface that will result in tight joints. Tight joints will keep the glue and board from failing as water seeps into the cracks. See link below for the Forrest Woodworker II saw blade – it will give you glass smooth cuts ready for glue up.
Layout
This project is all about what you like. So layout your strips in a pattern that pleases you. Light/Dark, Symmetrical/Asymmetrical. Your board should be about 9″ to 12″ wide.

Glue Up, Scraping, and Planing
Glue up is a quick process. Be liberal with the glue. AND be sure you use waterproof glue – I recommend Titebond III. Clamp and wipe down the glue. Let it dry for 24 to 48 hours.

Once you pull it out of the clamps you will need to pop off any leftover squeezed out glue. Use a Card Scraper, it will make short work of the task. If you are not familiar with a Card Scraper, here is a link to my Video – Card Scraper Video

With most of the glue drips and chunks off you can run it through a planer of surface sander.

Sizing the Board
Next you will cut the ends off to 1) even them up and 2) to size the board to your needs. I suggest about 15” but anywhere between 10″ and 16″ works well.

Routing
Now you need to route the edge. You can choose anything from an 1/8” radius to a 1” bullnose or even put a chamfer on it. I chose an 1/8” radius – just enough to ease the edge. BTW you could just sand the edge too.

Finally, you are ready to sand. If you have planed the wood use 220 grit paper then 320 to achieve a smooth finish. There will be no varnish on the board so nothing to build a film that will cover, fill, or hide small defects. And be sure to sand the end grain well.
Finishing
On to the last step – finishing. As this is a working cutting board you need a food safe finish. The best one to start with is mineral oil. It won’t turn rancid with age like a lot of plant based oils. Wipe on 3 coats and let it sit for about 30 minutes between them.
Wipe off any excess oil then apply a board butter. Basically, a mixture of Beeswax and Mineral Oil heated until they mix. Rub the mixture in especially along the end grain. The wax will help seal the end grain. Then wipe off the excess and buff with a soft cloth.
Congratulations – you are done!! Your project is ready to give to friends, family, or put it in your kitchen for daily use. You will be point to your accomplishment every time you have friends and family over.

Thanks for reading and until next time Good Making!
Bill
Links:
Cutting Board Kit Options
Cherry/Walnut Cutting Board Kit
Tools you may need
Forrest Woodworker II 10″ Table Saw Blade
Titebond III Ultimate Wood Glue
Note: These are affiliate links


