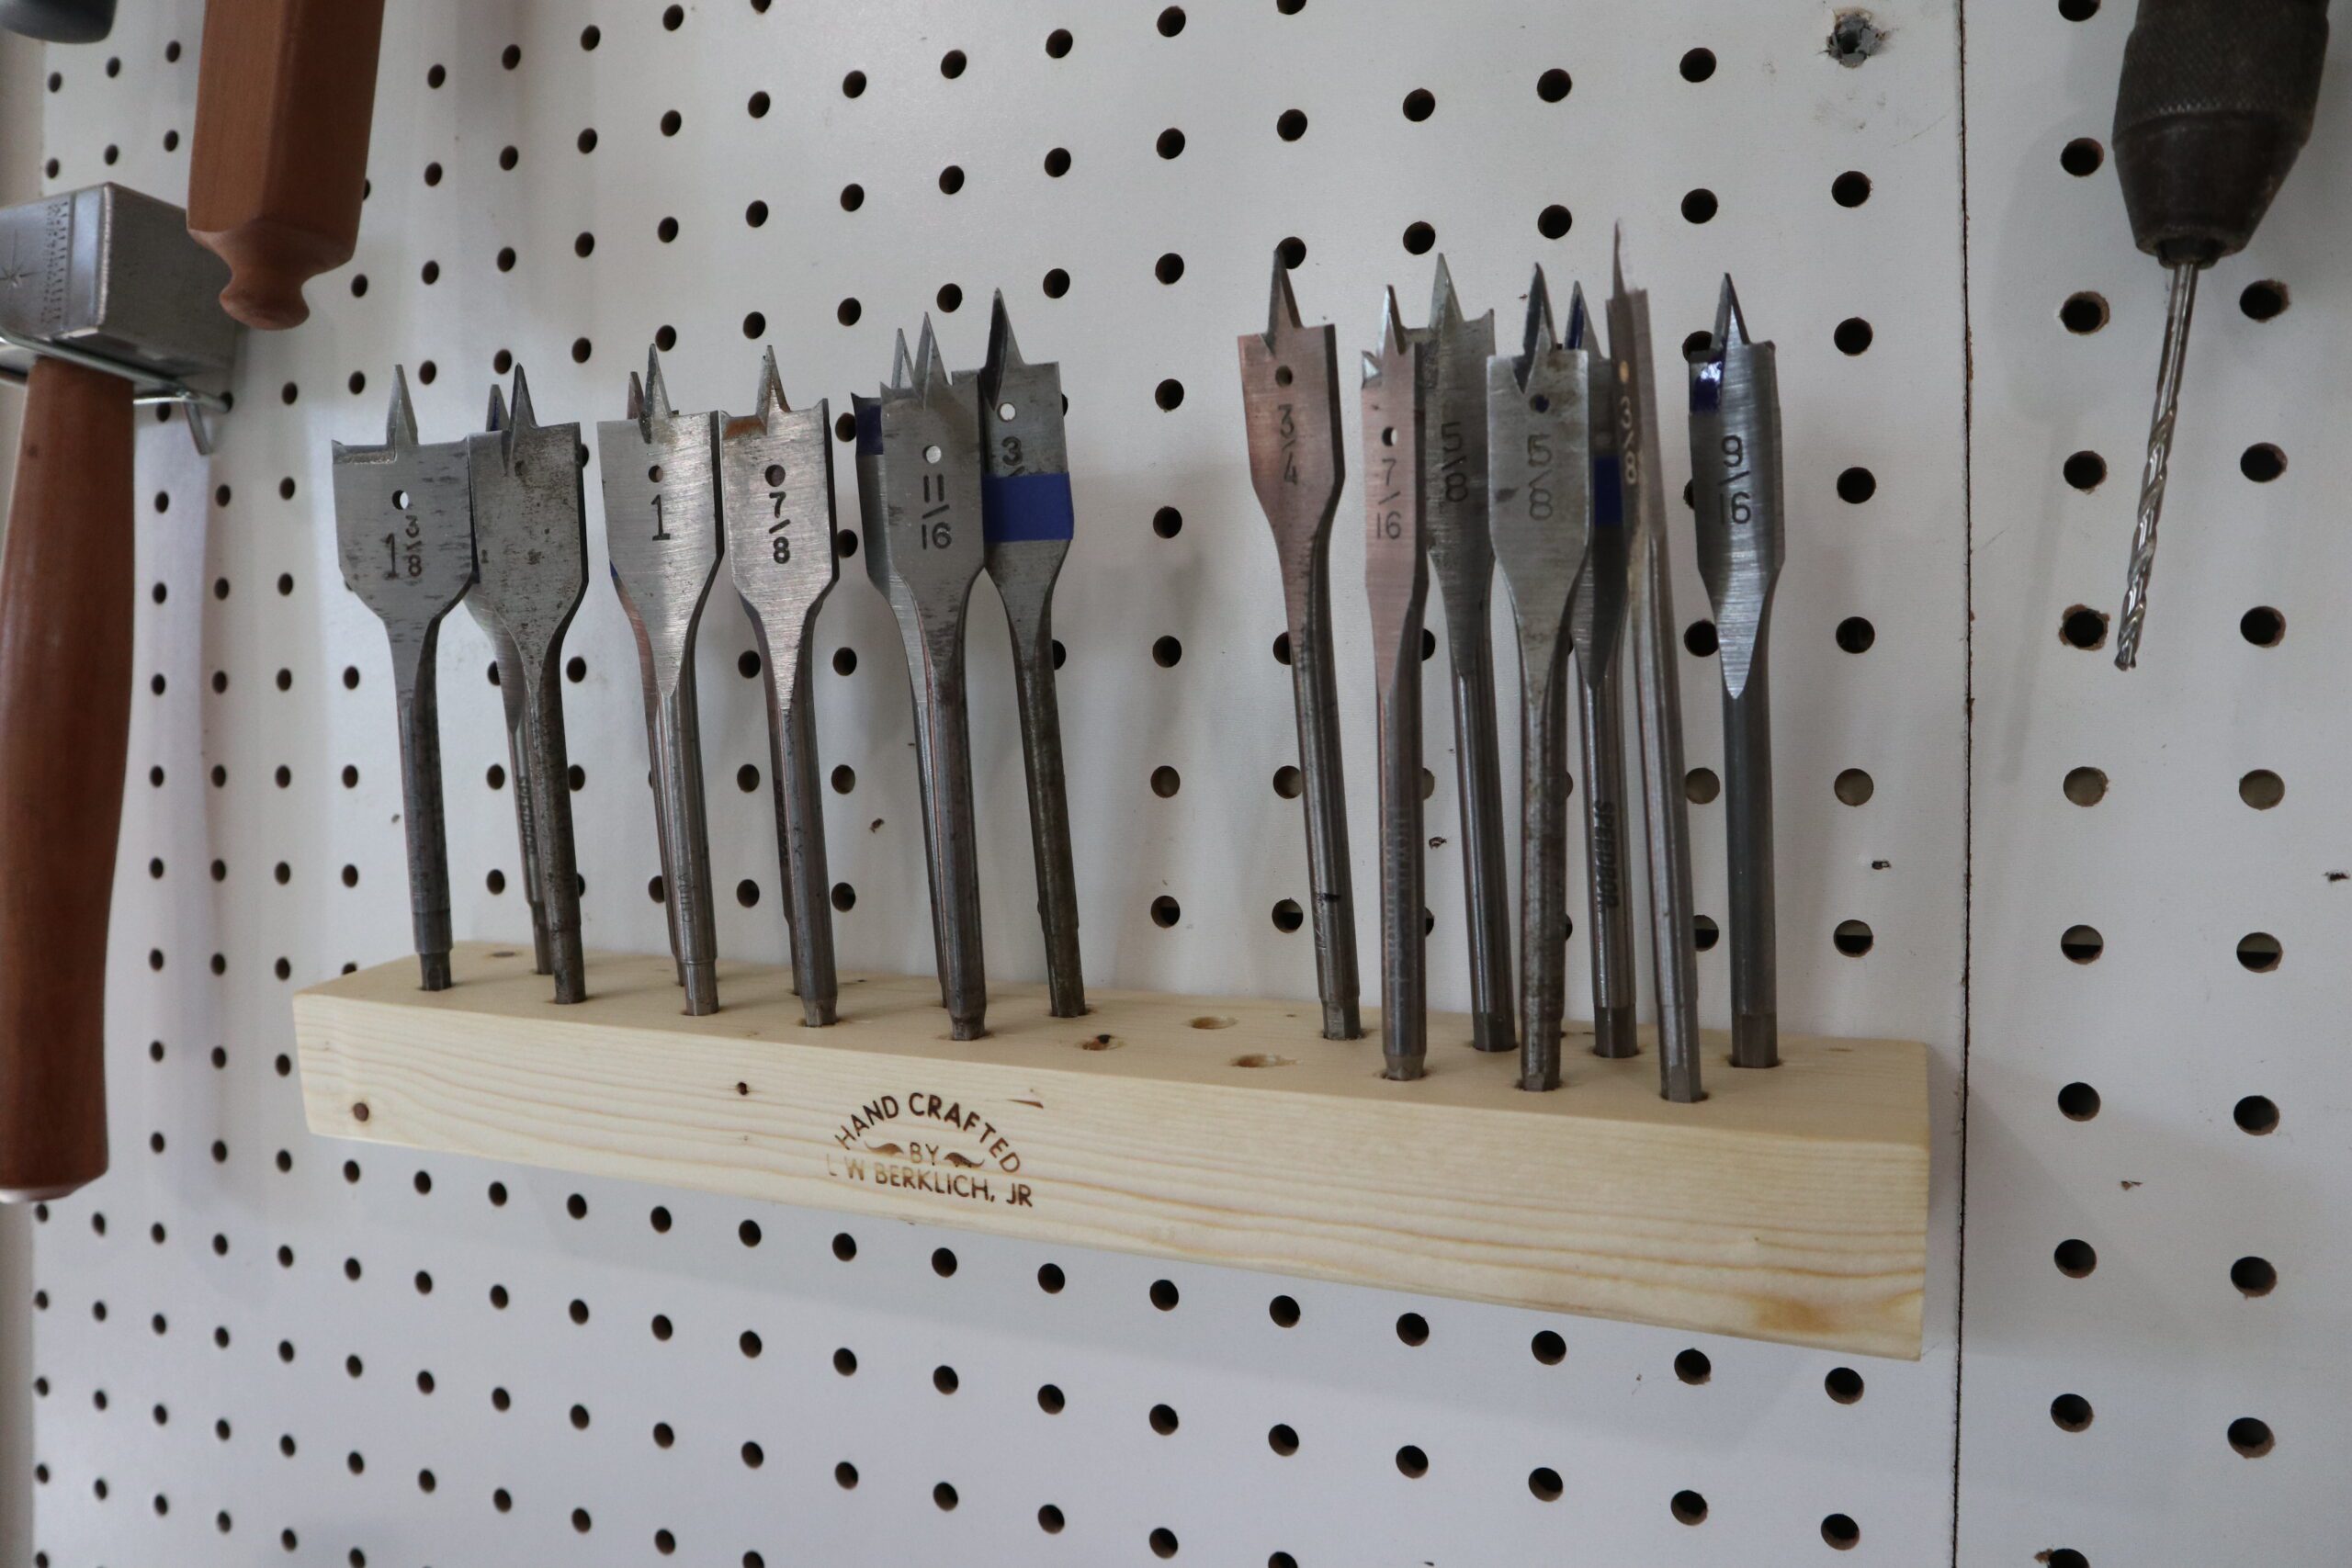
Here is an easy DIY Drill Bit Rack. This tool organizer will help you easily find the right bit when you need it. It is a tool organizer to keep your spade bits safe and easy to reach so you don’t have to rummage through the bottom of your drill bit box to find the right one. This hangs directly on your pegboard or you can screw it to the wall. It only takes a few tools and some really inexpensive lumber.
And follow this link to my Video to see how it is done.
Tools and Materials
The tools that you’re going to need for this Drill Bit Rack are minimal. You could do this one all with hand tools but a few power tools will speed this build along nicely. You will of course need a tape measure, a combination square, a spade bit set, a drill motor, and a saw.And for materials you will need a 13” long piece of 2 x 4 cut down to 2” wide and 1-1/2″ (~40mm) “L” hooks.

Layout
Layout starts with using your combination square to strike a 1/2 inch line. Next, follow the dimensions on the sketch below. The next series of holes are for newer spade bits with larger diameter shanks.
Please note that the design below is for my Spade Bits. You may have more or less and they may be larger or smaller. Be sure you check dimensions before you start drilling. You may even have to drill a few test holes to make sure things are going correctly.


Drilling
With the hole centers marked you will need to select 1/4” bit and drill the first set of holes. Next chuck a 5/16” bit in your drill and drill a second set of holes. Be sure you have some kind of backer board you can drill into. Just in case – Otherwise, you may drill into your bench.

Cutting the Back Bevel
Next you’re going to want to set your saw to 5 or 10 degrees of bevel. Putting a bevel on the back of the rack will make it easier to get the bits in and out. There is less chance of them interfering with tools that are above the rack.

Sanding
Depending on how rustic you want this now is the time to sand all the surfaces. If you’re using a piece of construction grade 2 x 4 it will probably be pretty rough so you should start with 60 or 80 grit sandpaper and then move to 150 and finally 220 grit sandpaper. Be sure to round off any sharp corners or edges.

Finishing
You can finish the spade bit rack in any manner you choose. Whether bright yellow with black accents, a warm orange lacquer, or a simple coat of wax all will be beautiful in the end. I finished mine two coats of boiled linseed oil mostly because that’s what I have easy to hand. The pine sucked up the first coat very quickly. But the second coat took a day or two for it to fully cure.
Final Assembly
At the last minute I decided to just hang it on my pegboard. If you choose this route hold it up to the pegboard and mark the location of the hole.
NOTE: Be sure that the hooks don’t interfere or intersect with the holes for the screwdrivers.
Measure down 7/16”” along the centerline of the pegboard hole. Next drill a 1/8” hole 1” deep. Screw in the “L” hook to about the thickness of your pegboard. Use an Awl to mark the drill point. It will keep the drill from walking.
I miss-marked in the last project but I caught the mistake before I actually started drilling.
Measure Twice, Cut Once!!

Finished
Well if you made this project you’re done the last step is to hang it on the pegboard and load it with your spade bits.

Hope you got something out of this and if you did, do me a favor, hit like and subscribe. I’d appreciate that a lot.
Thanks for reading and until next time Good Making!
Bill
Visit my Etsy Store at www.etsy.com/shop/30MinuteWoodshop
Facebook https://www.facebook.com/30MinuteWoodshop
Links to my Videos and Blogs
Create Your Own Dice Vault https://30minutewoodshop.com/?p=1226
DIY Whiskey and Cigar Butler https://30minutewoodshop.com/?p=550
Farmhouse Key Rack https://youtu.be/I65FGq4dKYY
Create Your Own Lazy Susan https://30minutewoodshop.com/?p=491
Tools and Materials you may need
1.5 “L” Hooks https://amzn.to/3QWLla0
DEWALT Drill and Driver Combo https://amzn.to/42yybmy
Ridgid Oscillating Sander https://amzn.to/45C3rTK
Starrett Combination Square https://amzn.to/3XpbrDN
DeWalt Tape Measure https://amzn.to/3OYpqfV
WoodRiver Low Angle Block Plane https://amzn.to/3pkNvos
BOSCH Compound Miter Saw https://amzn.to/421A1vl
Minwax Fast Drying Polyurethane https://amzn.to/3V5h0pO


