
Here is a beautiful DIY wood Charcuterie Board project you can whip up in an afternoon and amaze and delight your friends and neighbors with your woodworking prowess. Especially if you bring it out with food on it.
And of course, the BIG question on everyone’s mind is. “What’s the difference between a Charcuterie Board and a Cutting Board. I hate to disappoint but NOTHING!! Same board, same process, different use. I did plane mine down to 9/16” to give it a lighter feel. And cut a bit of a curvy handle too – just for fun. Neither are really necessary.
There are a host of links at the bottom to help you with your own DIY Charcuterie Board. Feel free to explore those to gain some ideas on tools and projects.
Tools
Tools for this project are pretty simple, though you do need a really good saw blade to make glue line joints. I use a Forrest Woodworker II (link below). Clamps, Sander, Jigsaw, and Card Scraper will turn the trick. You may want to use a compact router and an 1/8” roundover bit too.

Materials
The project is quick and simple – I used leftovers and scrap, but you may have to buy a kit. I have a link below that you can use if you like. You will need enough to make a board about 18” long by 9” wide. You can adjust the size to fit your material though. Don’t feel constrained by my dimensions. – go crazy!

Layout
Once you have collected everything, you will need to start by laying out your pieces in an eye catching pattern of lights and darks or mixed grain patterns. You want something that will be noticed even without food scattered across it. This is the reason for wildly curved handles and live edge boards. If your pieces are too wide or too uniform you will need to cut some of them into smaller strips to gain visual variance. Two thin pieces flanking a dark piece is really noticeable.
And, this is where a really good table saw blade is worth its weight.

Jointing and Glue Up
Now that you have the pattern, go ahead and clamp them together with firm pressure. This will allow you to look for any serious gaps. If you find one or two gaps try rearranging the strips – that will sometime fix the problem. If not, you may need to joint some of the pieces on the table saw. DO NOT TRY TO JOINT A NARROW PIECE. That is dangerous. For a narrow piece note where it is not closing and where the high spots are. Then use a Card Scraper to remove excess material (High Spots).
With all of that done, go ahead and apply glue and clamp. Be sure you are using a waterproof glue. I use Titebond III. When you start clamping, you should have glue squeezing out of all the joints the entire length of the board. You want glue squeeze out so that any micro cracks or gaps are filled with glue. It will keep the water out and make the board last longer.

Now wait 3-5 hours for the glue to dry. I always wait over night to make sure the glue is permanently bonded.

More Scraping, Cutting, and Planing
Out of the clamps you will need to remove all the excess glue. You can use a chisel, but I recommend a Card Scraper. If it is sharp, it will make short work of the dried glue squeeze out. If you need to know how to sharpen a Scraper, there is a link at the bottom to my video. And then sanding or planning. I planed mine because I have that tool. If you are sanding you may have to run through the grits starting at 80 grit and moving up to 220 grit.

With all of that cleaned up, cut off one end to square it up. The other end you will need to decide on what you want the handle to look like. I took a couple of round things to make curves. Next time I will be using French Curves. They give smoother lines. With your curves marked out snag a jigsaw or use your bandsaw and go to town on it.

WOOHHOOO!! You are almost done.
Sanding and Edge Routing
Sanding is straight forward. IF your joints don’t match you will need to start with 60 or 80 grit to level the surface. Then work through the grits to 220. You could put it through your Planer if you have one too. Pay attention to the ends and edges, especially the saw marks left by the jigsaw. You may have to get a file and file them out.

With sanding complete – grab your router and tighten in a 1/8” or 1/4” Roundover bit and route the edges. If you bit is sharp it should leave an almost glass smooth finish on most of the edges. There may be a few endgrain spots you need to sand.
Finishing
Now is the time to finish your Charcuterie Board. Apply three coats of Food Grade Mineral Oil. Wait 1-3 hours between each application. After the last one wipe it dry and apply a coat of board butter.
Making Board Butter
To make this, snag a half pint Mason Jar and add in 6 tablespoons of Mineral Oil to one tablespoon (slightly rounded) of Organic Beeswax Beads. Heat in the microwave (without the lid and ring) for 3-4 minutes. Stir and heat for another 2 minutes. Repeat until the Beeswax is dissolved. LET IT COOL!!! Once cool it should be the creamy consistency of warm butter. If not then add in a bit more oil to thin it or wax to thicken it.
[Pic Board Butter]

Rub this mixture into the board like waxing a car. Be sure to work it into the endgrain. Wipe off the excess.
And congratulations
Wahoo – you are done!!
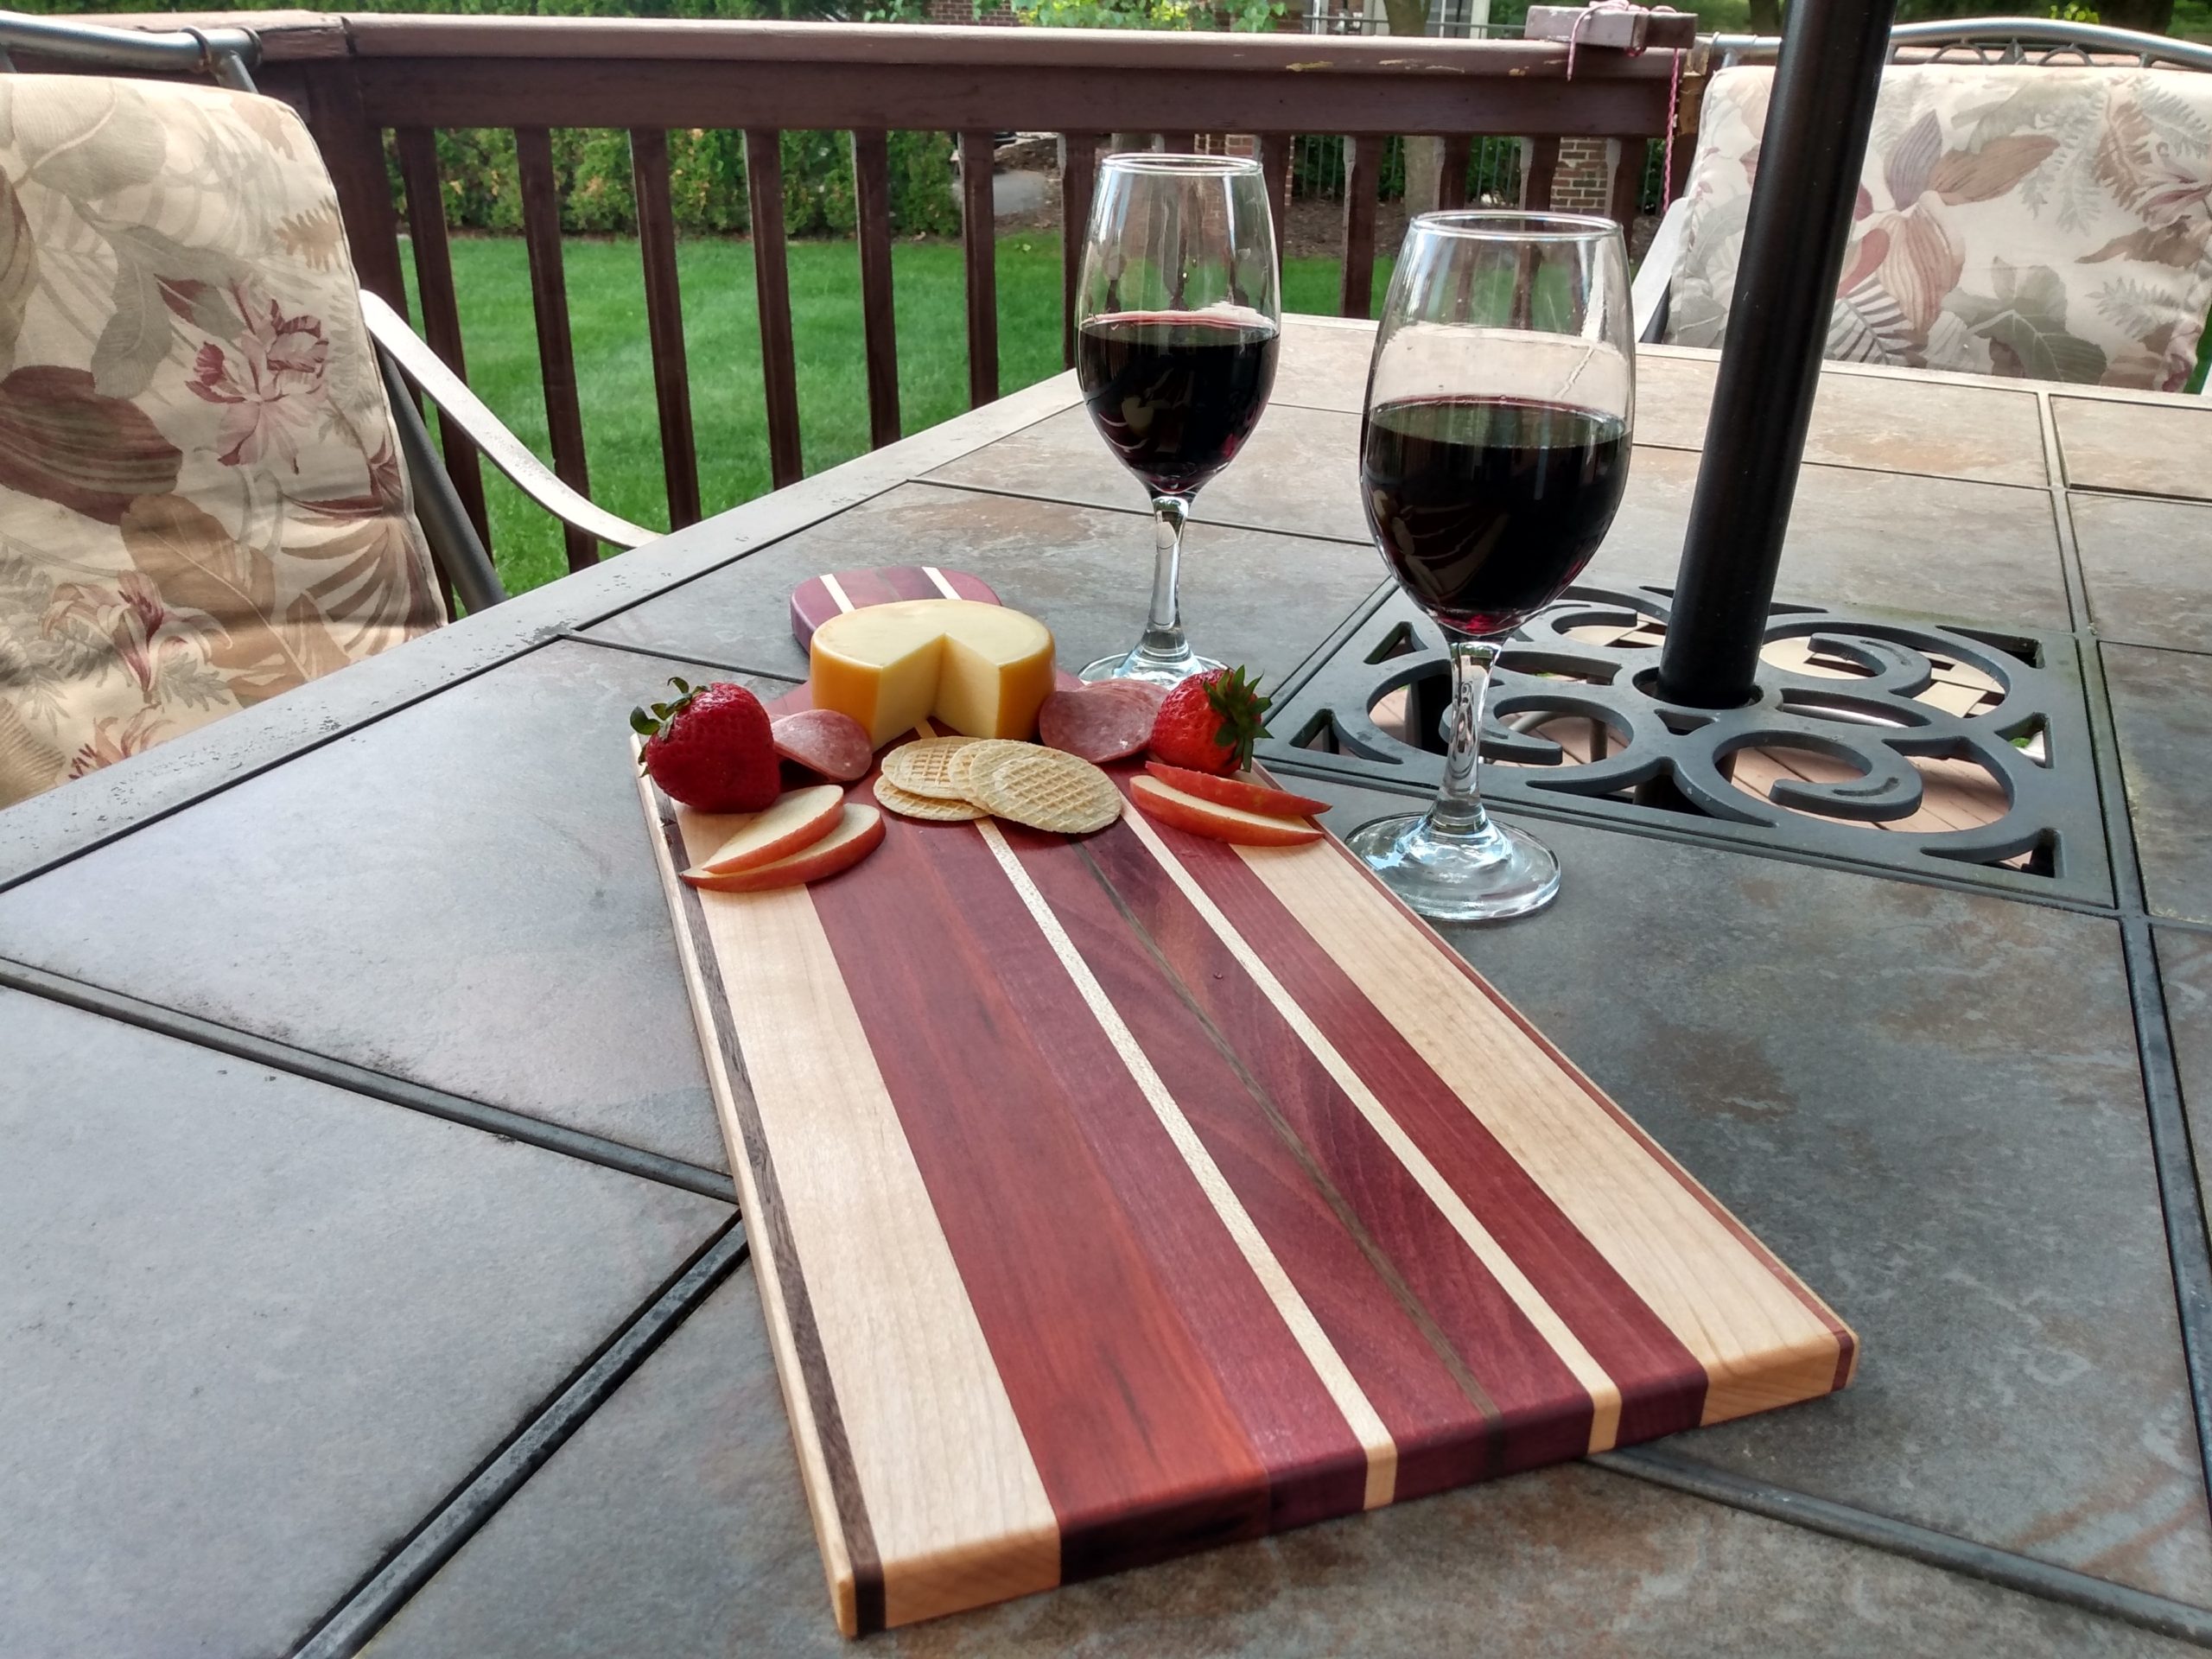
[Picture of finished project]

Thanks for reading and until next time Good Making!
Bill
Link to my Charcuterie Board Video https://youtu.be/OoaVrF1O2-k
Card Scraper Video link https://youtu.be/V91fP_h6U4w
Cutting Board Video https://youtu.be/tmcIJ52stFc
Drink Coaster Video https://youtu.be/DcwpTAWKxA0
Blog Link How to Sharpen a Card Scraper https://30minutewoodshop.com/?p=93
Tools you may need
Forrest Woodworker II 10 Inch 40 Tooth Blade https://amzn.to/3MivHjn
Bessey Revo Clamp Set (4) https://amzn.to/3mmBlq0
Wixey Digital Angle Gauge https://amzn.to/3mjZ7mx
5” Random Orbit Sander Porter Cable https://amzn.to/3Q6dgBg
5” Sandpaper Disks 70pcs Assortment https://amzn.to/3MnbDfM
DEWALT Router Fixed/Plunge Base Kit https://amzn.to/34TeXzp
Router Bits Sets of 24A Pieces 1/4 Inch Shank https://amzn.to/3I5SYU7
Materials
Food Grade Mineral Oil https://amzn.to/3xmssTv
Organic Yellow Beeswax Pellets https://amzn.to/3aC8eMF
County Line Cutting Board Kit https://amzn.to/48Px2dt
Cherry/Walnut Cutting Board Kit https://amzn.to/3wTgW25
Tap Room Cutting Board https://amzn.to/3MNwuto
Note: These are affiliate links


