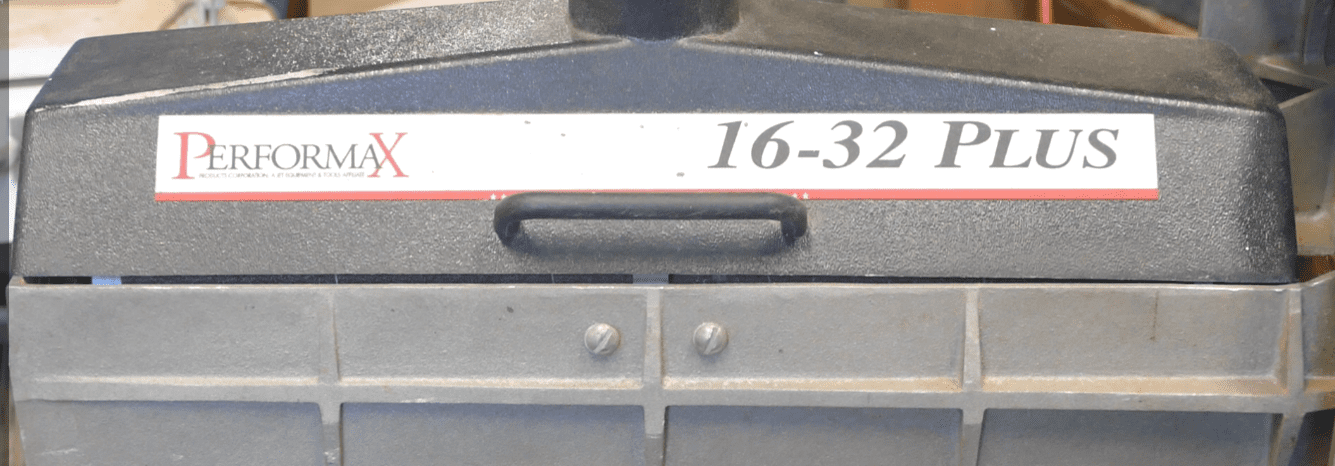
I had the opportunity to purchase a well-used 16-32 Performax Drum Sander built in 1998 and Made in the USA! And of course, because it’s well used it needs some work. Both motors are in really good condition, and I have done a lot of cleaning and scraping on this tool. But it needs some new parts. Specifically, it needs a new conveyor belt. So, this is a tutorial on how to replace the conveyor belt on a Performax 16-32 Drum Sander.
Tools and Materials
You’ll need to purchase a replacement Performax conveyor belt which is really a 100-grit sandpaper belt please make sure you check your tool to verify the dimensions. My cost was about $43. You’re also going to need potentially a set of ceramic belt guides. These run about 10 to $15 plus shipping. And of course you’ll need a screwdriver and possibly a couple of wrenches to take things apart.
Conveyor System Disassembly
The very first thing you have to do is to make sure the machine is unplugged. Always make sure your tools are safe before you start working on them.
You’ll need a wrench to loosen the two screws on each side on the belt idler. And then use the captive wrench on the tension nut to remove the tension on the belt.


Next you will need to remove the four screws that hold the conveyor assembly to the bed. These are located at the four corners that are fairly easily accessible and require a large screwdriver. You could also use a ratchet with an extension.

With the four screws removed, lift out the conveyor assembly and stick it on a bench.

Then with all the tension off the belt, the old belt will slide off. Put it aside and then inspect, clean, and repair the bed, the idler roller and the drive roller.

Conveyor Belt Installation
Open the new Performax conveyor belt and look inside. You’ll be looking for an arrow that points in the direction of motion. Making sure that your conveyor belt is pointed in the right direction slide it over the rollers. This could be kind of a pain because The conveyor belt probably arrived tightly wound. You’ll have to do a little bit of work to unwind it and get it flat enough to be able to slide over.

With the Performax conveyor belt in place you will need to install the ceramic belt tracking guides. These just slip in and are held magnetically in place at the dry end of the belt one near the motor and one on the opposite side.

Conveyor System Reinstallation
Once the conveyor belt is in place, reinstall the conveyor assembly onto the bed. Then screw down the four screws in the corners.


Belt Tensioning and Tracking
At this point you will have to work on belt tensioning and tracking. I have that in another blog and another video.

Hope you got something out of this and if you did, do me a favor, hit like and subscribe. I’d appreciate that a lot.
Thanks for reading and until next time Good Making!
Bill
Visit my Etsy Store at www.etsy.com/shop/30MinuteWoodshop
Facebook https://www.facebook.com/30MinuteWoodshop
Links to my Videos and Blogs
Create Your Own Dice Vault https://30minutewoodshop.com/?p=1226
DIY Whiskey and Cigar Butler https://30minutewoodshop.com/?p=550
Farmhouse Key Rack https://youtu.be/I65FGq4dKYY
Create Your Own Lazy Susan https://30minutewoodshop.com/?p=491
Tools and Materials you may need
DEWALT Drill and Driver Combo https://amzn.to/42yybmy
DEWALT Router Plunge Base Kit https://amzn.to/3LKkJEK
Ridgid Oscillating Belt Sander https://amzn.to/45C3rTK
Starrett Combination Square https://amzn.to/3XpbrDN
WoodRiver Low Angle Block Plane https://amzn.to/3pkNvos
Milwaukee M18 Jig Saw Kit https://amzn.to/3FAWXsS
BOSCH Compound Miter Saw https://amzn.to/421A1vl
Minwax Fast Drying Polyurethane https://amzn.to/3V5h0pO
PPE Gear


