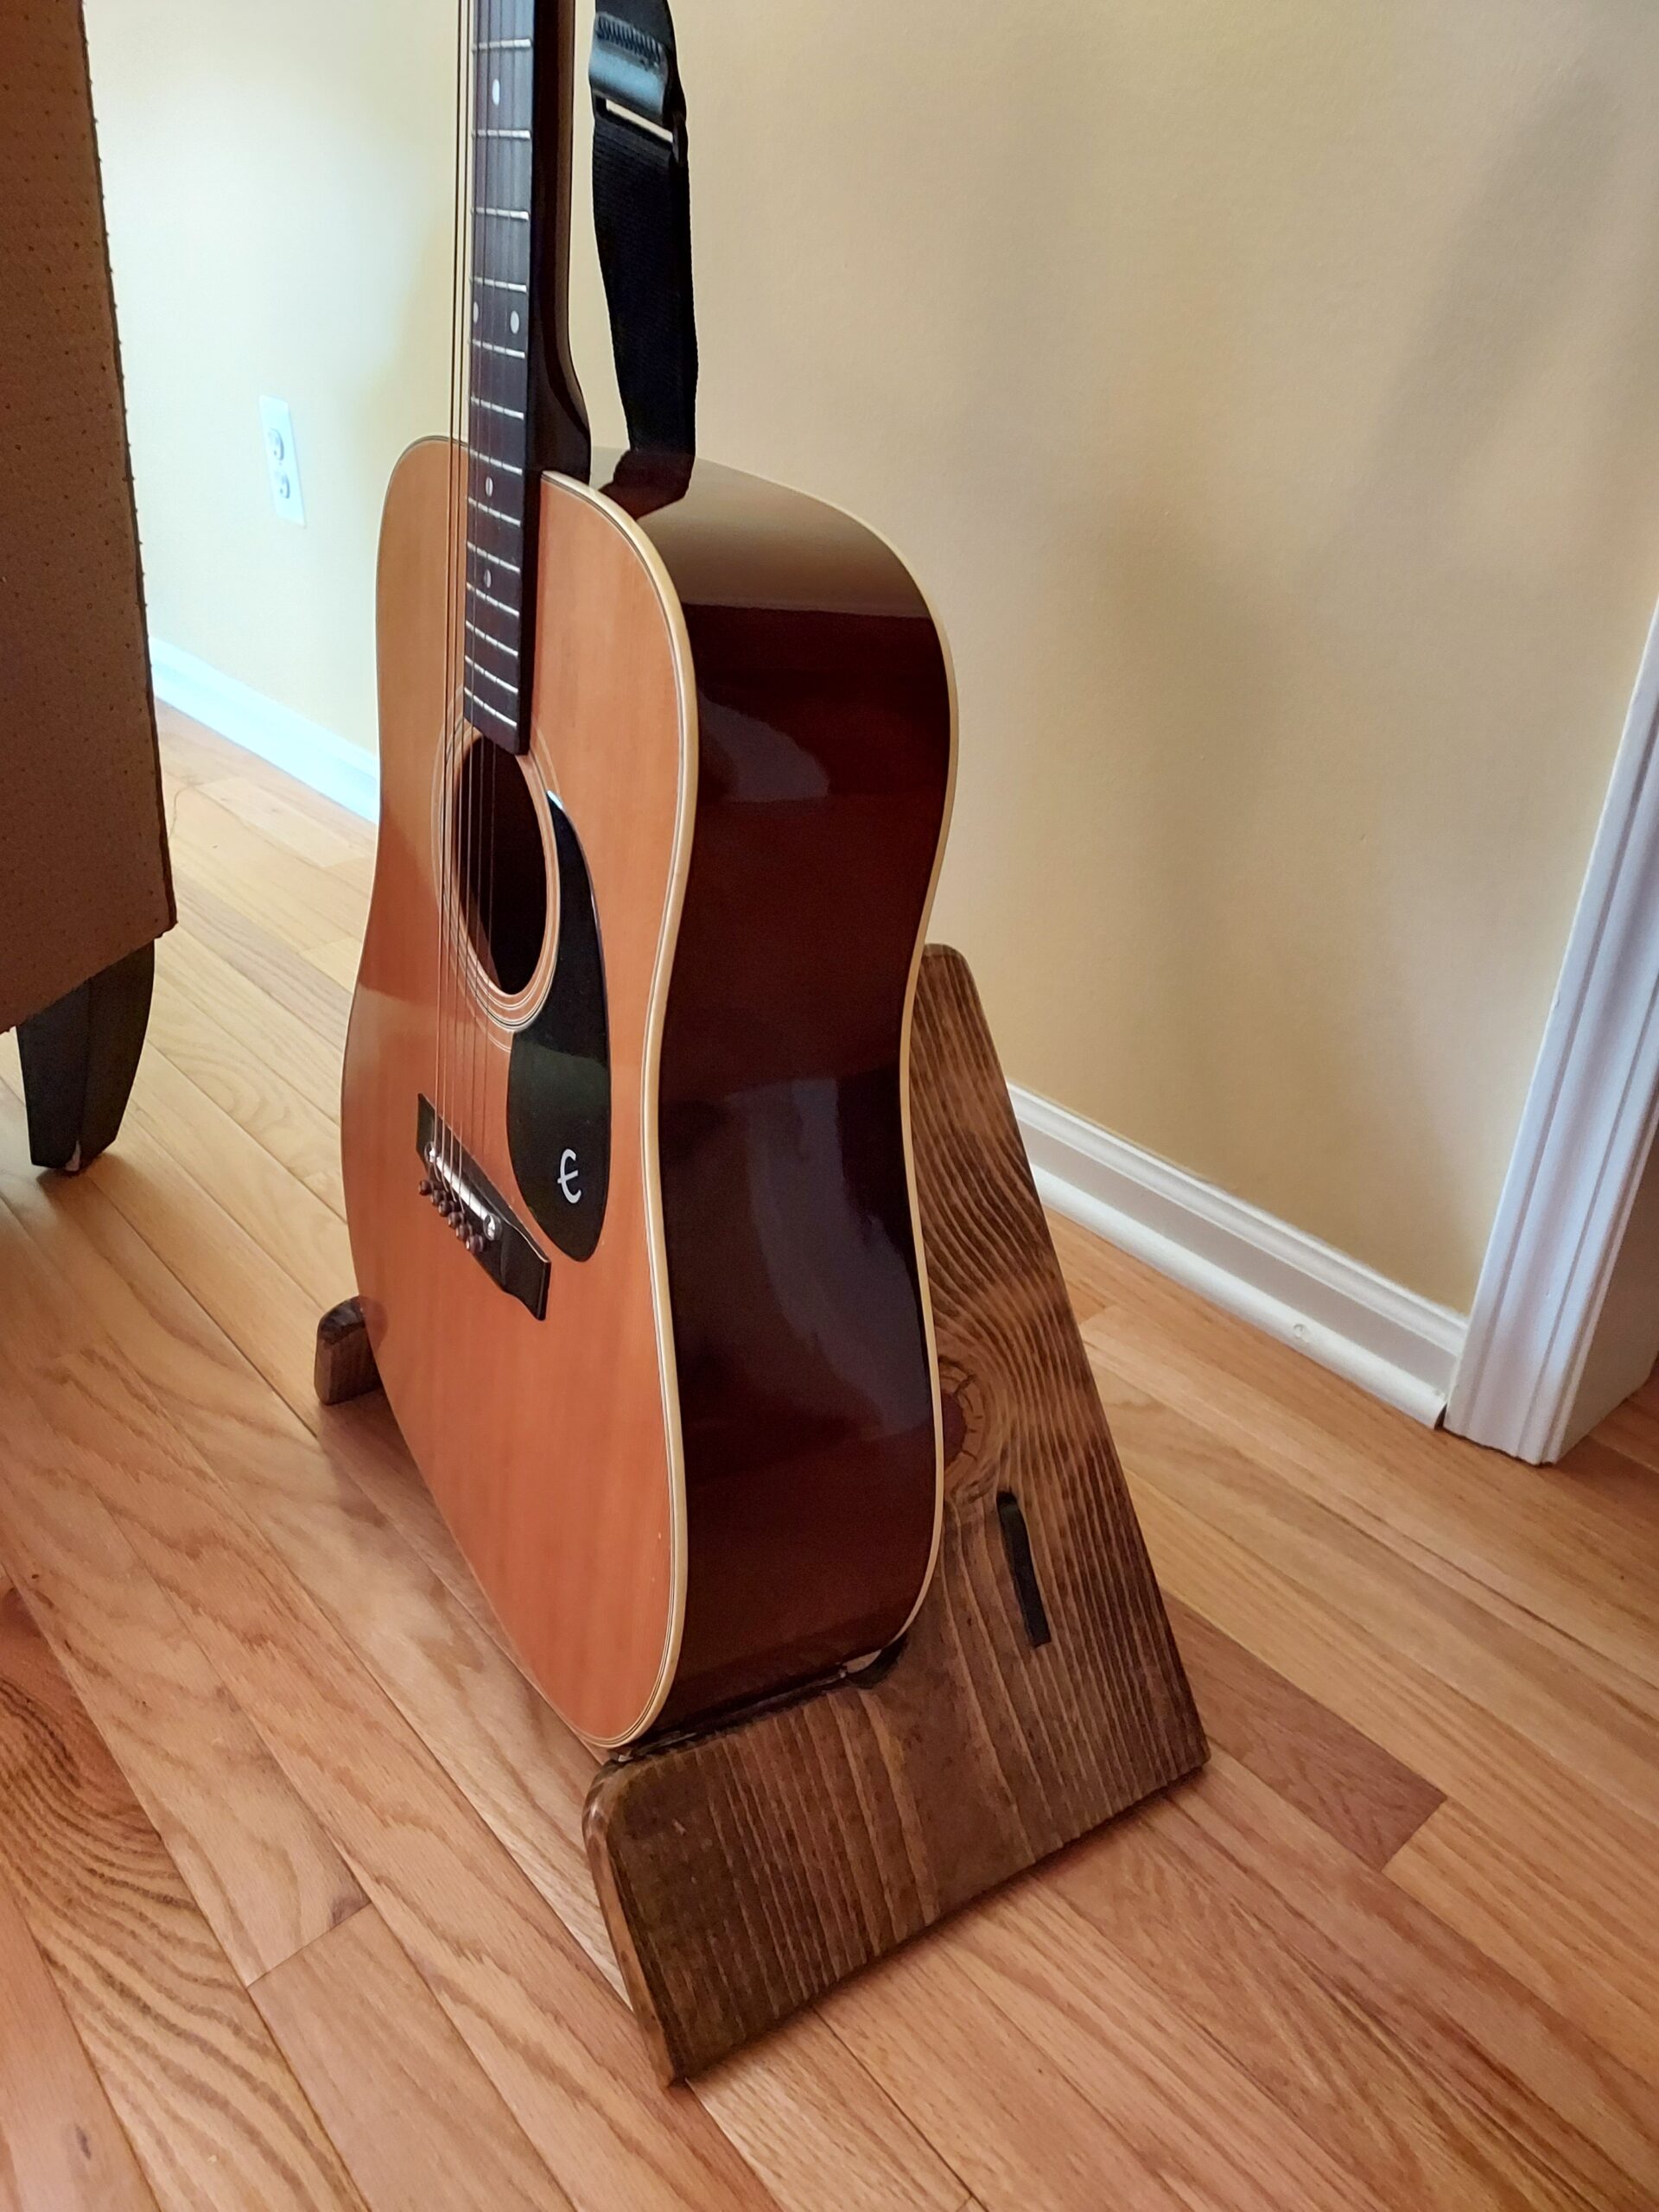
This truly is the easiest Guitar Stand you could possibly build. And, you can do it with only a couple of hand tools. And it is so handy to have, all you have to do is set your guitar into it and when you want to use it you can pluck it out of the guitar stand play and return it in a matter of moments. For me this was really important because up till now I’ve had to get it out get the case on the sofa open it pull the guitar out play it and put it back and go through that every time and even though that only takes about 3 or 4 minutes maybe 5 it’s more time than I wanted to spend I want to be able to just pick the guitar up and play it and this was so easy it took me less time than if I had to pull the guitar out and put it back over the course of a week. So Read on and learn how.
Tools and Materials
The material I chose for this guitar stand was 1 by 12 pine. Mostly because that’s what I had on hand, but this would look really good in walnut cherry or maple. As far as tools you really only need a measuring tape a pencil and a hand saw. I of course used the tools that I have at hand which are bandsaw, radial arm saw, oscillating belt Sander, and a random orbit Sander.

Layout
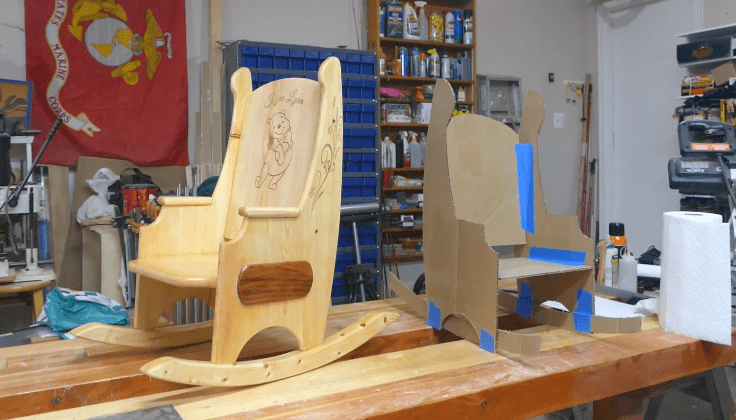
This is probably the easiest layout you could ever have. Just follow the layout in the sketch below. I actually made a paper template so that I could work around the knots that were in the wood. This is a great way to visualize where your pieces will lie relative to the grain.
One thing to note however in using a paper template is that you don’t use the template as a tracing aid. You use it to mark all the critical points and then draw lines between the points like connect the dots. This also allows you to see and visualize how the parts can nest. This will reduce the amount of material you need to make the guitar stand.


Cutting
My first step, and it may be yours too, was to crosscut the 1 x 12 to make it easier to handle.

Next step is to actually cut out the parts. I used the bandsaw but you could easily use a hand saw, or a jig saw. It’s only a few cuts and just follow the lines.

Shaping
With the parts cut out, you want to do to your guitar stand, guitar friendly. You really don’t want your guitar banging into sharp corners. I used an oscillating Belt Sander to round off most of the sharp corners. You can use your jigsaw, a handsaw, sandpaper, file, or even a router. But you really want the lower corner to be nice and round. You also want the same thing for the upper corners. At this point I also sanded all the flats because it was easier to do this way.
You also notice that I sanded out the inside corner. This just keeps the corner of the guitar from banging into the corner of the wood.

Routing
It’s time to start routing. Routing is a two-step process. For the top back and bottom edges, these all take a 3/8 inch radius round over bit.

With all those areas routed next I used an 1/8” round over bit to round the edges where the guitar will touch down. I used the 1/8” roundover bit because I wanted to take the sharpness off the edge but still leave enough touchdown area for the leather that I would be putting on to protect the guitar.

Sanding
I surface sanded both pieces with an orbital Sander and 220 grit sandpaper and also hand sanded all the edges and radii. This just gave me a nice smooth surface for application of the finish.
[sanding]

Staining and Finishing
My intent was to have this be very dark, so I used Minwax special dark stain. The sanded pine took the stain pretty well. I wiped it on and then wiped off all the excess and let it dry overnight.

Once the stain was dry I applied a coat of oil based urethane varnish. I chose the oil-based urethane because the stain is also oil based. That’s to ensure the adherence of the varnish to the stain. A water-based varnish will not stick to an oil base stain.

Assembly
Assembly is very straightforward like all the rest of this guitar stand project. I used a salvage sewing machine hinge, but you can choose any hinge you like. Just put the two pieces together and screw the hinge down.

With the hinge in place close the two pieces and drill a ¼” through hole. Next using a heavy leather boot lace thread it through both holes and tie either a Figure 8 Knot or a Stopper Knot. This should prevent it from going through the hole. I used a piece of 3/8 inch leather strip so instead of tying a knot I just nailed it down.
With one side nailed or knotted, spread the two halves apart far enough to accommodate your guitar. Then tie a second Figure 8 or Stopper Knot

Applying the leather or felt
The last stop here is to apply the leather or felt where the guitar is going to sit. I tore apart one of my wife’s unused purses and used that leather. You can use felt just as well. All you have to do is cut it to width apply glue. I use contact cement. And clamp it in place until it dries. If you’re using felt you can use tight bond glue but use it sparingly. You don’t want it to bleed through the felt making it hard and possibly scratching your guitar finish.
Congratulations
Well congratulations on a really great project if you’re like me I’ve been using mine consistently since I built it. It allows me to grab my guitar anytime I want play it and return it to the stand without having to break it out from the guitar case.

Hope you got something out of this and if you did, do me a favor, hit like and subscribe. I’d appreciate that a lot.
Thanks for reading and until next time Good Making!
Bill
Visit my Etsy Store at www.etsy.com/shop/30MinuteWoodshop
Facebook https://www.facebook.com/30MinuteWoodshop
Links to my Videos and Blogs
Create Your Own Dice Vault https://30minutewoodshop.com/?p=1226
DIY Whiskey and Cigar Butler https://30minutewoodshop.com/?p=550
Farmhouse Key Rack https://youtu.be/I65FGq4dKYY
Create Your Own Lazy Susan https://30minutewoodshop.com/?p=491
Tools and Materials you may need
DEWALT Drill and Driver Combo https://amzn.to/42yybmy
DEWALT Router Plunge Base Kit https://amzn.to/3LKkJEK
Ridgid Oscillating Belt Sander https://amzn.to/45C3rTK
Starrett Combination Square https://amzn.to/3XpbrDN
WoodRiver Low Angle Block Plane https://amzn.to/3pkNvos
Milwaukee M18 Jig Saw Kit https://amzn.to/3FAWXsS
BOSCH Compound Miter Saw https://amzn.to/421A1vl
Minwax Fast Drying Polyurethane https://amzn.to/3V5h0pO
PPE Gear


