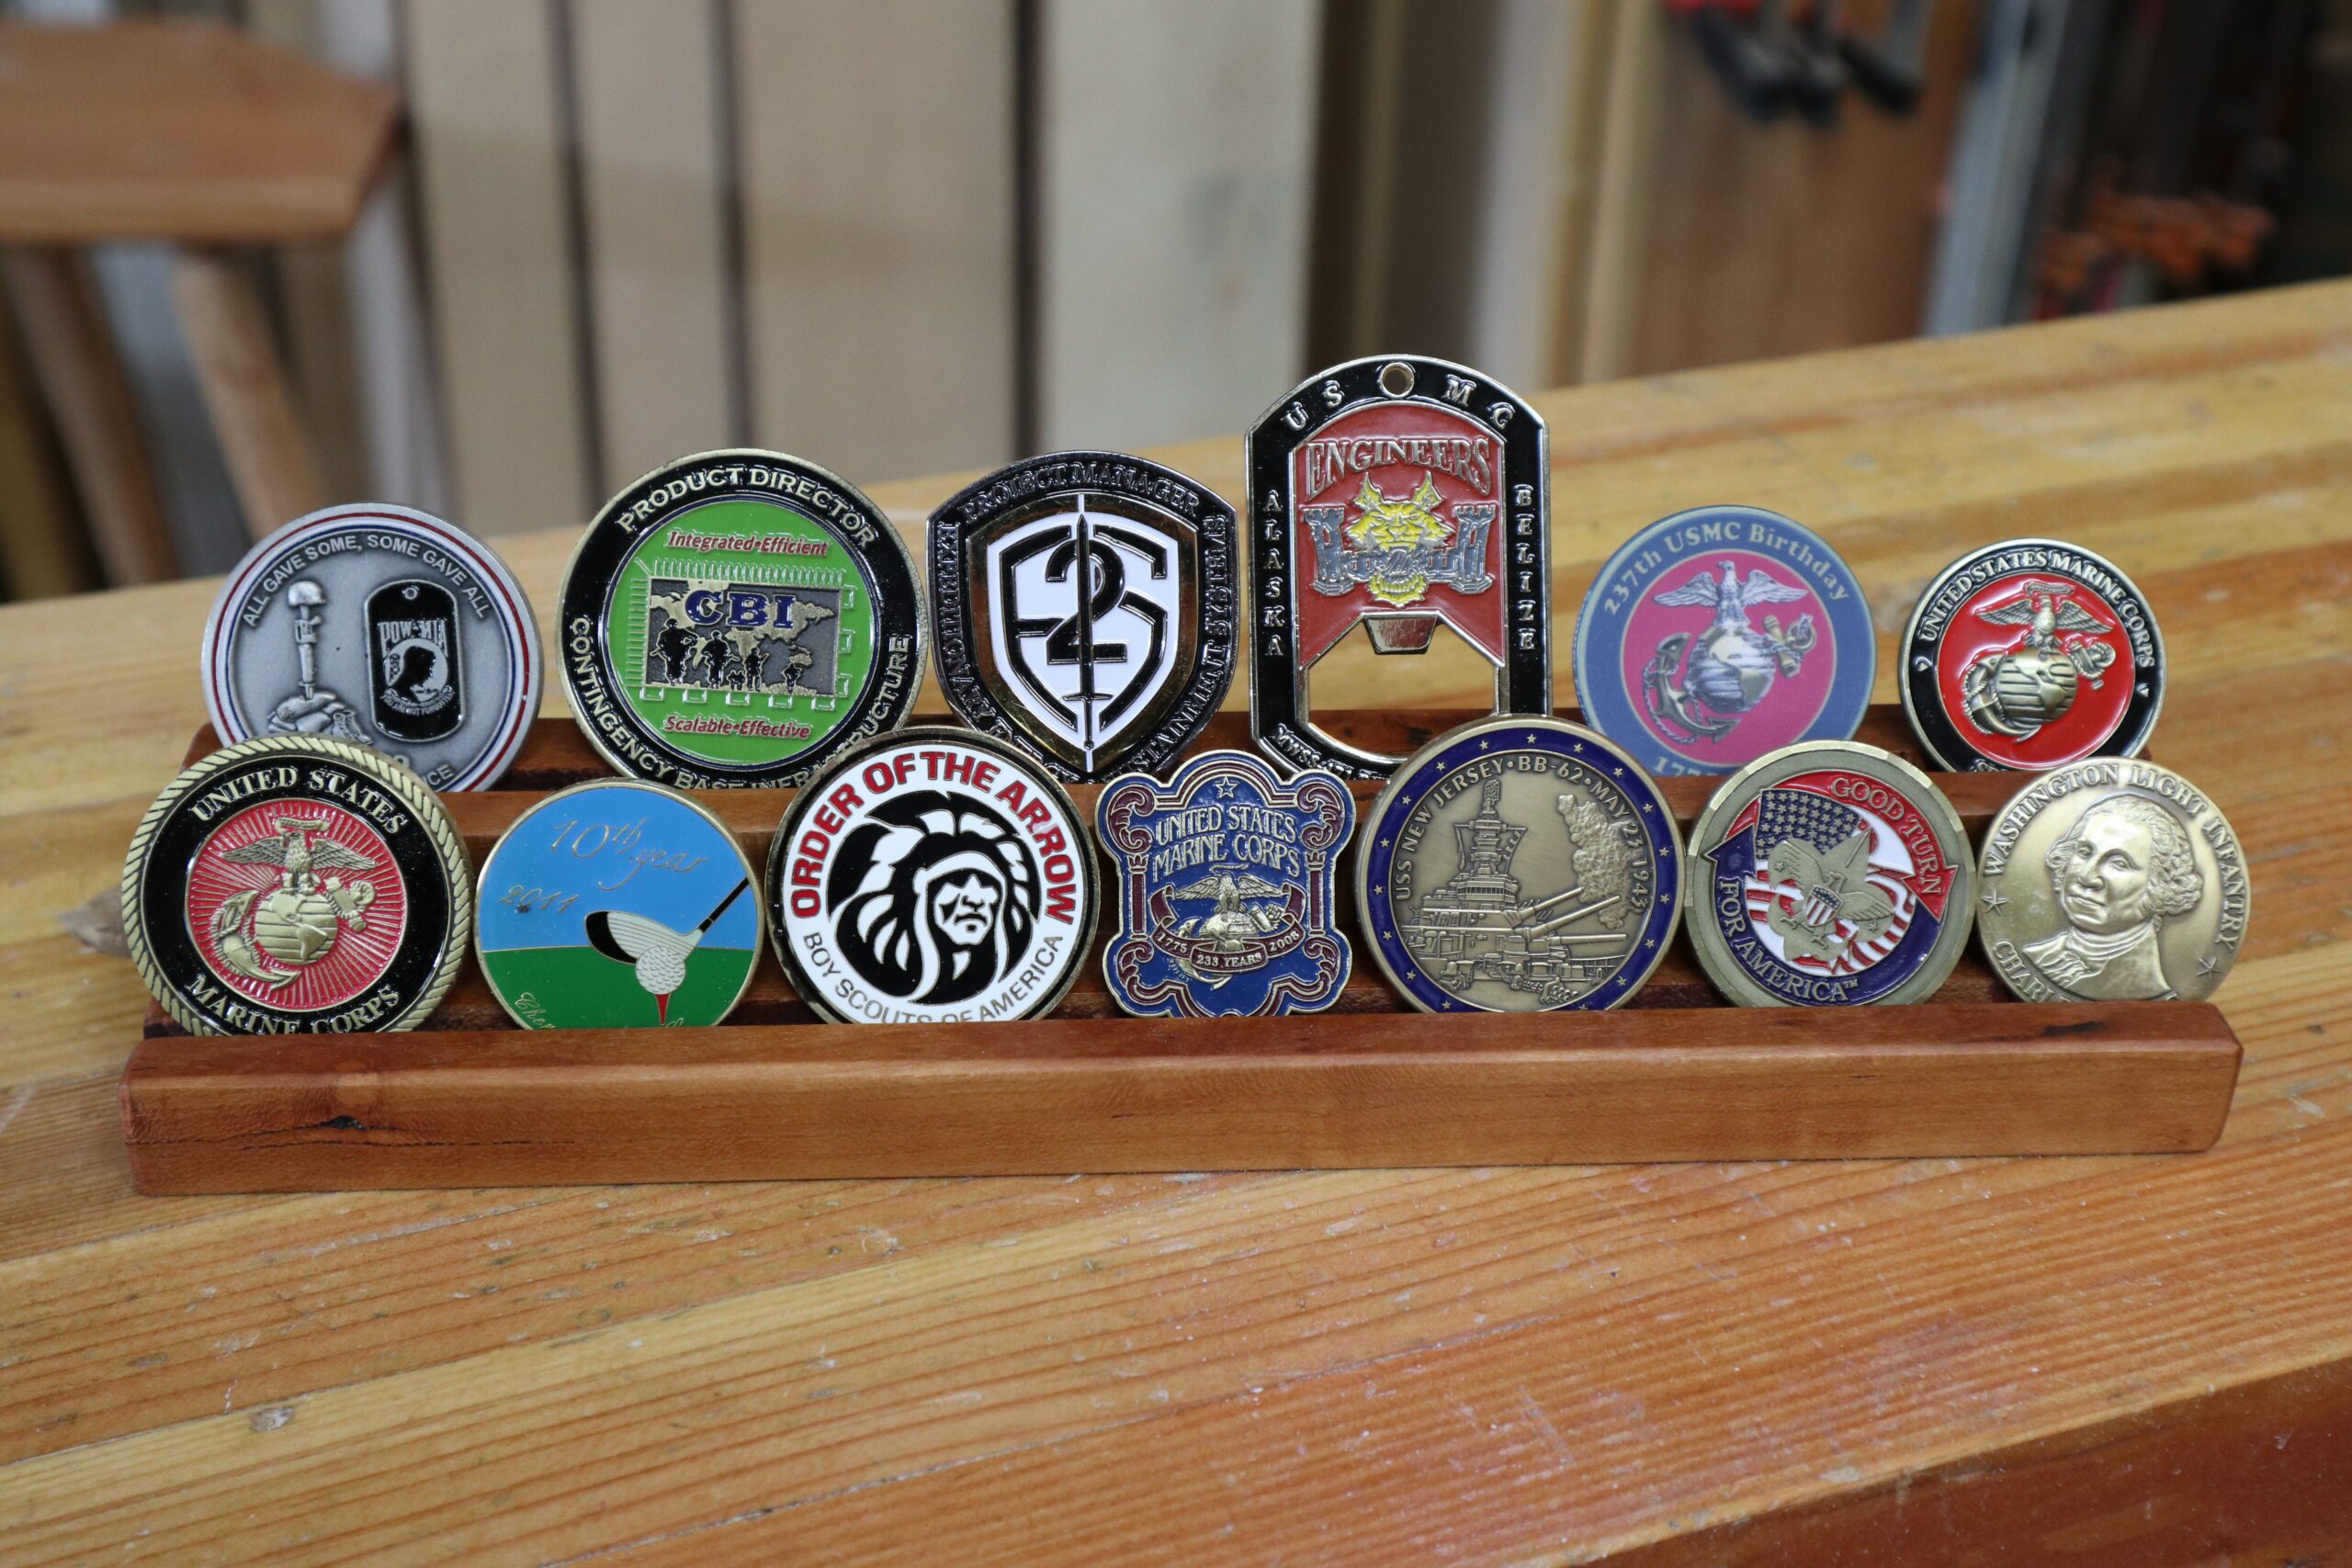

If you’re in the military, Army, Navy, Marines, Air Force, or Coast Guard you may have collected a few Challenge Coins and each one has a story. For all those who have challenge coins you’ll understand my position. My coins usually just sit in the drawer and I never get a chance to see them. So here is an easy project that will come together very quickly to display those coins. If you follow the directions below you will end up with a two tiered challenge coin display that will hold 12 coins. This is a fast and easy build and one you can complete in the afternoon including dry time. There are links below to materials and tools that I use that you may find of interest.
Tools and Materials
The tools and material list for this challenge coin display is short. You’ll need a way to crosscut like a Radial Arm Saw or a compound miter saw, a method to rip like a table saw, and if you really want to spend money a Freud 8″ Dado Stack. And of course you’ll need a few clamps. For materials you’ll need a piece of wood that’s about 11 inches long and 4 inches wide. I chose Cherry because I happen to have it laying around you may want to try Walnut or Maple or possibly something more exotic like Paduk, Canary, Redheart, or Osage Orange. If you’re buying from the big box store, Red Oak or even Poplar will work for this project.


Layout
There’s really nothing to layout in this project. Just set your table saw fence to 1-1/4 inches and rip that off your board. Reset your fence to 2-1/4 inches and make your final cut. This will give you the base and the top level.

Reset your fence to 2-1/4 inches and make your final cut. This will give you the base and the top level.

Cutting the Groove
The next step is to cut the grooves. Install a 1/4 inch dado blade and set it to a 5 degree tilt. Now set your fence for 1/2 inch and run a test piece. The center of the groove should be at 5/8 of an inch. If not adjust your fence appropriately. Now run both pieces through the dado blade. Note, you don’t have to use a dado blade simply make two passes with your standard blade and that should be a 1/4 inch groove. That double pass is what I used to make my grooves.
Sanding
Now you will want to sand the parts. If you’re using Maple or Cherry you may have actually burn them a bit when cutting. Used 220 grit sandpaper in an orbital Sander to get rid of any of those marks.

Assembly
The assembly process for this challenge coin display is easy. Spread some glue on the narrow piece and glue it to the wide piece. Be sure the grooves are angled toward the rear. You can be sparse with the glue to keep squeeze out to a minimum. I use spring clamps to hold these together and waited about two hours.

Final Sanding
Once your piece is dry and you’ve taken off the clamps, clean up any glue squeeze out and we’re ready for some final sanding. If the back and the edges are not flush use your Orbital Sander with 220 grit sandpaper and send everything out. Next you’ll want to chamfer the edges. I used my standard through that you can use a router or sandpaper on a block. You just want all the edges to be nice and soft in case someone picks it up. Once that’s done grab some 320 grit sandpaper and hand sand all the surfaces until they are silky smooth. We’re going down to 320 grit because the finish I applied is Boiled Linseed Oil. BLO is a very thin finish, if there’s any scratching or roughness it will read through so be sure the surface is silky smooth.

Finishing
Using boiled linseed oil as the finish is very easy. Application is merely a matter of wiping it on letting it sit for a few minutes and then wiping off any excess. Depending on temperature and humidity you have to give it a bit to cure. Once the finish is cured your project is done. You can of course do what I did and put a coat of paste wax over top just to make it easier to clean and keep the dust off it. If you want this done really fast, use Minwax spray lacquer which dries in about 30 minutes.
SAFETY NOTE:
DO NOT LEAVE YOUR APPLICATION RAGS OR PAPER TOWEL IN A WAD SOMEWHERE. As the finish cures, it heats up and can start a fire. You don’t want you shop burned down.

Congratulations
If you made this challenge coin display project then congratulations on a job well done. You will be able to display your coins and impress your friends. And if you have more than 12 you can change them out regularly or get crazy and add a third tier.

Hope you got something out of this and if you did, do me a favor, hit like and subscribe. I’d appreciate that a lot.
Thanks for reading and until next time Good Making!
Bill
Visit my Etsy Store at www.etsy.com/shop/30MinuteWoodshop
Facebook https://www.facebook.com/30MinuteWoodshop
Links to my Videos and Blogs
DIY Dice Rolling Tray Blog https://30minutewoodshop.com/?p=1254
Create Your Own Dice Vault https://30minutewoodshop.com/?p=1226
DIY Whiskey and Cigar Butler https://30minutewoodshop.com/?p=550
Tools and Materials you may need
3/ 4” Paduk https://amzn.to/3CAOeVn
3/4” Cherry https://amzn.to/43FiP09
DEWALT Drill and Driver Combo https://amzn.to/42yybmy
Freud 8″ Dado Stack https://amzn.to/3CwqG4c
DEWALT Compact Router Kit https://amzn.to/43HWWwU
Ridgid Oscillating Belt Sander https://amzn.to/45C3rTK
BOSCH Compound Miter Saw https://amzn.to/421A1vl
Titebond III Ultimate Wood Glue https://amzn.to/3Nb4i6n
PPE Gear
3M N95 PPE Mask https://amzn.to/3x4NGEu
ISOtunes Bluetooth Earmuffs https://amzn.to/3lpj1iA


